
Choosing an LED light pad for tracing and sketching requires looking past flashy marketing numbers and focusing on how the device handles your specific creative medium. The specifications that matter most are adjustable brightness, an active area that matches your paper dimensions, and uniform, flicker-free light distribution. Finding the right balance among these features ensures your lines remain precise while protecting your eyes from strain.
Many artists assume that a higher price tag or a higher brightness rating automatically guarantees a better drawing experience. However, the ideal light pad is not simply the brightest one available; it is the one that allows you to see through your chosen paper weight without causing glare or distorting your lines. Your working environment, the thickness of your paper, and your physical workspace should dictate your final choice.
Brightness and Dimming: Matching Light to Paper Weight
Adjustable brightness is the most critical feature of any light pad because different paper weights require different levels of light transmission. If you are tracing on standard 70 gsm to 80 gsm copy paper, a low light level is sufficient to reveal the lines underneath without blinding you. Conversely, heavier materials like 120 gsm drawing paper or thick marker sheets demand a much stronger light source to penetrate the fibers effectively.
Products mentioned in this guide
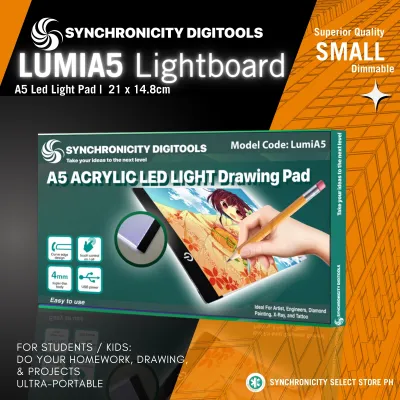
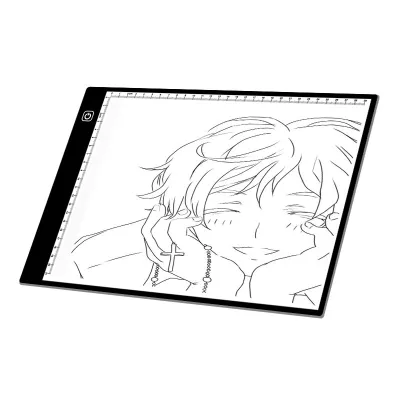
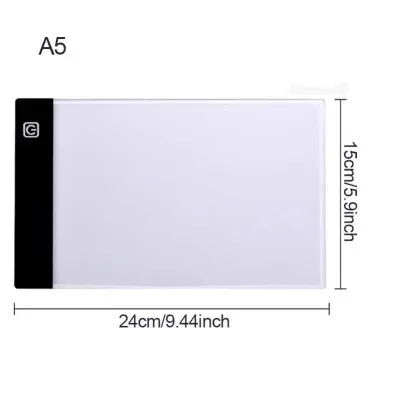
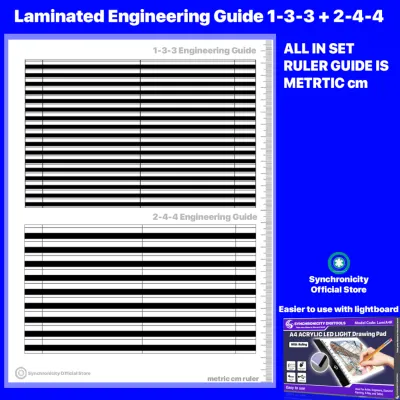
Prices are valid at publication and may change. Please refer to the product page for the latest price.
When evaluating product specifications, prioritize models that offer stepless dimming over those with fixed preset levels. Stepless dimming allows you to hold down the power button to gradually adjust the light intensity, giving you precise control under changing ambient conditions. Fixed three-level dimmers can sometimes leave you stuck between a setting that is slightly too dim and one that is uncomfortably bright.
To verify if a light pad’s brightness is adequate for your needs, perform a quick visual test in your typical workspace. Place your reference sketch on the pad, cover it with your preferred drawing paper, and turn on the device. You should be able to see fine pencil details clearly without having to squint or dim the overhead room lights. If the light causes a halo effect around your lines, the setting is too high; if the details are muddy, you need more power.
Active Area vs. Overall Size: Finding the Right Canvas Space
When shopping for a light pad, it is easy to confuse the physical dimensions of the device with its actual working space. The “active area” refers strictly to the illuminated portion of the pad where you can place your paper. The overall size includes the outer frame, bezel, and power buttons, which can add several centimeters to the footprint on your desk.

To avoid unlit edges, always match the active area to the standard paper sizes you use most frequently. If your sketches are primarily done on A4 paper, ensure the active area is at least 210 by 297 millimeters. Choosing a pad with an active area smaller than your paper forces you to constantly shift your sheets, which can ruin your alignment and disrupt your workflow.
Consider how the overall footprint and thickness fit into your workspace and drawing style. Ultra-thin pads, often measuring just 5 to 8 millimeters thick, are highly portable and sit low on the desk, reducing wrist fatigue. However, if you tend to press down hard with graphite or charcoal pencils, a slightly thicker, more rigid frame is preferable to prevent the surface from flexing under pressure.
Light Uniformity and Flicker: Protecting Your Eyes and Lines
Consistent light distribution across the entire active area is essential for maintaining accurate tracing lines and even shading. If a light pad suffers from uneven lighting, you will experience bright hotspots near the LEDs and dark shadows in the corners. This variation forces your eyes to constantly adjust as you move your hand across the page, leading to rapid eye fatigue during long drawing sessions.
To check for light uniformity, turn the light pad to its highest setting in a dimly lit room without placing any paper on top. Look closely at the edges and corners to see if there is any noticeable darkening or if individual LED beads are visible through the diffusion panel. A high-quality pad should present a perfectly flat, solid sheet of light from edge to edge.
Be cautious of generic “eye protection” labels, which are often used as marketing buzzwords. Instead, look for technical specifications that confirm flicker-free operation, meaning the LEDs use a high-frequency direct current driver to eliminate the rapid pulsing common in cheap electronics. A quality multi-layer diffusion panel is also crucial, as it scatters the light evenly and prevents direct glare from reaching your eyes.
Power and Portability: Desk Setup vs. Mobile Sketching
Your choice of power source determines whether your light pad is locked to your desk or ready for mobile sketching. USB-powered light pads are highly versatile, drawing power directly from a laptop, a wall charger, or a portable power bank. This makes them ideal for sketching in cafes, libraries, or outdoor spaces where wall outlets are scarce.
Before purchasing, verify the voltage and current requirements on the product label. Most portable light pads run on standard 5V USB power and draw between 1A and 2A, making them fully compatible with common mobile accessories. If you opt for a larger, high-intensity A3 or A2 light pad, it may require a dedicated 12V DC wall adapter to deliver sufficient power, which limits your portability and requires access to a standard outlet.
In the tropical climate of the Philippines, humidity can cause paper to absorb moisture and warp slightly during use. A rigid, durable frame is highly beneficial in these conditions, as it provides a solid backing to keep warped paper flat. While flexible, ultra-thin plastic pads are easy to slip into a backpack, they offer less structural support when drawing on soft surfaces like your lap.
Specs You Can Safely Ignore to Simplify Your Choice
To simplify your decision, learn to filter out specifications that add cost without improving your actual drawing experience. For example, extremely high maximum lux or lumen ratings (such as claims exceeding 5,000 lux) are often measured directly at the LED source before passing through the diffusion layers, making them misleading and practically unusable for standard paper tracing.
Similarly, multiple color temperature settings or RGB color-changing features are largely unnecessary for sketching. While warm yellow light is sometimes marketed as easier on the eyes, standard cool white light (ranging from 5,000K to 6,500K) provides the highest contrast for black graphite and ink lines. Extra color modes often just complicate the control interface.
Avoid paying extra for “multi-functional” add-ons like built-in rulers printed on the glass or magnetic clips. Rulers can clutter your visual field and collect dirt, while cheap magnetic clips often lose their grip or tear delicate tracing paper. A clean, unobstructed flat surface paired with standard low-tack artist tape is far more effective and reliable.
Frequently Asked Questions (FAQ)
Can I use a standard LED light pad for thick watercolor paper?
Standard LED light pads often struggle to penetrate heavy, cold-pressed watercolor paper, which typically ranges from 300 gsm and above. Because of the paper’s thickness and textured surface, the light may not shine through clearly enough to reveal fine details. If you frequently work with watercolor paper, test the opacity of your specific sheet first, or look for specialized, high-intensity light pads designed specifically for heavy media.
Community discussion
Share your experience or ask a question. Comments are reviewed before publication.