
Quick Answer: Is Liquid Satin Fabric Suitable for Embroidery?
Liquid satin fabric is a stunning, high-sheen material known for its fluid, water-like drape and glossy surface. While it is possible to embroider on liquid satin, doing so requires a high level of care, specialized stabilization, and careful design selection.
The primary challenge lies in the fabric’s slippery, delicate weave, which is highly susceptible to puckering, shifting, and snagging under the tension of embroidery stitches. To achieve clean, professional results, crafters must abandon standard embroidery setups in favor of methods tailored specifically to delicate, lightweight synthetics. With the right needle, stabilizer, and design, you can successfully embellish this beautiful material.
Key Characteristics of Liquid Satin Fabric
To work successfully with liquid satin, it is essential to understand what makes this material unique compared to traditional satins. Traditional satins, such as duchess satin or heavy bridal satin, possess a structured, stiff body that provides a relatively stable foundation for stitching. In contrast, liquid satin is incredibly lightweight and fluid. It is typically woven from fine synthetic filaments—such as polyester, nylon, or rayon—using a specific satin weave that maximizes the length of the “floats,” which are the warp or weft threads that pass over multiple perpendicular threads before interlacing.
Products mentioned in this guide
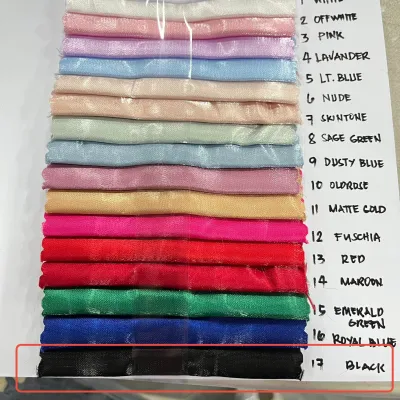
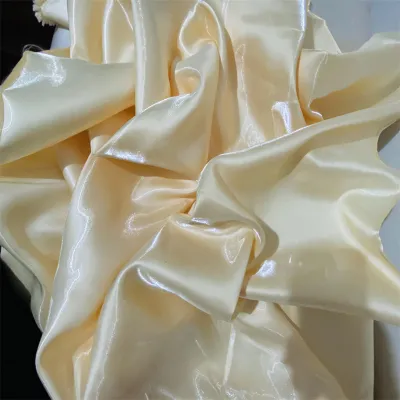
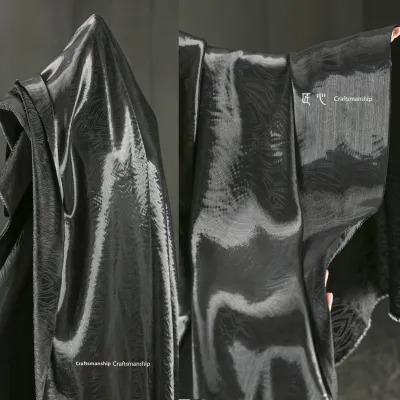
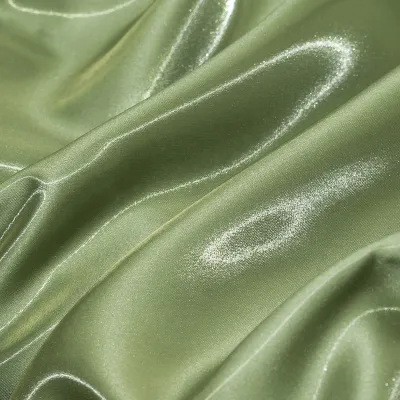
Prices are valid at publication and may change. Please refer to the product page for the latest price.

This specific weave structure is what gives liquid satin its signature liquid-like reflection and exceptionally smooth, slippery face. However, these same long floats make the fabric highly vulnerable to snagging, pulling, and edge fraying. The moment you cut a piece of liquid satin, the raw edges begin to unravel rapidly. Preparing your fabric edges with a zigzag stitch, an overcasting stitch, or pinking shears is a mandatory first step before any embroidery work begins.
Furthermore, the slippery nature of the fabric makes cutting and handling a delicate task. When working in warm, humid tropical environments like the Philippines, static electricity and moisture can cause the lightweight fabric to cling to work surfaces or shift unpredictably. Using a rotary cutter, a self-healing cutting mat, and pattern weights rather than pins can help keep the fabric flat and undistorted during the preparation phase.
Stitching Challenges and Fabric Behavior
Embroidery inherently introduces tension to a fabric, as the thread pulls the woven fibers together to form stitches. Because liquid satin has a highly fluid drape and lacks structural stiffness, it reacts dramatically to this tension. The most common issue crafters face is severe puckering. When multiple stitches are placed close together, they pull the fine filament threads of the satin weave inward, causing the surrounding fabric to bunch up and lose its smooth, reflective quality.
Needle penetration is another critical hurdle. The tight, dense weave of liquid satin leaves very little space between the individual filament threads. If you use a dull, thick, or incorrect needle, it will not slide cleanly between the threads. Instead, it will pierce and break the delicate filaments, leading to visible runs or “ladders” that can ruin the entire garment or panel. Once a filament is pulled or broken in liquid satin, the damage is permanent and cannot be massaged out.
Finally, the smooth, low-friction surface of synthetic fibers affects how embroidery threads sit on the fabric. Without the natural grip found in textured fabrics like cotton or linen, embroidery stitches can easily slip, look uneven, or sink too deeply into the satin face. This lack of thread grip means that maintaining precise machine tension is absolutely critical; even a minor imbalance between the top thread and the bobbin thread will be highly visible against the glossy, light-reflecting background.
Essential Stabilization and Hooping Techniques
Successful embroidery on liquid satin is entirely dependent on how well you stabilize the material. Because the fabric cannot support the weight of the stitches on its own, you must rely on a high-quality stabilizer to bear the structural load. For most projects, a lightweight, sheer cut-away stabilizer is the most reliable choice. Unlike tear-away stabilizers, which are completely removed after stitching, cut-away stabilizers remain permanently behind the embroidery. This continuous support prevents the design from distorting or puckering during subsequent wear and laundering.
Hooping liquid satin requires a specialized approach to avoid “hoop burn”—permanent creases, shiny patches, or structural damage caused by the pressure of the embroidery hoop. To protect the fabric, the “floating” technique is highly recommended. First, hoop only your stabilizer, ensuring it is drum-tight. Next, apply a very light mist of temporary fabric adhesive spray to the stabilizer, or use a self-adhesive “peel-and-stick” stabilizer. Gently smooth the liquid satin over the hooped stabilizer, pressing it flat without stretching or distorting the grain. This keeps the fabric securely in place during stitching without subjecting it to the crushing force of the hoop rings.
If your project requires traditional hooping, you must cushion the fabric. Wrap the inner ring of your embroidery hoop with soft cotton bias tape or strips of flannel. This wrapping provides a soft barrier that distributes the clamping pressure evenly, reducing the risk of leaving permanent indentations on the glossy satin surface.
Your choice of needle is the final piece of the stabilization puzzle. Always use a fresh, sharp needle specifically designed for fine fabrics, such as a Microtex or sharp embroidery needle in size 70/10 or 75/11. These needles feature an extremely acute, slim point that easily slices through the tight weave of liquid satin without snagging the delicate filament floats.
Choosing the Right Embroidery Designs
Not all embroidery designs are suitable for liquid satin. To preserve the fluid drape and beautiful sheen of the fabric, you must select patterns that work with the material’s characteristics rather than fighting against them. Heavy, dense fill designs—such as large solid shapes, thick fills, or complex multi-layered patterns—should be avoided entirely. These designs add excessive weight and stiffness, turning a soft, flowing garment into a rigid, puckered panel.
Instead, opt for light, airy, and linear designs. Outline embroidery, redwork, delicate floral vine patterns, and monogramming with fine satin-stitch borders are excellent choices. These styles use minimal stitches, allowing the liquid satin to retain its natural movement and luster. Negative space within the design is highly beneficial, as it showcases the fabric’s reflective surface as an active part of the artwork.
Before starting your final project, always perform a thorough test on a scrap piece of the exact same liquid satin. Use the identical stabilizer, needle, thread, and design you plan to use for the finished piece. This trial run allows you to observe how the fabric behaves under stitching tension, check for any needle deflection or snagging, and adjust your machine’s tension settings. If you notice even minor puckering during the test, consider adding an extra layer of lightweight stabilizer, reducing the stitch tension, or choosing a less dense design.
Frequently Asked Questions (FAQ)
Can I use a standard universal needle for liquid satin?
A standard universal needle is not recommended for liquid satin. Universal needles have a slightly rounded tip designed to work on a wide variety of fabrics, but on tightly woven synthetic filaments, this rounded point can push against the threads rather than piercing them cleanly. This often results in snags, pulled threads, and skipped stitches. For the best results, use a sharp Microtex or specialized embroidery needle, and always test it on a scrap piece first to verify clean penetration.
How do I safely remove hoop marks from liquid satin?
To safely remove hoop marks or minor indentations from liquid satin, use gentle steam rather than direct dry heat. Hold a garment steamer or a steam iron a few inches away from the fabric, allowing the steam to relax the fibers. Never press a hot iron directly onto synthetic liquid satin, as the high heat can easily melt or scorch the fibers. Gently massage the steamed area with your fingers to restore the smooth texture, or press the fabric from the reverse side using a low-heat setting and a clean pressing cloth as a protective barrier.

Community discussion
Share your experience or ask a question. Comments are reviewed before publication.