
Quick Guide to Choosing Modeling Clay
Choosing the right modeling clay is the most critical decision in any sculpting or crafting project. The material you select dictates not only how easily you can shape your piece, but also whether the finished item will survive as a permanent keepsake, function as a usable dish, or remain a temporary, reusable prototype. Because different clays rely on completely distinct chemical bases, they cannot be substituted for one another without altering the entire workflow and outcome.
Four primary categories dominate the market: air-dry clay, polymer clay, ceramic clay, and plasticine. Each type is defined by its curing or drying method, final durability, capacity for fine detail, and the equipment required to process it. Understanding these core differences ensures you do not waste time or money on a medium that cannot deliver the results your specific project demands.
The ideal choice depends entirely on your project’s end use. If you are crafting lightweight decorative items at a kitchen table, your needs will differ vastly from someone throwing functional, food-safe dinnerware on a wheel or sculpting high-precision miniatures. By matching your creative goals to the physical properties of each clay type, you can avoid common frustrations like cracking, melting, or structural failure.
Products mentioned in this guide
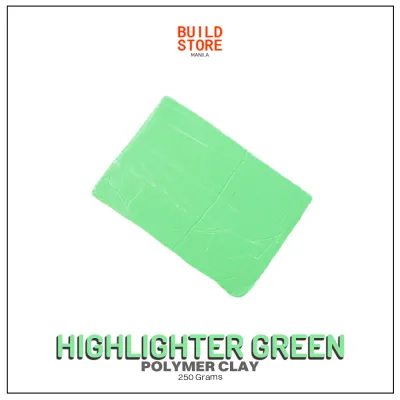
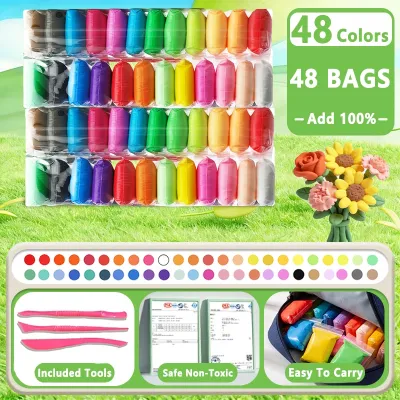
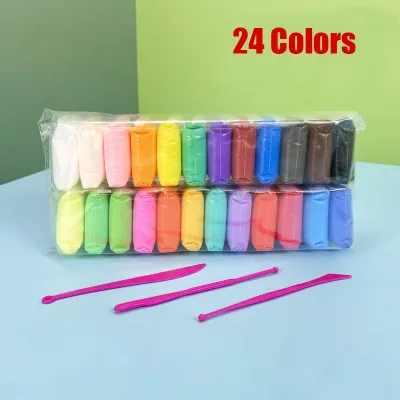
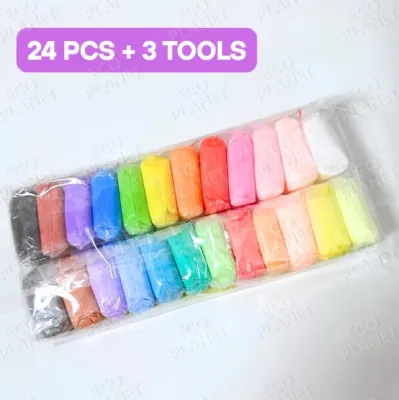
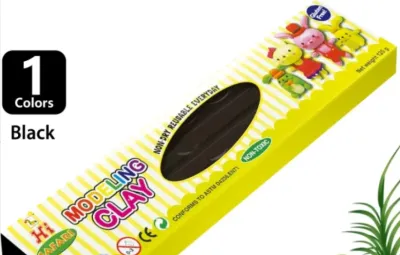
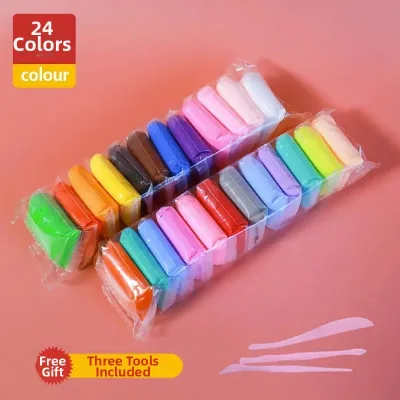
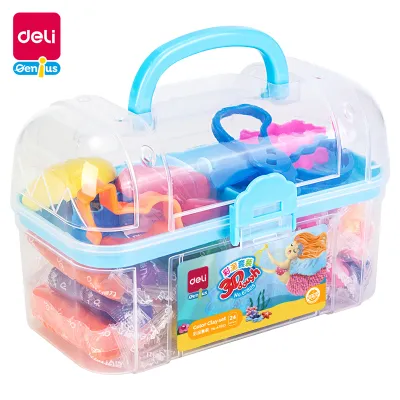
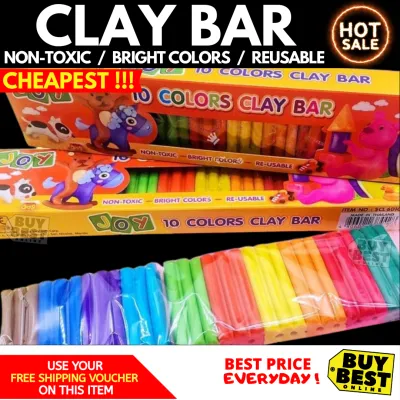
Prices are valid at publication and may change. Please refer to the product page for the latest price.
Air-Dry Clay: Best for Beginners and Simple Crafts
Air-dry clay is a highly accessible, water-based medium that hardens naturally at room temperature without the need for specialized heating equipment. Because it requires no baking or kiln firing, it is a staple in classrooms, home craft spaces, and beginner studios. Its soft, pliable texture makes it exceptionally easy to manipulate with basic hand tools or bare fingers, providing an immediate entry point into three-dimensional art.

This user-friendly nature makes air-dry clay perfect for school projects, basic hand-built sculptures, decorative jewelry trays, and lightweight hanging ornaments. It can be rolled out flat, stamped with textures, or molded over simple armatures. Once fully dried, the surface possesses a matte, plaster-like finish that readily accepts acrylic paints, watercolors, and markers, allowing for easy customization.
However, air-dry clay has significant structural limitations that crafters must consider before starting. Because it relies on the evaporation of water to harden, the material remains inherently porous and structurally delicate compared to baked or fired clays. It is not waterproof and will degrade or turn back into mud if exposed to standing water. Furthermore, air-dry clay is never food-safe or liquid-safe, even after applying multiple coats of commercial sealant or epoxy resin.
To achieve successful results with air-dry clay, proper handling and drying techniques are essential:
- Moisture Management: Keep a small spray bottle of clean water nearby to mist the clay occasionally, preventing it from drying out and cracking while you are still shaping it.
- Internal Support: For thick or top-heavy sculptures, build a lightweight internal support structure (an armature) out of aluminum foil or wire to reduce the volume of clay needed, which minimizes shrinkage and cracking.
- Controlled Drying: In tropical environments with high humidity, drying times will naturally extend beyond the standard 24 to 48 hours; avoid the temptation to speed up the process with hair dryers or direct sunlight, as uneven heating causes rapid, uneven shrinkage and severe cracking.
- Protective Sealing: Once the piece is completely dry and painted, apply a high-quality acrylic varnish or polyurethane sealant to protect the surface from dust, ambient moisture, and physical wear.
Polymer Clay: Ideal for Detailed Jewelry and Miniatures
Polymer clay is a synthetic modeling medium formulated from polyvinyl chloride (PVC) pigment, plasticizers, and binders. Unlike water-based clays, it does not dry out when exposed to air, allowing artists to work on intricate designs over days or even weeks without rush. To transform from a soft paste into a durable, slightly flexible solid, polymer clay requires precise temperature control in a standard home oven or toaster oven.
The outstanding characteristic of polymer clay is its ability to hold incredibly fine detail without shrinking or warping during the curing process. This precision makes it the premier choice for crafting intricate jewelry, delicate beads, dollhouse miniatures, and highly detailed figurines. Because it is available in a vast spectrum of pre-pigmented colors, artists can blend custom shades, create complex patterns using canning techniques, or mimic natural stones like jade and turquoise.
Working with polymer clay requires specific preparation and handling techniques to ensure structural integrity:
- Conditioning: Before sculpting, the clay must be thoroughly kneaded and warmed—a process called conditioning—to activate the plasticizers, which prevents the finished piece from being brittle after baking.
- Color Blending: You can mix different solid colors together to create smooth gradients, or blend in mica powders, metal leaf, and alcohol inks for specialized surface effects.
- Specialized Tooling: Utilizing sharp, flexible tissue blades, needle tools, and dedicated acrylic rollers or manual pasta machines allows for clean cuts and uniform sheet thicknesses.
Safety and handling boundaries are paramount when working with synthetic polymer materials. Always cure the clay in a well-ventilated room, and use an external oven thermometer to verify that your oven matches the manufacturer’s specified temperature, as overheating can release irritating fumes. Never use kitchen utensils, baking sheets, or food-preparation surfaces for clay work if they will later touch food; instead, dedicate specific glass, ceramic, or metal tiles to your crafting. Additionally, cured polymer clay remains sensitive to extreme heat, so avoid storing finished items in places like a hot car dashboard, where temperatures can rise enough to soften or warp the PVC structure.
Ceramic Clay: For Functional Pottery and Wheel Throwing
Ceramic clay consists of natural, earth-mined clay bodies mixed with water and minerals, requiring extreme heat in a specialized kiln to undergo a permanent chemical transformation. This is the traditional medium of pottery, divided into three primary categories: earthenware, stoneware, and porcelain. Each category features distinct mineral compositions and fires at specific temperature ranges, with earthenware firing at lower temperatures and porcelain requiring the highest heat to achieve vitrification.
This medium is unmatched for creating functional, food-safe, and highly durable everyday items such as coffee mugs, dinner plates, soup bowls, and large structural garden vessels. It is also the primary material used for wheel throwing, where clay is centered on a spinning wheel to create symmetrical, hollow vessels. The physical strength of fired ceramic clay allows it to withstand daily use, microwave heating, and dishwasher cleaning, provided it has been glazed and fired correctly.
However, the path from raw clay to finished ceramic involves a steep learning curve and a significant investment in equipment and space. You cannot cure ceramic clay in a home oven; it must be fired in a kiln at temperatures ranging from 800°C to over 1300°C. This process typically requires access to a local pottery community studio, commercial firing services, or a dedicated home studio setup equipped with specialized ventilation and heavy-duty electrical wiring.
Understanding the multi-stage firing process is critical for any aspiring potter:
- Greenware Stage: The raw clay is shaped and allowed to dry completely to a "bone dry" state, during which it is incredibly fragile and must be handled with extreme care.
- Bisque Firing: The bone-dry piece undergoes its first kiln firing, driving out chemically bound water and turning the clay into a porous, durable ceramic state that is ready to accept glaze.
- Glazing: Liquid glazes—formulated from glass-forming minerals and colorants—are applied to the bisqueware via dipping, brushing, or spraying to create a decorative, waterproof, and food-safe glass coating.
- Glaze Firing: The glazed piece is fired a second time at a higher temperature, melting the glaze into a smooth, impervious surface and fully vitrifying the underlying clay body.
- Shrinkage Allowance: Potters must calculate and plan for significant shrinkage, as ceramic clays typically lose 10% to 15% of their original wet size during the drying and firing stages.
Plasticine: Perfect for Animation and Reusable Sculpting
Plasticine, also known as oil-based clay, is a non-hardening modeling material made from a combination of clay minerals, oils, and waxes. Because it contains no water, it does not dry out, crack, or shrink when exposed to the air, remaining permanently pliable and reusable indefinitely. This unique property makes it an invaluable tool for projects where the clay must be constantly reshaped, adjusted, or reclaimed for future use.
The primary applications for plasticine center on temporary, iterative, or motion-based creative work. It is the industry standard for stop-motion animation (often referred to as claymation), where characters must be subtly repositioned frame by frame without drying out under hot studio lights. It is also extensively used by industrial designers for physical mockups, by FX artists for sculpting mold-making masters, and by students for practicing anatomical structures.
Despite its versatility, plasticine has clear limitations that prevent its use for finished, permanent displays. Because it cannot be cured or hardened, any physical impact can easily deform or ruin a completed sculpture. Additionally, the oil-based composition makes the surface difficult to paint directly with standard water-based acrylics, and the material will soften or melt if exposed to high ambient temperatures—a critical consideration in tropical climates where un-air-conditioned rooms can easily compromise a soft sculpture.
To maximize the utility of plasticine in your workshop, consider these practical handling tips:
- Temperature Control: If the clay is too stiff to work with, gently warm it in your hands, place it near a mild heat source, or knead it under a warm lamp to soften the wax binders.
- Surface Smoothing: To achieve a pristine, glass-like finish on your sculptures, lightly brush the surface with a small amount of mineral spirits, isopropyl alcohol, or baby oil to dissolve and smooth out finger marks.
- Mold Compatibility: When using plasticine to create masters for silicone mold-making, ensure the clay is sulfur-free, as sulfur-containing clays will chemically inhibit the curing process of platinum-cure silicones.
How to Match the Clay to Your Project Needs
Selecting the correct clay requires balancing your creative goals against your available workspace, budget, and access to specialized equipment. To help you make an informed decision, the table below compares the four primary clay types across key performance and handling dimensions.
| Clay Type | Curing/Drying Method | Durability & Water Resistance | Detail Capability | Equipment & Investment | Best Suited For |
|---|---|---|---|---|---|
| Air-Dry Clay | Air exposure (24–72 hours) | Low; remains porous and fragile; water-soluble unless sealed | Moderate; prone to cracking on very fine edges | Low; requires no special tools or heat sources | Beginner crafts, school projects, simple decorative items |
| Polymer Clay | Home oven (110°C–130°C) | High; water-resistant and slightly flexible after baking | Excellent; holds microscopic details and complex patterns | Moderate; requires a dedicated oven, thermometer, and basic tools | Detailed jewelry, miniatures, small figurines, beads |
| Ceramic Clay | Kiln firing (800°C–1300°C) | Very high; fully waterproof and food-safe when glazed | High; allows for elegant wheel-thrown or hand-built forms | High; requires a kiln, pottery wheel, and studio access | Functional dinnerware, mugs, large sculptures, traditional pottery |
| Plasticine | Non-hardening (remains pliable) | None; permanently soft and sensitive to heat and physical contact | Moderate to High; highly responsive to fine sculpting tools | Low; requires only basic sculpting tools and storage bags | Stop-motion animation, temporary mockups, mold-making |
Before purchasing any modeling clay, walk through this pre-purchase verification checklist to ensure the product matches your safety and functional requirements:
- Verify Safety Certifications: For general home use, school projects, or activities involving children, always check the packaging for recognized non-toxic safety seals, such as the ACMI AP (Approved Product) seal.
- Inspect Food-Safety Claims: If your goal is to create functional kitchenware, confirm that the clay body and the glazes you select are explicitly labeled as lead-free, food-safe, and dishwasher-safe after firing. Never assume a sealant makes air-dry or polymer clay safe for food contact.
- Check Material Compatibility: If you plan to paint your finished piece, ensure your chosen clay accepts your intended paint type; for example, air-dry clay works beautifully with acrylics, while polymer clay requires water-based acrylics rather than oil-based paints, which can degrade the plastic over time.
- Evaluate Storage Requirements: Air-dry and ceramic clays must be stored in airtight plastic bags with a damp paper towel to prevent them from drying out or molding in humid tropical conditions. Conversely, polymer clay must be kept in a cool, dry place away from direct sunlight to prevent premature hardening or crumbling.
Frequently Asked Questions (FAQ)
Is modeling clay safe for children?
Yes, many modeling clays are highly safe for children, but safety depends entirely on the specific product type and adult supervision. Parents and educators should look for packaging marked with recognized non-toxic certifications, such as the ACMI AP seal, which indicates the material has been toxicologically evaluated and contains no harmful substances. Air-dry clay and specific kid-friendly polymer clays are excellent choices for younger crafters, but adult supervision remains essential for any curing processes, such as baking polymer clay in a home oven or using sharp sculpting tools. Traditional ceramic clays and professional-grade glazes often contain heavy metals or fine silica dust, meaning they should only be handled in well-ventilated, dedicated studio spaces under trained guidance.
Can I make air-dry clay completely waterproof and food-safe?
No, you cannot make air-dry clay completely waterproof or food-safe, regardless of the sealant, varnish, or epoxy resin you apply. While commercial polyurethane or acrylic sealants can make the surface highly water-resistant and protect it from dust or light splashes, the underlying water-based clay body remains porous and structurally unstable when wet. Over time, moisture can penetrate micro-cracks in the sealant, causing the clay to soften, warp, or harbor bacterial and mold growth. Because these sealants and the clay itself are not certified food-safe, air-dry clay should never be used to make functional plates, mugs, bowls, or any items that will come into direct contact with food, beverages, or saliva.
Why did my clay crack or break after drying or baking?
Clay cracking or breaking is almost always caused by uneven moisture loss, trapped air, or incorrect curing temperatures. For air-dry clay, rapid drying caused by direct sunlight, fans, or heaters forces the outer layer to shrink faster than the wet core, resulting in deep surface cracks. For polymer clay, baking at an incorrect temperature is the primary culprit; too low a temperature prevents the PVC from fusing fully, leaving the piece brittle and crumbly, while too high a temperature burns the plastic and ruins the structural integrity. To prevent these failures, ensure your sculptures have a uniform thickness, use internal armatures to reduce clay bulk, knead the clay thoroughly to eliminate trapped air bubbles, and allow air-dry pieces to dry slowly in a cool, shaded area.
Community discussion
Share your experience or ask a question. Comments are reviewed before publication.