
Finding the perfect sticker paper for your Niimbot B21 Pro is the key to creating crisp, long-lasting labels for your journals, pantry jars, or small business packaging. Because this portable device relies on direct thermal printing technology, it does not use traditional ink cartridges or toner. Instead, it requires specialized heat-sensitive paper rolls that fit precisely within its compact internal compartment. Choosing incompatible paper not only leads to wasted supplies and faint prints but can also cause mechanical jams or strain the printer’s motor.
To make an informed choice, you must understand the physical dimensions, material properties, and sensor requirements of your device. In tropical climates like the Philippines, where high humidity and warm temperatures can accelerate the degradation of thermal coatings and adhesives, selecting the right material is even more critical. By matching your projects with the correct paper type and configuring your settings properly, you can ensure smooth feeding and vibrant, smudge-free prints every time.
Understanding Your Printer's Physical and Technical Limits
Direct thermal printing is a highly efficient process that uses a heated print head to activate chemical color-formers embedded within the sticker paper itself. This means that standard sticker papers designed for inkjet or laser printers will not work with this device. If you attempt to feed regular paper through, the print head will apply heat, but no image or text will appear because the paper lacks the necessary thermal-reactive layer. Furthermore, running rough or uncoated papers through the machine can cause abrasive wear on the delicate glass surface of the print head, leading to permanent hardware damage.
Products mentioned in this guide
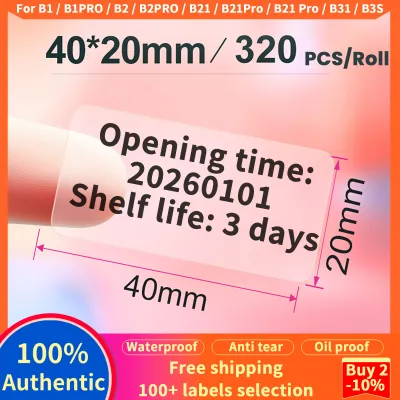
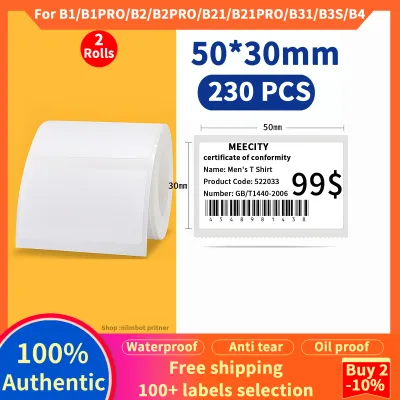
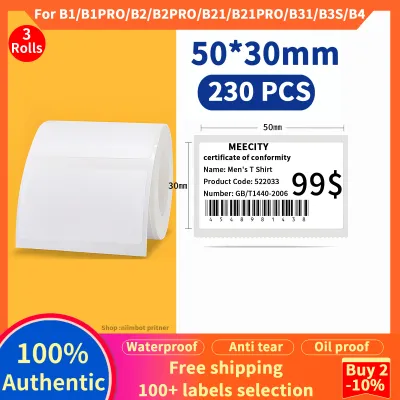
Prices are valid at publication and may change. Please refer to the product page for the latest price.
The physical dimensions of the printer’s paper compartment dictate the exact rolls you can use. The Niimbot B21 Pro is designed to accommodate rolls with a maximum width of 50mm (approximately 2 inches). Any roll exceeding this width will physically block the compartment door from closing or bind against the side walls, preventing the feeding motor from turning. Additionally, you must pay close attention to the outer diameter of the roll and the size of the inner plastic core. Even if a roll is 50mm wide, if it contains too many meters of paper, the outer diameter will be too large to sit freely within the cradle, causing the paper to pinch and jam.
Another technical factor is the printer’s sensor mechanism. The device uses an optical sensor to detect where one label ends and the next begins. This is typically achieved by reading the gap between die-cut stickers or detecting a black mark printed on the back of the liner paper. If you use a continuous roll of sticker paper, the sensor must be configured to measure length by motor steps rather than looking for physical gaps. Understanding how these sensors interact with your paper backing ensures that your designs align perfectly with the edges of each sticker, preventing off-center prints and wasted labels.
Selecting Compatible Thermal Materials and Adhesives
When browsing for sticker paper, you will encounter two primary material categories: standard thermal paper and synthetic thermal films. Standard thermal paper is highly economical and works beautifully for temporary labeling, such as organizing daily planner pages, labeling short-term storage boxes, or printing shipping details. However, standard paper is highly sensitive to environmental factors. Exposure to moisture, direct sunlight, or friction can cause the printed image to fade quickly, and the paper itself can tear easily.

For more demanding applications, synthetic thermal options—such as polyethylene terephthalate (PET) or polypropylene (PP) films—are highly recommended. These synthetic stickers offer excellent water resistance, oil resistance, and tear resistance. In the humid conditions of the Philippines, synthetic labels are ideal for kitchen organization, bathroom toiletries, or outdoor gear, as they will not turn mushy or peel away when exposed to condensation. To verify the water resistance of a new roll, you can perform a simple trial: print a test pattern, submerge the labeled item in water for a few hours, and observe if the image bleeds or if the edges of the sticker begin to lift.
The adhesive backing is another critical component to match to your specific project. Permanent adhesives form a strong, lasting bond with surfaces like cardboard, glass, and hard plastics, making them perfect for storage bins or product packaging. If you are labeling delicate items like book covers, handmade journals, or reusable containers, look for removable or repositionable adhesives. These allow you to peel the sticker away cleanly without leaving a sticky residue or tearing the underlying surface. When working with adhesives, always wash your hands to prevent skin oils from weakening the glue, and clean the target surface thoroughly with isopropyl alcohol to remove dust and grease before application.
If you have an unmarked roll of sticker paper and are unsure if it is compatible with direct thermal printing, you can perform a quick, safe friction test. Place the paper on a flat, hard surface with the printable side facing up. Using the edge of a clean plastic card or your fingernail, draw a rapid, firm stroke across the paper. The friction generates a small amount of localized heat; if the paper is direct thermal, a dark grey or black streak will appear along the path of the stroke. If the paper remains completely white, it lacks the thermal-reactive coating and cannot be used in your printer.
Matching Label Sizes and Roll Formats to Your Projects
Sticker rolls are generally available in two formats: continuous rolls and pre-cut die-cut labels. Continuous rolls are essentially long ribbons of adhesive thermal paper that allow you to print labels of any length. This format is incredibly versatile for printing decorative borders, long lists, or custom-sized text banners for your scrapbooks. After printing, you simply use the printer’s built-in tear bar to cut the paper to your desired length.
Pre-cut die-cut labels, on the other hand, come pre-shaped on a continuous backing liner. These are available in a wide variety of fixed dimensions, such as 40mm x 30mm or 50mm x 30mm, often featuring rounded corners for a clean, professional look. Die-cut labels are highly efficient for repetitive tasks like printing price tags (for example, displaying a price like ₱150 for local craft fairs), organizing spice jars, or creating uniform name tags. Because the printer’s sensor detects the physical gap between these pre-cut stickers, each print job is automatically aligned, ensuring that your text and graphics are perfectly centered on every single label.
To avoid feeding issues, always verify the outer roll diameter before purchasing third-party paper. The roll must sit comfortably in the internal cradle with enough clearance to rotate freely. If a roll is wound too tightly or has too much paper, the outer layers will press against the top cover of the compartment. This pressure creates friction that overloads the feeding motor, resulting in compressed prints where the text looks squished, or causing the printer to stop entirely with a paper jam error. If you find yourself with an oversized roll, you can manually unwind a few meters of paper onto an empty core until the roll fits comfortably inside the compartment.
Step-by-Step Guide to Loading and Configuring Your Stickers
Loading your sticker roll correctly is the first step to achieving flawless prints. Begin by turning off the printer to prevent accidental feeds. Open the paper compartment cover by releasing the latch. If there is an old core inside, remove it. Take your new roll of thermal sticker paper and identify the printable side, which is the smooth, chemically coated outer surface. Place the roll into the cradle so that the paper feeds from the bottom of the roll, ensuring the printable side faces the thermal print head when the cover is closed.
Next, adjust the physical paper guides inside the compartment. These guides slide inward to hold the roll centered and prevent it from shifting side-to-side during printing. Slide the guides until they snugly hug the edges of the roll, but do not make them so tight that they pinch the paper and restrict its movement. Pull a small leader of the sticker paper—about 10mm—out of the compartment, ensuring it lies flat across the rubber roller and the tear bar. Close the compartment cover firmly until you hear a distinct click, indicating the latch is fully engaged.
Once the paper is physically loaded, turn on the printer and open the companion app on your mobile device. Ensure your Bluetooth connection is active and the printer is paired. In the app, create a new label template and input the exact dimensions of the loaded sticker paper. If you are using pre-cut die-cut labels, select the “Gap” or “Label” paper type. For continuous rolls, select “Continuous”. To calibrate the sensor, press the printer’s power button once quickly, or tap the alignment option in the app. The printer will feed a small amount of paper to locate the first gap, aligning the print head precisely with the start of the sticker.
Before hitting print, take a moment to adjust the print density and speed settings within the app. Standard thermal paper prints best at a medium density setting, which preserves the life of the print head while delivering clear text. If you are using thicker synthetic films or colored sticker papers, you may need to increase the print density to ensure the heat penetrates the material sufficiently to create a dark, crisp image. Conversely, printing at excessively high density settings on thin paper can cause the ink to bleed or the paper to stick to the print head, so it is always best to perform a single-label test print first.
Troubleshooting Feeding and Print Quality Issues
Even with careful preparation, you may occasionally encounter feeding or print quality issues. If the printer experiences a paper jam or a feeding error, open the compartment cover immediately. Check if the roll has shifted or if the paper guides have become loose, causing the paper to feed at an angle. If a sticker has peeled off inside the compartment and stuck to the roller, do not use sharp metal tools like scissors or tweezers to scrape it off, as this can permanently scratch the rubber roller or the thermal print head. Instead, gently peel the stuck label away using your fingers or a plastic scraper.
Faint prints, patchy text, or completely blank labels are usually caused by incorrect loading or dirty hardware. If the labels emerge completely blank, double-check that the roll is not loaded upside down; the thermal-sensitive side must face the print head to react to the heat. If the print is uneven or faint in certain areas, it often indicates that dust, paper fibers, or adhesive residue have accumulated on the thermal print head. This buildup acts as an insulating barrier, preventing heat from transferring efficiently to the paper.
To clean the print head safely, turn off the printer and open the compartment. Locate the print head, which is the narrow, dark glass strip near the paper exit. Lightly moisten a clean cotton swab with isopropyl alcohol (ideally 99% concentration). Gently wipe the swab across the print head in a single direction to remove any residue. Avoid using excessive liquid, and never touch the print head with your bare fingers, as skin oils can degrade the heating elements. Allow the alcohol to evaporate completely—usually about two minutes—before reloading your sticker paper and resuming your printing projects.
Frequently Asked Questions (FAQ)
Can I use third-party or generic thermal sticker paper?
Yes, you can use third-party or generic thermal sticker paper, provided the rolls match the physical dimensions, core size, and maximum width limits of your printer. However, you must verify if your specific printer model utilizes proprietary RFID chips or NFC tags embedded in the official roll cores. Some smart label printers use these chips to automatically detect the label size and material in the companion app. If your printer requires these chips, generic rolls without them may not be recognized automatically, requiring you to manually input the dimensions or bypass the automatic detection prompts within the app settings.
How should I store unused thermal sticker rolls?
To preserve the quality of your thermal sticker rolls, store them in a cool, dry, and dark place away from direct sunlight, high temperatures, and high humidity. In tropical environments like the Philippines, keeping unused rolls sealed in their original protective plastic packaging or a zip-top bag with a silica gel desiccant packet is highly recommended. Avoid exposing the rolls to organic solvents, plasticizers (found in some PVC folders), or direct heat sources, as these chemical and physical factors can prematurely activate the thermal coating, causing the paper to turn grey or the adhesive to lose its stickiness.
Community discussion
Share your experience or ask a question. Comments are reviewed before publication.