
Quick Answer: Which Paint Marker Should You Choose?
Choosing the right paint marker depends on your specific project surface and environmental conditions. If you need permanent, waterproof, and highly opaque marks on non-porous surfaces like glass, metal, or plastics, an oil-based paint marker is generally the most reliable choice. Conversely, if you are working on porous materials such as paper, canvas, or raw wood, and prefer easy cleanup with minimal odor, a water-based paint marker is typically more suitable.
Neither option may fit if your project requires specialized industrial marking, extreme heat resistance, or specific fabric-washing durability; in these cases, you must verify the manufacturer’s technical specifications for those niche needs. Before starting, always verify if your surface is highly textured, previously treated, or exposed to harsh outdoor elements like tropical humidity or heavy rain, as long-term adhesion depends strictly on the specific product label instructions.
Core Differences in Ink Composition and Behavior
The fundamental difference between these two writing instruments lies in the solvent used to carry the pigment. Oil-based markers utilize an organic solvent, which suspends heavy pigments in a durable binder. This composition results in a highly opaque, glossy, or semi-gloss finish that easily covers dark backgrounds with a single coat. Water-based markers, on the other hand, use water as the primary solvent, often mixed with acrylic polymers. This allows for a matte or satin finish that is highly vibrant on light backgrounds but may require multiple layers to achieve full opacity on darker surfaces.
Products mentioned in this guide
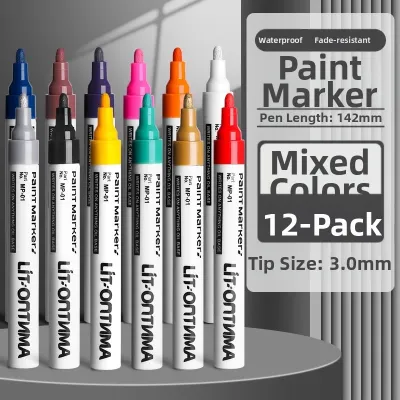
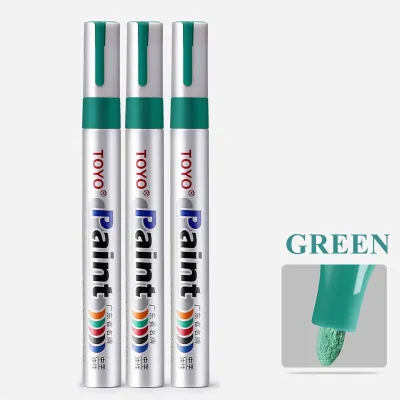
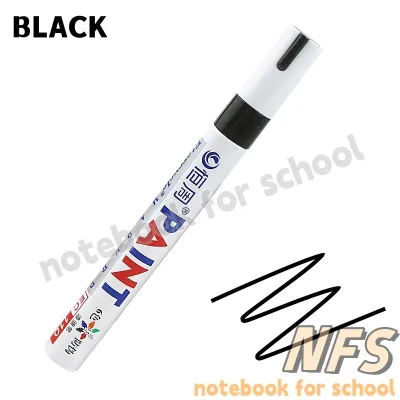
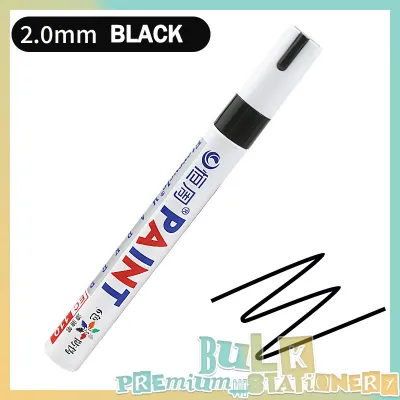
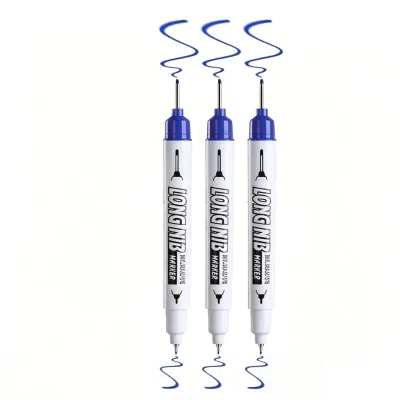
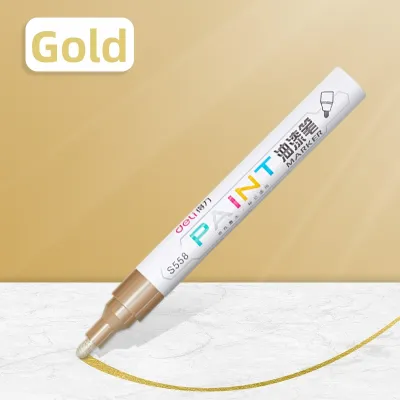
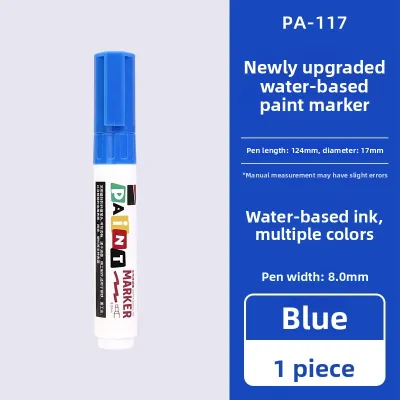
Prices are valid at publication and may change. Please refer to the product page for the latest price.

Drying times and blending capabilities also differ significantly due to these solvent bases. Water-based inks dry relatively quickly through evaporation, but they can often be blended, layered, or even slightly reactivated with a wet brush before they fully set. This makes them highly popular for artistic endeavors. Oil-based inks dry via solvent evaporation followed by a curing process, creating a tough, permanent film. Once dry, oil-based ink cannot be reactivated with water, making layering straightforward without risk of lifting the underlying color, though blending them smoothly requires rapid work or specialized blending mediums.
Most paint markers utilize a valve-action mechanism to control ink flow. When you press the nib down, an internal valve opens to saturate the tip. Because oil-based inks have a higher viscosity and density, they require a robust valve system to prevent clogging, especially in humid environments. Water-based inks flow more freely, but they can still pool if the valve is pressed too aggressively.
Let’s look at a quick comparison of their key attributes:
| Attribute | Oil-Based Paint Markers | Water-Based Paint Markers |
|---|---|---|
| Ink Base | Organic solvent / Oil | Water / Acrylic polymer |
| Ideal Surfaces | Glass, metal, plastic, glazed ceramic | Paper, raw wood, canvas, cardboard |
| Primary Cleanup | Mineral spirits, rubbing alcohol, or acetone | Soap and water (while wet) |
| General Odor Level | Distinct, strong solvent odor | Low to negligible odor |
| Drying Time | Moderate (cures over hours) | Fast (evaporates in minutes) |
Surface Compatibility and Ideal Project Applications
Understanding how your target material interacts with moisture is the key to choosing the right paint marker. Surfaces are broadly categorized as porous or non-porous, and this physical property dictates how well the ink adheres and how long the design will last under daily wear.
When to Use Oil-Based Paint Markers
Oil-based paint markers excel on non-porous materials where water-based alternatives struggle to grip. If you are decorating glass jars, labeling metal storage bins, customizing plastic phone cases, or painting glazed ceramic mugs, the solvent-based formula binds tightly to these smooth surfaces. The resulting paint layer resists water, smudging, and light abrasion, making it highly suitable for outdoor items like garden plant labels or exterior signage exposed to tropical downpours.
These markers are also the preferred choice for high-wear objects that are handled frequently, such as keychains or hand tools. However, because the curing process involves chemical cross-linking, you must allow the ink to cure fully according to the manufacturer’s instructions. Always check the product label for specific surface compatibility claims, as certain plastics or treated metals may require specialized surface preparation to ensure the paint does not peel over time.
When to Use Water-Based Paint Markers
Water-based paint markers are the ideal choice for porous materials that naturally absorb liquid. When applied to paper, cardboard, raw wood, canvas, or sketchbooks, the water-based ink sinks slightly into the fibers, creating a highly stable and permanent bond without bleeding through the page as easily as solvent-based inks. This makes them a staple for indoor crafts, bullet journaling, and fine art canvas paintings.
The working properties of water-based ink allow for excellent color blending, shading, and layering techniques. You can apply one color, let it dry, and paint directly over it with another color without dissolving the first layer, or blend them while wet for smooth transitions. If you plan to use these markers on textiles or clothing, always check the product label for specific washability claims, as some formulas require heat-setting with an iron to remain permanent through laundry cycles.
Working Environment: Odor, Cleanup, and Safety Checks
Your physical workspace plays a major role in determining which marker type is practical and safe to use. Oil-based paint markers emit a distinct, strong solvent odor due to the evaporating organic compounds. Working with these markers requires a well-ventilated area, such as an open garage, a room with active fan circulation, or outdoors. This is particularly important in warm, humid climates where indoor air can quickly become saturated with solvent fumes.
In contrast, water-based paint markers are virtually odorless and do not require specialized ventilation, making them highly suitable for shared indoor spaces, classrooms, or small home offices. Cleanup is similarly straightforward: wet water-based ink washes off skin, brushes, and work surfaces easily with simple soap and water. Once dry, however, it may require light scrubbing or rubbing alcohol to remove. Oil-based spills, on the other hand, are highly stubborn and require commercial solvents like mineral spirits, rubbing alcohol, or acetone for removal from tools and hard surfaces, and can easily stain clothing permanently.
Before starting any project, always check the product labels for safety certifications, age-appropriateness, and toxicity warnings. Because solvent-based markers contain organic chemicals, they are generally not recommended for young children or for use in poorly ventilated school environments. Ensure you select markers that align with the safety needs of everyone sharing your creative space.
Step-by-Step Selection Checklist for Your Project
To ensure your project turns out exactly as planned, follow this practical selection and preparation framework before making a purchase or starting your work.
Step 1: Identify the Surface and Exposure Examine your target material closely. Determine if it is porous (like raw wood or paper) or non-porous (like glass or polished metal). Next, consider the environmental exposure: will the finished piece be subjected to daily handling, high humidity, rain, or direct sunlight? For outdoor or high-wear non-porous items, prioritize oil-based markers. For indoor paper crafts, canvas art, or temporary window displays, opt for water-based markers.
Step 2: Select the Appropriate Nib Size Paint markers come in various tip styles, ranging from extra-fine plastic nibs to broad chisel felt tips. Choose an extra-fine or fine tip (around 0.7mm to 1mm) for detailed outlining, writing, or intricate patterns. Select a medium bullet tip (around 2mm to 3mm) for general coloring and bold lines. For large filling areas or signage, a broad chisel tip (8mm or larger) will save time and ensure even coverage.
Step 3: Read and Follow Priming Instructions Unlike standard felt-tip pens, paint markers require priming to activate the ink flow. Shake the marker vigorously with the cap securely on to mix the pigment and solvent inside. Gently press the nib down vertically on a scrap piece of paper several times until you see the ink saturate the tip. Additionally, check the manufacturer’s instructions regarding the need for a protective topcoat or sealant to protect your finished design from scratches and UV fading over time.
Frequently Asked Questions (FAQ)
Can you use water-based paint markers on glass or plastic?
Yes, you can apply water-based paint markers to glass or plastic, but the design will not be naturally permanent. Because these surfaces are non-porous, the water-based ink sits on top of the material rather than soaking in, making it highly susceptible to scratching, smudging, or washing off with water. If you choose to use them for temporary decorations, such as window art, they are excellent because they clean up easily with a damp cloth. For permanent designs, you must check the manufacturer’s label for specific adhesion guidelines, which often involve applying a clear protective acrylic sealant spray or baking the item in a home oven to cure the paint.
Do oil-based paint markers require a protective sealant?
While oil-based paint markers are inherently water-resistant and highly durable once fully cured, they may still require a protective sealant depending on how the object is used. For decorative items that sit on a shelf, a sealant is generally unnecessary. However, for high-friction items like hand-painted mugs, outdoor signs exposed to heavy rain, or customized automotive parts, applying a clear topcoat can significantly extend the lifespan of your work. Always allow the oil-based ink to cure completely—often up to several days—before applying a sealant, and verify compatibility by testing the sealant on a small, inconspicuous area first to ensure it does not dissolve or smear the paint.
Community discussion
Share your experience or ask a question. Comments are reviewed before publication.