
Choosing between oven-baked polymer clay and air-dry clay is one of the first major decisions you will face when starting a sculpting or crafting project. The core difference lies in how they harden: polymer clay requires controlled heat in an oven to cure permanently, while air-dry clay relies on natural evaporation over time. This fundamental distinction affects everything from how long you can work on your piece to its final durability, weight, and detail retention.
Understanding these material properties helps you select the right medium for your creative goals. Whether you are crafting intricate jewelry in a humid tropical climate or molding large decorative bowls on your kitchen table, matching the clay to your workspace and equipment ensures a successful, stress-free crafting experience.
What Is Oven-Baked Polymer Clay?
Oven-baked polymer clay is a synthetic modeling material composed primarily of a plastic polymer base, plasticizers, and color pigments. Unlike traditional earth clays or water-based alternatives, it does not contain water. Because of this composition, it requires exposure to a specific, controlled temperature range to undergo a chemical process called polymerization, which fuses the particles together into a durable, solid plastic state.
Products mentioned in this guide

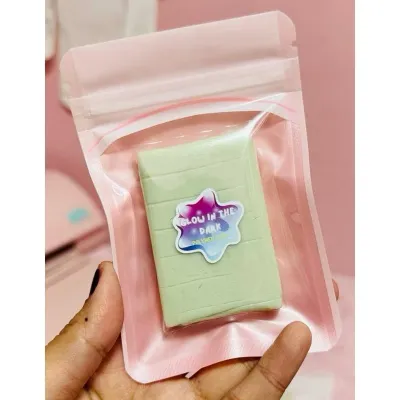
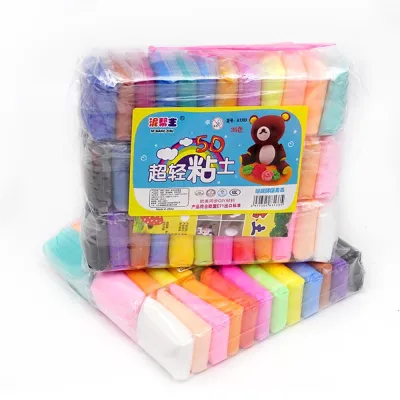
Prices are valid at publication and may change. Please refer to the product page for the latest price.
One of the most appealing characteristics of this material is its indefinite workability. Because it contains no water to evaporate, it will not dry out or stiffen when left on your work surface, even if left uncovered for weeks or months. This allows crafters to work at their own pace, pausing projects without worrying about the material cracking or hardening prematurely.
However, achieving a successful finish depends entirely on the curing process. The final strength, flexibility, and safety of the cured piece rely strictly on following the manufacturer’s specified temperature and baking duration. Under-baking leaves the clay brittle and prone to breaking, while over-baking can cause discoloration, bubbling, or the release of irritating fumes.
Key Differences Between Oven-Baked Polymer Clay and Air-Dry Clay
To choose the best material for your workspace, it is helpful to compare how these two clays behave during preparation, sculpting, and finishing.

- Curing Mechanism: Polymer clay requires a heat source, typically a home oven or toaster oven, to cure at temperatures usually ranging between 110°C and 135°C. In contrast, air-dry clay hardens naturally at room temperature as its water content evaporates into the surrounding air.
- Workability and Open Time: Because air-dry clay begins drying as soon as it is exposed to air, you have a limited window of time to sculpt, smooth, and join pieces. You must work quickly or periodically mist the clay with water to keep it pliable. Polymer clay offers unlimited open time, allowing you to refine intricate details, create complex patterns, and store unfinished pieces indefinitely.
- Shrinkage and Structural Integrity: As air-dry clay loses its water content during the drying process, it naturally shrinks, often by 5% to 10% or more. This shrinkage can lead to warping, cracking, or pulling away from internal armatures. Polymer clay experiences negligible shrinkage during baking, meaning the dimensions and details you sculpt are exactly what you get after curing.
- Post-Curing Modifications: Once fully baked and cooled, polymer clay becomes a dense, slightly flexible plastic that can be sanded, drilled, carved, and painted with water-based acrylics. Air-dry clay cures to a porous, wood-like or plaster-like texture. While it is highly receptive to paints and sealers, it remains susceptible to moisture and must be sealed to prevent softening.
How to Choose the Right Clay for Your Crafting Project
Selecting the ideal medium depends on your project’s scale, your available tools, and your crafting environment.
- Project Size and Thickness: Air-dry clay is highly suitable for larger, bulkier items like decorative bowls, planters, or thick sculptures. Its lightweight nature when dry makes large pieces manageable, and it does not require a massive oven to cure. Polymer clay is best reserved for small, highly detailed items such as jewelry, miniature figurines, charms, and intricate beads. Baking very thick polymer clay pieces can be challenging, as the outer layers may scorch before the core fully cures.
- Intended Use and Environment: Consider where your finished piece will live. In tropical climates with high relative humidity, air-dry clay can take several days to dry completely and may remain slightly soft if not stored in a dry area. Polymer clay, being waterproof once baked, is highly resilient against humidity and moisture, making it excellent for wearable items like earrings. Always check the manufacturer's label to verify the specific water resistance and durability limits of your chosen brand.
- Available Equipment: Polymer clay requires a reliable oven and a way to monitor heat. If you do not have access to a kitchen oven or a dedicated crafting toaster oven, air-dry clay is the practical choice since it requires zero specialized equipment.
- User Age and Workspace Constraints: Air-dry clay is generally more user-friendly for young children and beginners because it is non-toxic, easy to clean with water, and does not involve hot ovens. Polymer clay requires careful handling during the baking phase, making adult supervision essential for younger crafters. Additionally, working with polymer clay requires a clean, non-porous work surface, as the uncured plasticizers can damage varnished wood or certain plastics over time.
Essential Baking and Handling Guidelines for Polymer Clay
Baking is the most critical step in the polymer clay process. Following safe and precise handling methods ensures your creations are both durable and safe to handle.
- Read the Product Label: Always check the packaging of your specific clay brand for the exact temperature and time recommendations. Formulations vary significantly; some brands cure at lower temperatures, while others require higher heat to achieve maximum strength.
- Use an Oven Thermometer: Built-in dials on household ovens are notoriously inaccurate, often fluctuating by 10°C or more. To prevent ruined projects, place a standalone analog oven thermometer (which you can find at local baking supply shops for around ₱150 to ₱300) directly next to your clay on the baking tray to monitor the actual internal temperature.
- Conduct a Test Bake: Before committing your finished sculpture to the oven, bake a small, thin scrap piece of the same clay combination. This allows you to verify the curing time, check for smoothness, and test the post-bake flexibility without risking your main project.
- Ensure Proper Ventilation: Bake your clay in a well-ventilated room. Open nearby windows or turn on an exhaust fan to keep air moving. While polymer clay is non-toxic when baked according to instructions, overheating it can release irritating fumes.
- Protect Food Surfaces: If you must use your primary household oven, bake your clay inside a dedicated baking bag or between two aluminum foil pans clamped together. This contains any residue and prevents it from settling on the oven walls. Never use baking sheets or utensils for food preparation after they have been used for uncured clay.
- Handle Baking Mishaps Safely: If you notice your clay darkening, bubbling, or producing smoke, immediately turn off the oven. Open all windows, leave the room, and allow the oven to cool completely before cleaning. Consult the manufacturer's safety data sheet or guidelines for specific cleanup instructions.
Frequently Asked Questions (FAQ)
Can you mix oven-baked polymer clay with air-dry clay?
Mixing these two materials directly before curing is not recommended. Because air-dry clay hardens through water evaporation and polymer clay cures through heat, combining them into a single mixture will prevent both from curing properly. The water evaporating from the air-dry portion can cause the polymer clay to bubble, crack, or fail to fuse during baking.
If your project requires both materials, the best approach is to build them in stages. Sculpt and bake your polymer clay elements first. Once they have cooled completely, you can attach them to your air-dry clay base using a strong, compatible craft adhesive, or build the air-dry clay around the baked polymer pieces, allowing the air-dry portion to shrink and grip the baked insert naturally.
Why did my polymer clay crack or burn in the oven?
Cracking is usually caused by structural issues or rapid temperature shifts. If your sculpture has uneven thickness, the thinner parts will heat and expand faster than the thick sections, leading to stress fractures. Trapped air pockets inside the clay will also expand during baking and cause cracks or bubbles. To prevent this, ensure your clay is conditioned thoroughly, compress it to eliminate air bubbles, and use a core armature like crumpled aluminum foil for thick pieces.
Burning or darkening occurs when the oven temperature exceeds the manufacturer’s limit, or if the clay is placed too close to the oven’s heating elements. Always verify your oven’s actual temperature with a separate thermometer rather than relying on the dial. If your oven spikes, tenting your piece with a piece of folded aluminum foil can help shield it from direct radiant heat.
Community discussion
Share your experience or ask a question. Comments are reviewed before publication.