
To begin your drawing journey, you do not need an expensive, multi-piece art set. A complete beginner needs only three essential pencil grades to start drawing effectively: HB, 2B, and 4B. This minimal trio covers the entire spectrum of light sketching, mid-tone shading, and deep shadow work without overwhelming a novice. By focusing on a small, versatile selection, you can master the fundamental mechanics of hand pressure and line control before expanding your toolkit.
Graphite pencils are categorized by their hardness and darkness, which are determined by the ratio of clay to graphite in the core. While professional artists often use a wide array of specialized grades, starting with too many options can actually hinder your progress. Learning how to manipulate a few high-quality pencils teaches you how to extract a broad range of values from a single tool, laying a solid foundation for all future sketching endeavors.
The Essential Pencil Grades to Start Your Drawing Journey
When you step into a stationery shop, the sheer variety of drawing pencils can be intimidating. For a beginner, the most practical approach is to acquire a core starter trio consisting of an HB, a 2B, and a 4B pencil. Each of these grades serves a distinct, non-overlapping role in the drawing process, allowing you to complete a full sketch from the initial layout to the final dark accents.
Products mentioned in this guide
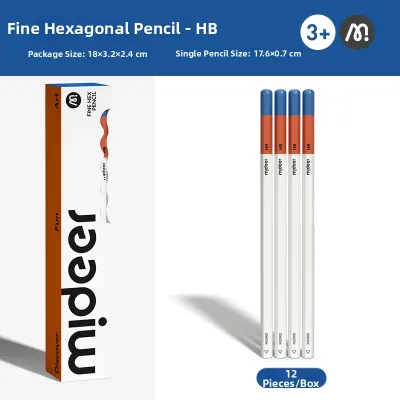
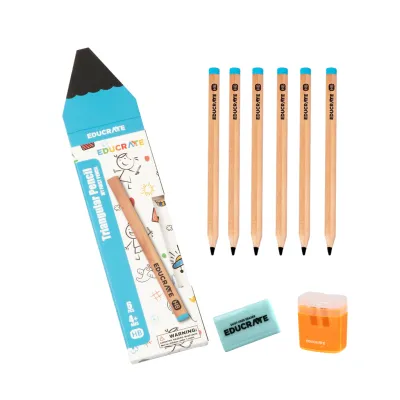
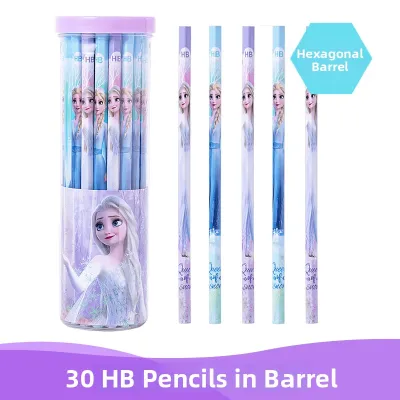
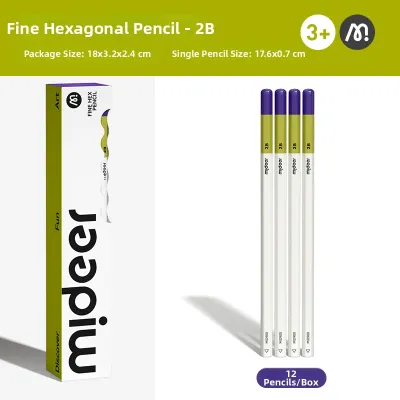
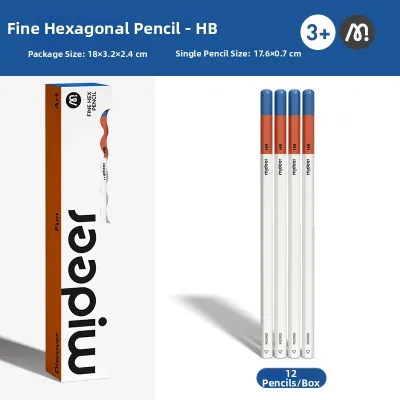
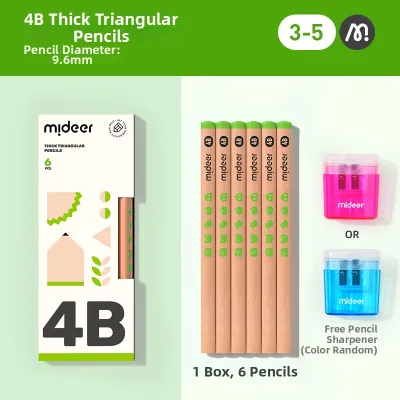
Prices are valid at publication and may change. Please refer to the product page for the latest price.
The HB pencil is the middle ground of the grading scale. It is relatively firm and leaves a light to medium gray mark, making it the perfect tool for drawing initial construction lines, mapping out proportions, and sketching light details that can be easily erased. Because it does not smudge easily, you can use it to establish your composition without worrying about muddying the paper.
The 2B pencil is the undisputed workhorse of sketching. It is slightly softer and darker than the HB, making it incredibly versatile for general drawing, defining contours, and laying down initial shading. A 2B pencil responds beautifully to changes in hand pressure, allowing you to transition smoothly from soft, delicate mid-tones to relatively dark lines with a single tool.
To achieve deep shadows and rich contrast, you will need a 4B pencil. This grade is significantly softer and contains more graphite, which allows it to deposit a thick, dark layer of pigment with minimal pressure. It is ideal for rendering the darkest areas of your subject, such as the pupils of eyes, deep crevices, or cast shadows, which are essential for making your drawing look three-dimensional.
Starting with this minimal range prevents decision paralysis and encourages you to focus on pressure control. When you only have three pencils, you are forced to explore how much tonal variety you can achieve simply by adjusting how hard you press against the paper. This is a critical artistic skill that cannot be developed if you constantly switch pencils every time you need a slightly different shade of gray.
While you might be tempted to use standard yellow school pencils for your initial drawing practice, they have notable limitations. Mass-produced writing pencils, which are typically rated as No. 2 or HB, are formulated for writing rather than blending. Their graphite cores often contain hard impurities that can scratch drawing paper, and their binders can leave a shiny, reflective residue that resists layering and makes smooth shading difficult to achieve.
Decoding the Pencil Grading Scale for Sketching
To make informed choices when expanding your collection later, it is essential to understand how the graphite grading system works. The scale is based on two letters: H and B. The letter H stands for “Hard,” indicating a lead that contains a higher proportion of clay binder and less graphite. The letter B stands for “Black,” indicating a soft lead with a higher concentration of graphite and less clay.

The numbers preceding these letters indicate the intensity of the characteristic. For example, a 6H pencil is extremely hard and leaves a very faint, precise line, while a 6B pencil is incredibly soft and leaves a dark, powdery mark. The standard HB grade sits right in the middle of this spectrum, balancing hardness and darkness, while the F (Fine) grade is slightly harder than HB and is designed to hold a sharp point for technical work.
Extreme grades on either end of the scale are usually skipped by beginners because they require specialized handling. Very hard pencils, such as 4H through 9H, are primarily used for technical drafting, architectural layouts, or precise perspective grids. Because they contain so much clay, their tips are incredibly sharp and rigid; if a beginner presses too hard with a 4H pencil, the sharp point can permanently gouge or slice the paper fibers, making those lines impossible to erase.
Conversely, extremely soft pencils like 7B through 9B are highly powdery and wear down to a blunt nub within a few strokes. These grades deposit a massive amount of loose graphite on the paper, which smudges at the slightest touch of your hand. For a beginner who is still learning how to position their hand and control their workspace, using these ultra-soft grades often results in messy, smeared drawings and stained fingers.
Environmental factors also play a role in how these grades behave on paper. In warm, humid tropical climates like the Philippines, paper fibers naturally absorb ambient moisture from the air. This moisture softens the paper slightly and increases its friction, which can cause soft B pencils to deposit even more graphite than usual, leading to rapid smudging. Harder H pencils may slide or feel slightly slick on damp paper, making a reliable mid-range set like HB, 2B, and 4B the most stable choice for consistent performance.
Furthermore, the relationship between pencil hardness and paper texture, or “tooth,” is crucial. Smooth paper has very little tooth, meaning it cannot hold onto large amounts of soft graphite, causing dark shades to slide off or smudge easily. Textured sketchbook paper has a rougher tooth that grabs the graphite, allowing soft 4B and 6B pencils to show their full tonal depth, though it will also wear down your pencil points much faster.
How to Choose Between Individual Pencils and Beginner Sets
When you are ready to purchase your first drawing tools, you will face a choice between buying pre-packaged sketching sets or selecting individual pencils. While pre-packaged sets look appealing and convenient, they often contain a wide range of grades that a beginner simply does not need. A typical 12-piece set might include pencils from 5H to 5B, leaving you with several hard H pencils that will likely sit unused in your drawer.
Buying individual pencils, often referred to as “open stock,” is generally the most practical and cost-effective method for beginners. Individual high-quality drawing pencils typically cost between ₱30 and ₱100 each at local stationery shops. By purchasing just an HB, a 2B, and a 4B individually, you can spend a fraction of the cost of a full set while ensuring that every single pencil you own is actively helping you learn.
Another advantage of buying individual pencils is the ability to test different wood casings and lead formulations. Different manufacturers use different proprietary blends of graphite and clay. Some brands are known for having a slightly scratchier, more precise feel, while others are celebrated for their buttery smoothness. Buying a few individual pencils from different brands allows you to discover which texture feels most comfortable to your hand.
When purchasing pencils from local stationery shops or online marketplaces, there are several physical details you should inspect to ensure you are getting a quality product. First, look closely at the end of the pencil to check if the graphite core is perfectly centered within the wooden casing. If the core is off-center, one side of the wood will be thinner than the other, which causes the lead to break repeatedly whenever you try to sharpen it.
Second, inspect the wooden casing for any visible cracks, splits, or warping along the length of the pencil. A warped pencil will not spin smoothly in a sharpener, which can lead to uneven sharpening and broken tips. If you are purchasing online, make sure to buy from reputable sellers who package their pencils securely in protective boxes or thick bubble wrap, as rough handling during transit can shatter the fragile graphite core inside the wood before you even open the package.
Matching Pencil Grades to Foundational Drawing Techniques
To build your sketching skills, you must learn how to match your selected pencil grades to specific stages of your drawing. Every drawing should begin with a light, erasable layout. For this stage, use your HB pencil with a very light touch. Hold the pencil further back from the tip—near the middle or end of the barrel—to naturally reduce the downward pressure of your hand.
This loose grip allows you to sweep your arm and wrist freely, creating soft construction lines to establish the basic shapes, proportions, and angles of your subject. Because the HB grade contains more clay, these lines sit lightly on the surface of the paper. If you make a mistake in your initial proportions, you can easily sweep them away with a soft eraser without leaving dark smudges or deep physical grooves in the paper fibers.
Once your proportions are correct, switch to your 2B pencil to define the actual contours of your subject and begin building the mid-tones. For this stage, you can transition to a standard writing grip, holding the pencil closer to the tip for better control. Use the 2B to block in the medium-gray shadow shapes, using gentle, overlapping strokes to create smooth gradients and transitions from light to shadow.
As you shade, pay close attention to your hand pressure. Instead of pressing down hard to make a dark mark, try layering your strokes gradually. Layering soft graphite builds up a rich, deep value without damaging the paper. If you press too hard with a soft pencil, you will “burnish” the paper, flattening its texture and creating a shiny, slick surface that refuses to accept any more graphite, making further shading impossible.
Finally, bring out your 4B pencil to apply the deepest shadows and sharpest details. Use this soft grade sparingly to create focal points and high contrast. For example, in a portrait, you would use the 4B to darken the pupils, the line where the lips meet, and the deepest shadows under the jaw. This stark contrast against the lighter HB and 2B tones is what gives your drawing a sense of weight, drama, and realistic depth.
Testing and Maintaining Your Graphite Pencils
To get the best results from your drawing tools, you should establish a simple routine for testing their performance and keeping them in optimal condition. Before starting a major drawing, it is highly recommended to create a personal swatch chart in your sketchbook. This simple exercise helps you understand exactly how your specific pencils interact with your chosen paper.
To create a swatch chart, draw a row of small squares for each pencil grade you own. In each square, shade a gradient starting from the absolute lightest tone you can produce with a feather-light touch, gradually increasing pressure until you reach the darkest tone the pencil can achieve. This visual reference shows you the unique tonal range of each pencil under your local lighting conditions and prevents you from accidentally grabbing a 4B when you meant to use an HB.
Proper sharpening is another crucial aspect of pencil maintenance, especially for soft leads like 2B and 4B. Because soft leads contain less clay binder, they are highly fragile and can easily snap under the twisting force of a dull sharpener. If you use a standard manual sharpener, ensure the blade is sharp; if you feel the sharpener resisting or chewing up the wood, replace the blade or the sharpener immediately.
Many artists prefer using a sharp utility knife or a specialized pocket knife to sharpen their drawing pencils. This technique allows you to shave away the wood casing gradually, exposing a long segment of the graphite core without putting twisting stress on the lead. You can then use a piece of fine sandpaper to shape the exposed graphite into a sharp point for fine lines, or leave it flat on one side for broad, sweeping shading strokes.
Finally, protect your pencils from physical shocks. Dropping a drawing pencil onto a hard tiled floor can easily fracture the delicate graphite core inside the wooden casing into multiple tiny pieces. When this happens, the lead will continually fall out of the pencil every time you try to sharpen it. To prevent this frustration, store your pencils in a dedicated pencil wrap, a padded pouch, or a sturdy metal tin, and never let them roll freely off your drawing table.
Frequently Asked Questions (FAQ)
Can I use standard school pencils for drawing practice?
Yes, you can certainly use standard school pencils (typically yellow No. 2 pencils, which are equivalent to the HB grade) for quick gesture drawings, contour line exercises, and basic sketching practice. They are excellent for training your hand-eye coordination and learning basic proportions without worrying about wasting expensive art supplies.
However, standard school pencils have distinct limitations when it comes to finished artwork. Their graphite cores are often formulated with cheaper binders that can feel scratchy and leave inconsistent, uneven marks on the paper. Additionally, because they do not go darker than a medium gray, you will struggle to achieve the deep, rich shadows and high contrast necessary to make your drawings look truly three-dimensional.
Do I need mechanical pencils or wooden pencils as a beginner?
For a beginner learning to draw and shade, traditional wooden pencils are highly recommended over mechanical pencils. Wooden pencils allow you to expose a long section of the graphite core, which you can use at a shallow angle to create broad, soft shading strokes and smooth tonal gradients. By varying the angle of the pencil and the pressure of your hand, you can easily transition from a thick, soft line to a thin, sharp detail.
Mechanical pencils, which typically use very thin leads (such as 0.5mm or 0.7mm), are excellent tools for technical drafting, architectural drawings, and rendering extremely fine, consistent details. However, because the lead is so thin and always held at a steep angle, it is incredibly difficult to use a mechanical pencil for smooth, wide-area shading, and pressing too hard will cause the delicate lead to snap instantly.
How often should I upgrade my pencil set?
There is no need to rush into buying more pencils until you feel that your current tools are actively limiting your artistic progress. You will know it is time to expand your selection when you can no longer achieve the specific visual effects you want. For example, if you are drawing a subject with intense shadows and find that your 4B pencil cannot get dark enough without burnishing the paper, it is time to add a softer grade like a 6B or 8B to your collection.
Similarly, if you transition to highly detailed, realistic drawings that require incredibly pale, precise textures—such as light blonde hair or delicate skin tones—you may want to add a harder pencil like a 2H to your toolkit. As a general rule, expand your collection one or two pencils at a time based on your specific project needs, rather than buying large, expensive sets containing grades you may never use.
Community discussion
Share your experience or ask a question. Comments are reviewed before publication.