
For your very first perler bead project, the best choice is to buy standard-sized (5mm) cylindrical beads. They are widely considered the industry default because they strike the ideal balance between ease of handling, color availability, and structural durability. Choosing standard cylindrical beads ensures that you can easily find compatible pegboards, follow online templates, and complete your project without the frustration of handling microscopic parts or dealing with limited color options.
While the vibrant world of fuse beads offers various sizes and novelty shapes, starting with the wrong specifications can quickly lead to ruined designs and wasted materials. Understanding how bead sizes, shapes, and local environmental factors interact will help you select the exact materials you need for a successful first crafting experience.
Decoding Perler Bead Sizes: Mini, Standard, and Biggie
Perler beads, also known universally as fuse beads, are categorized into three primary size specifications. Each size serves a distinct target audience and dictates the overall complexity, physical footprint, and difficulty level of your crafting project.
Products mentioned in this guide
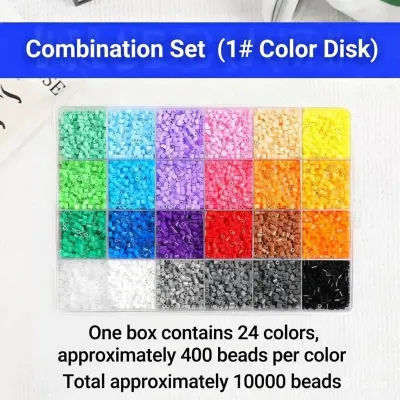
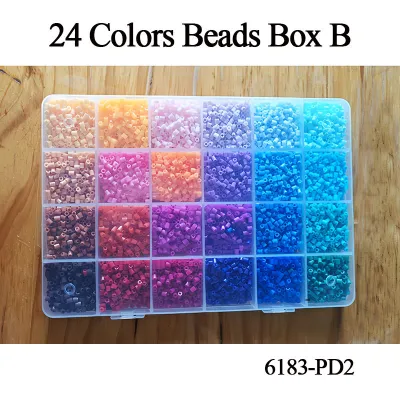
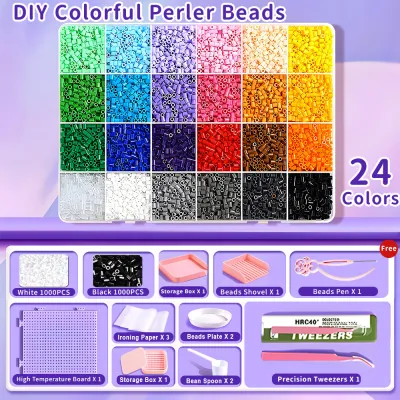
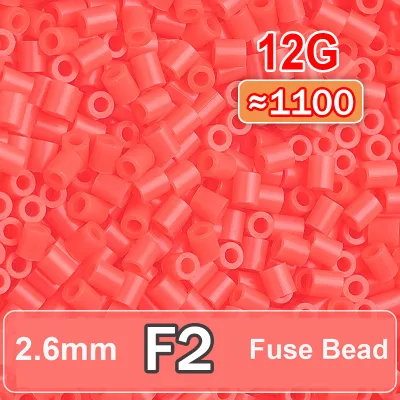
Prices are valid at publication and may change. Please refer to the product page for the latest price.
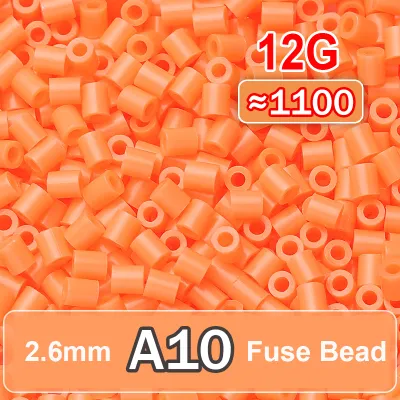
Mini beads measure approximately 2.6mm in diameter. Because of their tiny footprint, they offer an exceptionally high pixel density, making them the preferred choice for creating highly detailed portraits, intricate jewelry, and delicate accessories. However, their miniature scale makes manual placement tedious and physically demanding. You cannot easily place them with bare fingers; instead, you must use precision metal tweezers. For absolute beginners, the high precision required can quickly lead to hand fatigue and frustration, making mini beads a challenging starting point.
Standard or regular beads measure approximately 5mm in diameter and represent the global standard for fuse bead crafting. They are large enough to be easily manipulated with your fingers or basic plastic tweezers, yet small enough to retain a satisfying level of detail for classic pixel art. Because standard beads are the most popular size, manufacturers offer them in hundreds of solid, translucent, glitter, and neon colors. If you are purchasing your first starter kit, standard 5mm beads provide the most forgiving learning curve and the widest selection of pre-made design templates.
Biggie or jumbo beads measure approximately 10mm in diameter. These oversized beads are designed primarily for toddlers, preschoolers, and individuals working on fine motor skill development. Due to their large physical dimensions, they are exceptionally easy to grasp and carry virtually no risk of accidental swallowing for older toddlers, though strict adult supervision is always required. The trade-off is that biggie beads have a very limited color palette and produce massive finished pieces, which makes them impractical for detailed crafts, keychains, or wearable items.
Standard Cylinders vs. Specialty Shapes: What Fits Your Pegboard?
When browsing arts and crafts stores, you will encounter two main structural categories: standard cylindrical beads and specialty geometric shapes. Understanding how these shapes behave under heat and how they align on a grid is crucial before making a purchase.

Standard cylindrical beads are hollow plastic tubes with uniform wall thickness and height. This classic shape is engineered specifically to slide smoothly onto the vertical pins of a matching pegboard. During the ironing process, the cylindrical walls melt downward and outward at an even rate, fusing together to form a structurally sound, uniform flat surface. To ensure your first project is successful and structurally durable, standard cylindrical beads should make up at least 95% of your initial purchase.
Specialty shapes, such as pre-molded stars, hearts, flowers, or squares, are occasionally sold in novelty variety packs. While they look appealing in the packaging, these shapes rarely align with the standard grid layout of a traditional pegboard. Trying to force specialty shapes onto a standard square grid will warp the design or leave large, weak gaps that fail to fuse properly. These specialty items usually require specialized, shape-specific pegboards or must be glued together freehand after ironing, making them a poor choice for beginners.
It is important to note that while a bead’s physical shape rarely alters its required melting temperature, it heavily dictates template compatibility and structural integrity. Standard cylinders provide predictable melting behavior, whereas irregular shapes can melt unevenly, leaving some areas over-processed and others completely unfused.
How to Match Bead Sizes to Your Specific Craft Project
Selecting the right bead size depends heavily on what you plan to create. Matching the physical properties of the bead to the functional demands of the finished object ensures your hard work does not break during daily use.
For keychains, bag charms, and coasters, standard 5mm beads are the optimal choice. The fused plastic of a standard-sized project is thick enough to withstand the daily wear and tear of being tossed into a bag or holding a warm beverage. Standard beads also align perfectly with common metal jump rings and split-ring keychain hardware, allowing you to convert your finished designs into functional accessories without needing specialized jewelry tools.
If your goal is to create highly realistic pixel art, detailed portraits, or complex patterns, mini 2.6mm beads are the superior medium. They function like higher-resolution pixels, allowing you to pack complex shading and gradients into a compact space. However, beginners should be prepared for a steep learning curve. Working with mini beads requires extended periods of concentration, which can cause significant eye strain and neck fatigue if your workspace is not properly illuminated.
For toddler sensory play, color-sorting activities, or large-scale wall art, biggie 10mm beads are highly effective. Their large size makes them excellent tactile tools for young children learning to identify colors and patterns. Because they cover a large surface area quickly, they are also ideal for projects with short attention spans, resulting in a fast, satisfying completion.
When constructing 3D structures like pen holders, small storage boxes, or tissue dispensers, standard 5mm beads are highly recommended. Three-dimensional perler bead projects rely on interlocking tabs that snap together at right angles. Standard beads provide the exact structural thickness and slight flexibility needed for these joints to hold under tension. Mini beads make these interlocking joints too thin and fragile, causing them to snap easily, while biggie beads create joints that are clumsy, loose, and excessively bulky.
Pegboard and Tool Compatibility: What Your Size Choice Dictates
Before finalizing your purchase, you must account for the secondary tools and equipment required for your chosen bead size. Buying beads without the matching accessories will prevent you from completing your project.
Pegboards are strictly size-exclusive. A standard 5mm pegboard has thick pins spaced exactly 5mm apart, which cannot accommodate mini beads (which will slip off the pins) or biggie beads (which are too wide to fit side-by-side). If you buy standard beads, you must buy standard pegboards; if you choose mini beads, you must purchase a dedicated mini-bead pegboard with ultra-thin, closely spaced pins. Always verify the millimeter specifications on the packaging of both the beads and the boards before checking out.
Ironing requires careful temperature calibration based on the thermal mass of the plastic. Because biggie beads contain more plastic, they require slightly longer exposure to heat and a medium-high iron setting to ensure the core fuses thoroughly. Conversely, mini beads have very little thermal mass and fuse almost instantly. If you use a standard household iron on a high setting, mini beads can easily over-melt, warp the underlying pegboard, or completely close up the center holes.
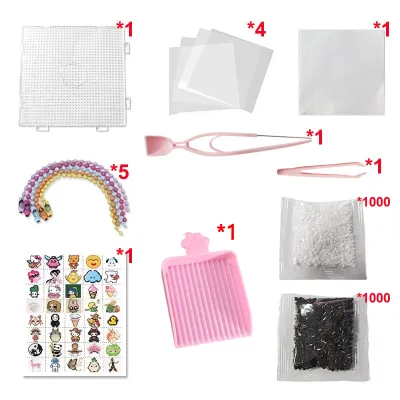
Your tool kit will also need to adapt to your bead size. Precision metal tweezers are absolutely mandatory for assembling mini bead designs, as static electricity and finger size make manual placement nearly impossible. For standard beads, tweezers are helpful but entirely optional, while biggie beads are best placed by hand.
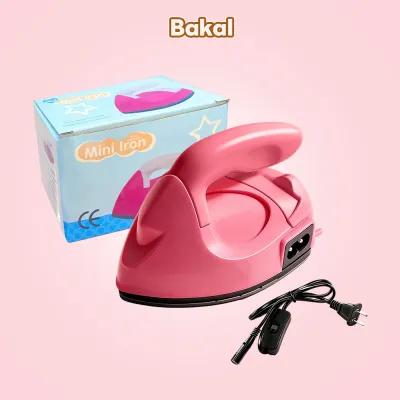
No matter which size you choose, never apply a household iron directly to the beads or the plastic pegboard. Always place a sheet of reusable ironing paper or high-quality kitchen parchment paper between the iron and your design. This protective barrier prevents melted plastic from ruining your iron’s soleplate and keeps the beads from sticking to the heating element.
Frequently Asked Questions (FAQ)
Can I mix different sizes of perler beads in one project?
You cannot mix different sizes of perler beads on a single pegboard during the layout phase because the pin spacing and bead diameters are incompatible. If you want to combine different sizes, you must assemble and iron the components separately, then join them afterward using a strong, flexible craft adhesive.
Are perler beads safe for young children?
Standard and mini perler beads present a severe choking hazard and should be kept away from children under three years old or anyone who still places objects in their mouth. While biggie beads are safer for early childhood development, an adult must handle the ironing process to prevent accidental burns from the hot iron.
How do I store perler beads in a humid climate?
In tropical regions with high relative humidity, such as the Philippines, plastic beads can absorb ambient moisture over time. When ironed, this trapped moisture rapidly vaporizes, causing unsightly steam bubbles, uneven melting, or a cloudy finish. To prevent this, store your beads in airtight plastic containers alongside a few rechargeable silica gel desiccant packets to keep them dry.
Community discussion
Share your experience or ask a question. Comments are reviewed before publication.