
Sand art painting offers a vibrant, tactile, and mess-friendly alternative to traditional wet paints in elementary school art classes. For teachers and school administrators in the Philippines, finding the right kits involves balancing creative appeal with classroom management, especially under local tropical conditions where high humidity can affect adhesive quality. Selecting the ideal sand art painting kits requires evaluating safety certifications, material completeness, and ease of cleanup to ensure a successful, stress-free lesson. By focusing on structured selection criteria, educators can source kits that keep young students engaged while keeping classrooms orderly.
Key Criteria for Choosing Classroom Sand Art Kits
When sourcing sand art painting kits for elementary students, safety must always be the primary consideration. Because children work closely with the sand, frequently touching it and potentially rubbing their eyes or faces, verifying safety certifications is essential. Look for kits that explicitly print non-toxic labels and compliance with international toy safety standards on their packaging. The sand should be dust-free and colored with organic, skin-safe pigments to prevent respiratory irritation or allergic reactions during use.
Age-appropriateness is another critical factor that directly influences both student success and classroom order. For lower elementary grades, kits should feature simplified, bold designs with large adhesive sections. The sand grains for this age group should be slightly coarser, making them easier to pinch and pour. For upper elementary students, you can introduce kits with finer sand grains and more intricate, detailed pre-cut patterns that challenge their fine motor skills and spatial reasoning.
Products mentioned in this guide
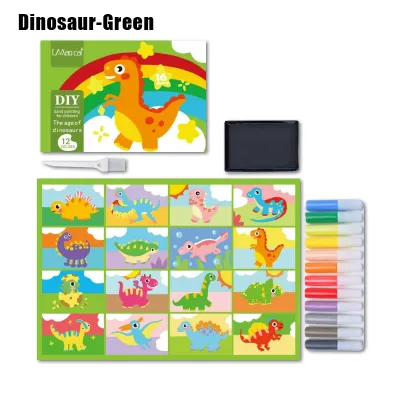
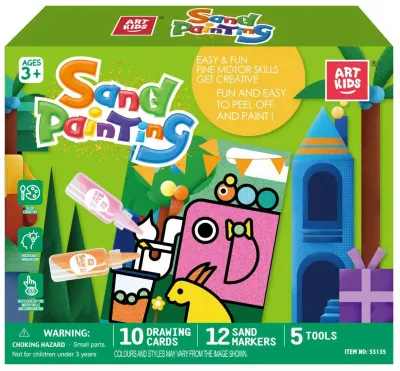
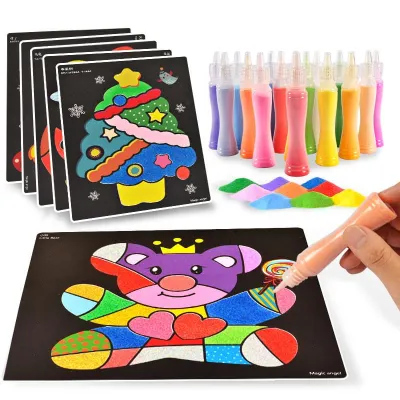
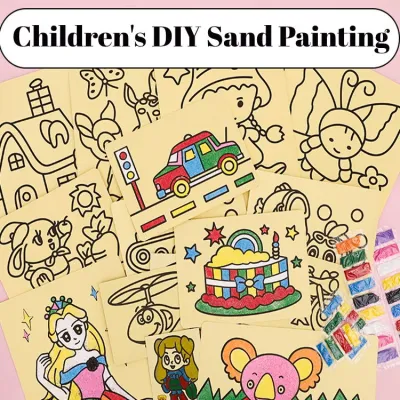
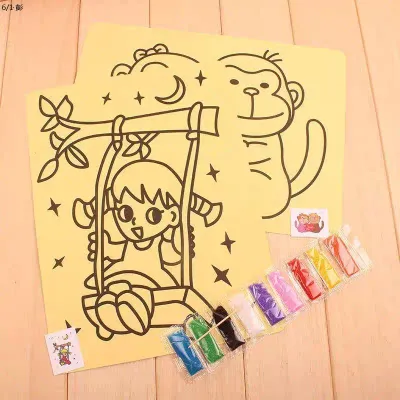
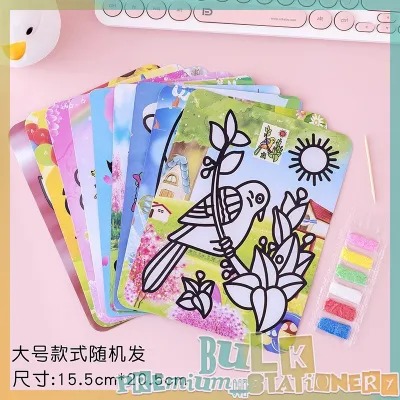
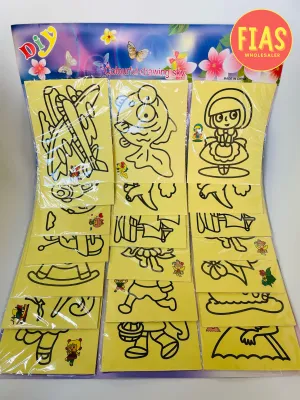
Prices are valid at publication and may change. Please refer to the product page for the latest price.
The structural durability of the adhesive boards is also vital for withstanding typical classroom handling. Flimsy paper backings tend to curl, warp, or tear easily, especially when students apply pressure to peel off the protective layers. In the Philippines, where seasonal humidity can soften paper products, opting for thick, rigid cardstock or heavy chipboard backings is highly recommended. A sturdy board ensures the project remains flat, preserving the adhesive’s integrity and allowing the finished artwork to be displayed proudly without sagging.
Evaluating Material Completeness and Usability
A successful classroom art session relies on seamless execution, which is only possible when your kits are truly complete. Before purchasing, verify that the kits contain all the essential application tools required for the activity. A complete kit should include wooden styluses or plastic peeling tools to help students lift the pre-cut sticker sections without tearing the backing. Spatulas or small plastic brushes are also incredibly useful for spreading the sand evenly across the sticky surfaces, ensuring full coverage.

The dispensing mechanism of the sand is a major factor in preventing classroom spills and waste. Kits that package sand in individual, resealable shaker bottles or squeeze tubes with precision tips are far superior to those using simple plastic bags. Shaker bottles allow students to control the flow of sand precisely onto the designated adhesive areas, reducing the likelihood of accidental dumps. If a kit only offers sand in bulk bags, teachers will need to budget extra time and resources to transfer the sand into reusable plastic cups or squeeze bottles before the lesson begins.
Furthermore, evaluate the variety and volume of sand colors provided in each kit. A diverse palette of vibrant primary, secondary, and neutral colors allows students to express their creativity fully. Ensure that the volume of sand supplied is generous enough to cover all the included boards, with a reasonable margin for the inevitable spills that occur in a classroom setting. The pre-cut board designs should feature a high-quality protective overlay film that peels off cleanly in distinct sections, preventing adjacent sticky areas from being exposed prematurely.
Safety and Cleanup Considerations for Young Students
Managing loose sand in a classroom of thirty or more energetic students requires a proactive approach to cleanup and safety. To mitigate spills, look for kits that include raised-edge work trays or deep plastic catch basins. These trays serve as contained workspaces where students can apply sand and shake off the excess without getting it on their desks or the floor. If trays are not included, teachers can substitute them with shallow cardboard box lids or large sheets of recycled paper to catch the runoff.
Establishing a structured cleanup routine is essential for maintaining classroom hygiene and conserving materials. Instruct students to gently tap their completed boards over a collection tray or a folded sheet of paper, which acts as a funnel to pour the excess sand back into its container. This leftover sand can be sorted by color or combined into a “rainbow mix” for future free-play art projects. Sweeping brushes and dustpans should be readily available, and students should be reminded to wash their hands thoroughly after the activity to remove any lingering sand particles.
Additionally, teachers must remain vigilant about potential choking hazards and physical safety. Some sand art kits include small decorative accessories, such as plastic gems, sequins, or hanging strings, which may pose a risk to younger students. Ensure that all components of the selected kits are appropriate for the specific age group you teach. It is also wise to establish a strict rule against blowing on the sand to clear excess, as this can send fine particles into the air and cause eye irritation; instead, teach students to use a gentle tapping motion.
How to Build a Shortlist for Your Art Curriculum
Building a practical shortlist of sand art painting kits involves balancing your school’s curriculum budget with smart procurement strategies. Begin by defining your budget constraints, calculating a target cost per student in Philippine Pesos (₱) to keep the project financially viable. Sourcing kits in bulk from local stationery wholesalers or reputable online marketplaces often yields significant discounts, making it easier to supply multiple classrooms or entire grade levels within your budget.
When evaluating options on online platforms, cross-reference the product descriptions with actual manufacturer specifications. Look for detailed listings that specify the exact dimensions of the adhesive boards, the weight of the sand provided, and the specific tools included. Reading customer reviews—especially those written by other teachers or parents—can provide valuable insights into the actual quality of the adhesive, the vibrancy of the sand, and how well the packaging survives transit.
Before committing to a large-scale purchase for your school, always conduct a pilot test with a single sample kit. Complete the project yourself or have a small group of students try it out to assess its usability. Pay close attention to how easily the protective film peels off, how well the adhesive holds up under local humidity, and how much sand is left over. This trial run allows you to identify any potential challenges, refine your classroom instructions, and ensure that the kits you choose will deliver a successful and frustration-free art lesson.
Frequently Asked Questions (FAQ)
Can regular craft sand be used instead of kit sand?
While regular craft sand can be used as a budget-friendly alternative, it often lacks the specific qualities required for successful sand art painting kits. Kit-specific sand is typically ground to a highly uniform grain size and treated to ensure vibrant, fade-resistant coloration that adheres smoothly to pre-glued boards. Regular craft sand may contain larger, heavier grains or uneven particles that struggle to stick to the adhesive, leading to patchy designs and excessive shedding. Additionally, standard craft sand might not undergo the same rigorous non-toxic certification processes as specialized school art supplies, making it less suitable for young children who have direct skin contact with the material.
How should unfinished sand art projects be stored?
Unfinished sand art projects must be stored flat in a cool, dry place to protect the exposed adhesive and prevent loose sand from shifting. In the humid climate of the Philippines, leaving adhesive boards exposed to the air for extended periods can cause the glue to lose its tackiness or absorb moisture, which prevents subsequent layers of sand from sticking properly. To safeguard incomplete work between class sessions, place the boards inside shallow cardboard trays or individual plastic folders, and cover them lightly with a sheet of wax paper or parchment paper to keep dust away. Avoid stacking unfinished projects directly on top of one another, as the weight can press loose sand into adjacent sticky sections and ruin the clean lines of the design.
Community discussion
Share your experience or ask a question. Comments are reviewed before publication.