
Working with vibrant red fabric is one of the most rewarding ways to create eye-catching garments and home decor, but it presents unique challenges that can frustrate even experienced sewists. Red dyes are notoriously unstable, often leading to severe color bleeding during pre-washing, sewing, or laundering. Additionally, many woven red fabrics, such as linen, cotton canvas, or rayon, tend to unravel rapidly along raw edges during handling. In warm, humid tropical climates like the Philippines, these issues are often amplified because ambient moisture and perspiration can accelerate dye transfer and weaken loose fibers. Successfully completing a red fabric project requires a systematic approach that addresses dye stability and edge integrity before the first stitch is sewn. By implementing targeted pre-treatment, precise cutting methods, and robust seam-finishing techniques, you can ensure your finished project remains vibrant and structurally sound.
Preparing Red Fabric to Prevent Color Bleeding
Before you begin cutting your pattern pieces, you must stabilize the dye in your red fabric. The first step is to locate and carefully read the manufacturer’s care label or purchase specifications. This label provides essential guidelines regarding fiber content, recommended water temperatures, and specific colorfastness warnings. Because different fibers absorb and release dyes differently, understanding whether you are working with a natural cotton, a delicate silk, or a synthetic polyester will dictate your entire preparation strategy.
Once you understand the fiber profile, perform a simple colorfastness test on a small, hidden scrap or corner of the fabric. Wet the scrap with warm water and press it firmly between two layers of clean, white cotton fabric or a heavy-duty white paper towel. Leave it under a heavy object for several minutes, then inspect the white material. If you observe any red or pink transfer, the dye is unstable and will require active treatment before it can be safely washed or sewn alongside other colors.
Products mentioned in this guide

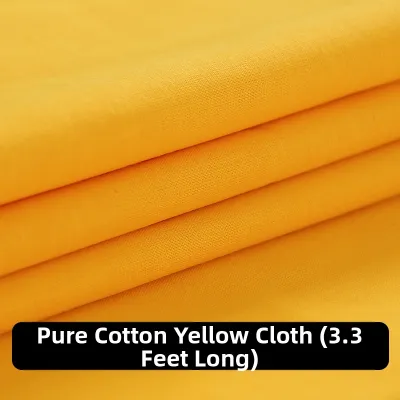
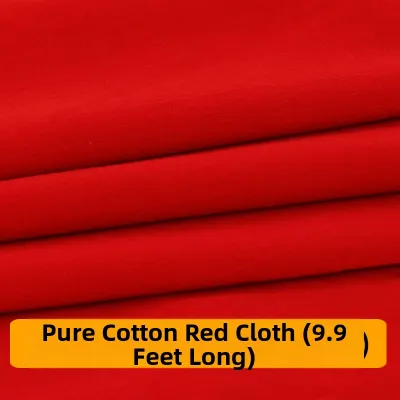
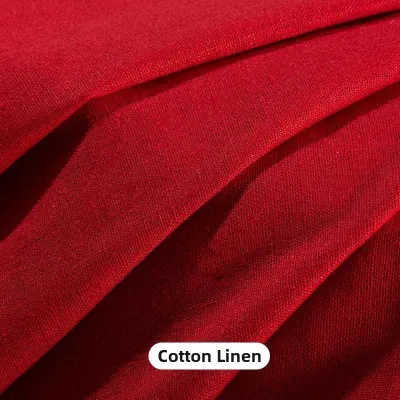
Prices are valid at publication and may change. Please refer to the product page for the latest price.
To address unstable dyes, consider investing in a commercial dye fixative, which typically costs under ₱300 at local craft stores or online marketplaces. Commercial cationic dye fixatives work by chemically binding to the loose dye molecules, locking them into the fiber structure of natural materials like cotton and rayon. Always follow the manufacturer’s instructions regarding water temperature, dilution ratios, and soaking times. If you are washing a large cut of fabric, adding several color catcher sheets to the washing machine drum can help absorb suspended dye particles before they can redeposit onto lighter areas of the fabric.
If the fabric continues to bleed heavily after multiple test washes and fixative treatments, stop and consult your fabric supplier or the manufacturer. Some low-quality or over-dyed fabrics contain excess pigment that cannot be permanently set at home. In these cases, it is best to reserve the fabric for single-color projects that will only be dry-cleaned, or to seek a higher-quality alternative to avoid ruining your sewing machine bed, ironing board cover, or adjacent garments.
Cutting and Handling Techniques to Minimize Fraying
Fraying occurs when the interwoven warp and weft threads of a fabric slip out of place along a cut edge. To minimize this unraveling from the very start, always use exceptionally sharp fabric shears or a freshly changed blade in your rotary cutter. Dull blades do not slice cleanly; instead, they crush and pull the fibers, loosening the weave and initiating the fraying process before you even move the pieces to your sewing table. Clean, precise cuts keep the yarn ends tightly packed, reducing immediate fiber loss.

For highly prone fabrics like loose-weave linen or lightweight rayon, applying a liquid fray preventer or a specialized clear fabric glue along the raw edges can provide temporary or permanent stability. Before applying any adhesive to your main pattern pieces, conduct a trial run on a scrap of the same red fabric. Observe how the adhesive dries; some formulas can leave a stiff, scratchy residue or cause dark, unsightly stains on delicate red fibers. Apply the product sparingly using a fine-tip applicator or a cotton swab, ensuring it only coats the very outer edge of the seam allowance.
Another effective strategy is to adjust your pattern layout to include generous seam allowances. If a pattern calls for a standard 1.5-centimeter seam allowance, consider increasing it to 2 centimeters for highly unstable fabrics. This extra margin acts as a buffer zone, ensuring that even if minor fraying occurs during handling, layout, and pinning, you will still have plenty of intact fabric left to sew a secure, structurally sound seam.
Sewing and Seam Finishing Strategies
Selecting the correct sewing machine needle is critical to maintaining the integrity of your red fabric’s weave. For tightly woven cottons or linens, a sharp universal or microtex needle in a size appropriate for the fabric weight will pierce the threads cleanly without causing snags or pulls. If you are working with a red knit fabric, opt for a ballpoint or stretch needle, which glides between the loops of the knit rather than cutting through them, preventing runs and structural failure.
Securing the raw edges of your seams is the most important step in preventing long-term fraying. If you own an overlocker, finishing the edges with a three- or four-thread overlock stitch is highly effective. For those using a standard sewing machine, a wide zigzag stitch or a multi-stitch zigzag along the edge of the seam allowance provides excellent protection. For delicate or high-end garments, a French seam is an elegant solution that completely encloses the raw edges within a double-folded seam, preventing any possibility of unraveling while creating a clean, professional interior finish.
Before sewing your actual garment or project, always test your machine’s tension and stitch length on a double-layered scrap of your prepared red fabric. Incorrect tension can cause the thread to pull too tightly, puckering the fabric and exposing the raw edges to increased friction, or it can leave loose loops that fail to hold the weave together. Adjust the stitch length to a standard 2.5 millimeters for medium-weight fabrics, and verify that the stitches are balanced and smooth on both the top and bottom of the seam.
Washing and Caring for Finished Red Fabric Projects
Once your red fabric project is fully assembled and finished, your laundering routine must be designed to preserve both the color vibrancy and the seam integrity. For the first few washing cycles, always wash the finished item separately or with very dark, similar colors. Even with proper pre-treatment, residual dye molecules can migrate during washing, and washing a red item with light-colored clothing can result in permanent pink staining.
Always refer back to the original fabric care guidelines when selecting water temperatures and drying cycles. Cold water is generally the safest choice for preserving red dyes, as warm or hot water can relax the fibers and release bound pigments. In the humid climate of the Philippines, line drying is a popular and energy-efficient option; however, you should avoid hanging vibrant red items in direct, intense sunlight. Strong UV rays can rapidly break down red dye molecules, causing uneven fading. Instead, dry your projects in a well-ventilated, shaded outdoor area or indoors near a breeze.
After the first few laundering cycles, take a moment to thoroughly inspect the interior seams and finished edges of your project. Look for any loose threads, signs of minor unraveling, or areas where the stitching may have weakened. Catching these issues early allows you to trim away loose fibers and apply a reinforcing stitch or a touch of fabric sealant before the fraying can compromise the structural integrity of the entire item.
Frequently Asked Questions (FAQ)
Can I use vinegar or salt to set the dye in red fabric?
Home remedies like vinegar and table salt are widely cited online, but they are not universally effective for setting dyes in modern commercial fabrics. Vinegar is an acid that can help set acid dyes, which are typically used on protein fibers like silk and wool. However, most commercial red cottons, linens, and rayons are treated with fiber-reactive or direct dyes, which require alkaline fixatives or specialized commercial chemical agents to stabilize. Relying on salt or vinegar on these cellulose fibers will not prevent bleeding and may even damage the fabric texture. For reliable results, always use a dedicated commercial dye fixative designed for your specific fiber type.
What should I do if the red fabric bleeds onto other fabrics during sewing?
If you notice red dye transferring onto adjacent fabrics, your sewing machine bed, or your hands during the assembly process, stop working immediately to prevent further contamination. Isolate the affected pieces and avoid pressing them with a hot iron, as heat can permanently set the transferred dye. To treat the stained areas, gently wash them using a commercial color run remover or a color-safe stain treatment, strictly following the product’s safety and usage instructions. Before resuming your project, thoroughly clean your sewing machine needle plate, presser foot, and ironing board cover with a damp cloth and mild detergent to remove any residual dye buildup.
Community discussion
Share your experience or ask a question. Comments are reviewed before publication.