
Choosing the right shoe marker is the defining factor between a stunning, long-lasting custom design and a messy, peeling disappointment. Footwear is subjected to constant flexing, friction, moisture, and dirt, meaning standard writing instruments simply will not hold up. The ideal marker depends entirely on the material of your shoes: acrylic paint markers excel on smooth leather, fabric-specific markers are best for porous canvas, and high-adhesion paint pens are required for rubber midsoles.
In tropical environments like the Philippines, high humidity and sudden rain showers present unique challenges for shoe customization. Excess moisture in the air can slow down drying times and interfere with how well an ink bonds to a surface. Understanding how different ink formulations interact with leather, canvas, and rubber ensures your creative designs remain vibrant and intact through daily wear.
Identifying Marker Ink Types for Shoe Customization
To select the right tool, you must first understand the chemical bases of common shoe markers. Acrylic-based paint markers are the most popular choice for customizers. They contain suspended pigment in an acrylic polymer emulsion, which dries to an opaque, plastic-like finish. This opacity makes them excellent for covering dark surfaces or creating bold, solid designs. Because they form a physical layer on top of the material, their flexibility depends heavily on the quality of the binder used in the ink.
Products mentioned in this guide
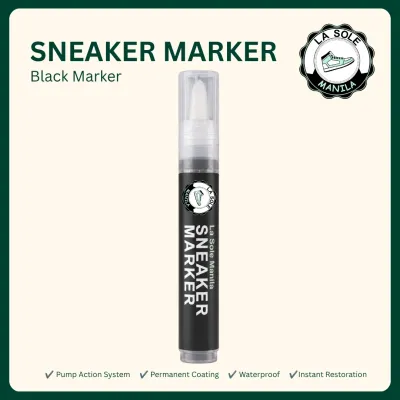
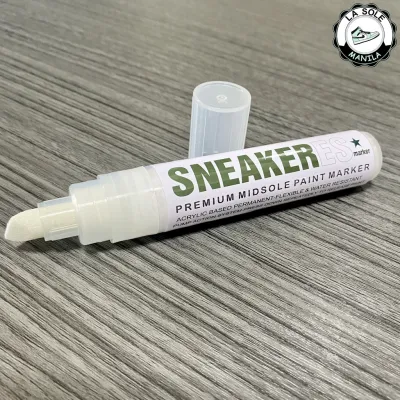
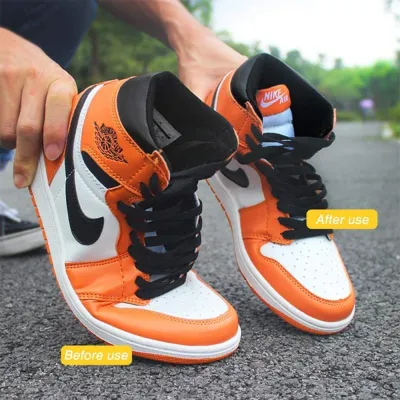
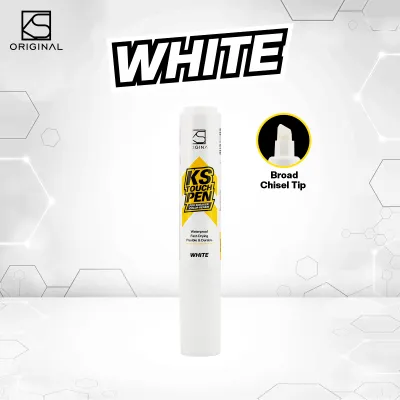
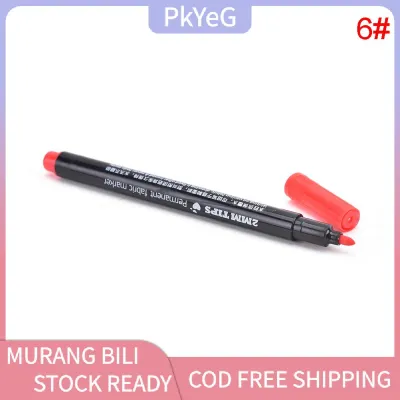
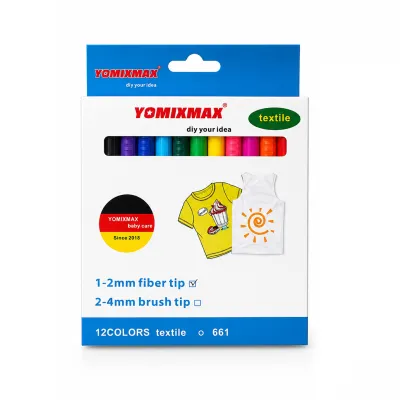
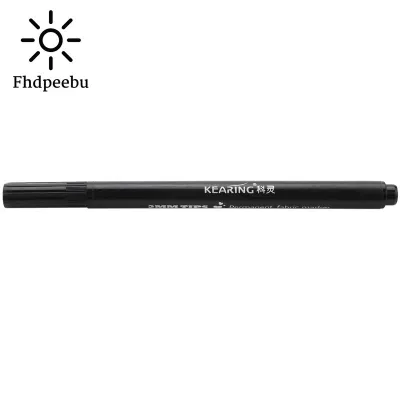
Prices are valid at publication and may change. Please refer to the product page for the latest price.
Alcohol-based markers, on the other hand, function more like dyes. The ink penetrates the material rather than sitting on top of it, resulting in a translucent finish that preserves the natural texture of the surface. While they dry incredibly fast, they are prone to bleeding on porous fabrics and will not show up on dark or black materials. Water-based markers are generally unsuitable for footwear customization; their pigments lack water resistance and will quickly bleed, smear, or wash away when exposed to puddles or rain.
When shopping for markers, always read the manufacturer labels carefully to verify their intended surfaces. Look for terms like “multi-surface,” “highly flexible,” or “waterproof once dry.” Pay close attention to the tip size and shape as well. Fine bullet tips are essential for outlining and detailed linework, while broader chisel or brush tips are better suited for filling in larger color blocks smoothly.
Matching Markers to Leather and Synthetic Uppers
Leather and synthetic leather uppers present a smooth, non-porous surface that undergoes extreme flexing with every step you take. If you use a marker with a rigid, brittle ink formula, the design will crack and peel within hours of walking. For these materials, flexible acrylic paint markers or specialized leather markers are highly recommended because they are formulated to bend without losing adhesion.

Proper surface preparation is critical when working with leather. Factory shoes are coated with a protective glaze or finish that repels moisture and dirt—and, unfortunately, marker ink. To ensure a strong bond, you must remove this factory barrier. Gently wipe the target area with a cotton pad soaked in a mild leather deglazer or high-concentration isopropyl alcohol. This process strips away the protective coating, leaving a clean, slightly matte surface that allows the ink to adhere directly to the leather fibers.
Before committing to your main design, always perform an adhesion and color payoff test on a hidden area of the shoe. The inside of the tongue or the lower heel seam are excellent spots for a trial run. Apply a small stroke of the marker, let it dry completely, and then gently flex the material. If the ink cracks, flakes, or rubs off easily, the surface may require further deglazing, or the marker formulation may not be compatible with that specific leather finish.
Avoid using water-based markers on leather entirely. Because leather is non-porous, water-based inks cannot sink into the material. Instead, they will pool on the surface, dry unevenly, and wipe away with the slightest touch of moisture, ruining your hard work.
Choosing Markers for Canvas and Woven Fabrics
Canvas, mesh, and other woven fabrics are highly porous, meaning they absorb liquids quickly. This absorbency requires a completely different approach than smooth leather. For these materials, fabric-specific markers or fluid acrylic-based pens are the ideal choice. These markers are designed to saturate the woven fibers, dyeing the fabric from within rather than forming a thick, stiff layer on top that could peel off when the fabric bends.
The primary challenge when working on canvas is managing ink absorbency and preventing bleed-through. Because the woven fibers act like a wick, ink can easily spread beyond your intended lines, causing blurry edges. To minimize this, use fabric markers designed with low-bleed formulas, and apply very light pressure with the pen tip. Additionally, place a firm barrier, such as a piece of cardboard or a plastic shoe tree, inside the shoe. This keeps the canvas taut and prevents the ink from bleeding through to the inner lining or staining your socks.
Many fabric-specific markers require heat-setting to cure the pigment and make it fully wash-resistant. Once your design is completely dry, use a household hair dryer on a medium-hot setting to apply heat evenly across the painted canvas for several minutes. Always consult the marker’s packaging instructions to verify if heat-setting is necessary for maximum durability.
When applying ink to textured canvas, adjust your stroke speed and pressure. Moving the marker too slowly will dump excess ink into the fabric, causing severe bleeding. Conversely, moving too quickly can leave white gaps in the textured weave. Practice finding a steady, moderate pace on a scrap piece of canvas or a hidden part of the shoe to achieve clean, solid lines.
Adhering Markers to Rubber Soles and Midsoles
Rubber midsoles and outsoles are the most demanding areas of a shoe to customize. They are constantly exposed to dirt, water, and high-impact friction against pavements and curbs. To achieve a lasting finish on these surfaces, you must use high-adhesion paint pens or specialized rubber markers designed specifically for midsoles. These formulas contain robust binders that can grip slick, non-porous rubber.
Thorough cleaning is the absolute key to successful rubber application. During manufacturing, rubber soles are treated with mold-release agents that leave an oily residue. Over time, they also accumulate road oils and dirt. Scrub the rubber surface vigorously with a stiff brush and soapy water, followed by a thorough wipe-down with isopropyl alcohol. The rubber must be completely free of oils and dry to the touch before you apply any ink.
It is important to manage expectations when coloring rubber soles. Because this area of the shoe experiences constant scraping and flexing, even the most durable sole markers will eventually show wear. Treat rubber customization as a project that will require periodic touch-ups to maintain its pristine appearance, especially if you wear the shoes frequently on rough outdoor surfaces.
Rubber applications require a significantly longer curing time compared to leather or canvas. Because the ink cannot penetrate the rubber, it must dry entirely from the outside in to form a secure bond. In humid tropical climates, allow the painted rubber to cure undisturbed in a dry, well-ventilated space for at least 24 to 48 hours before wearing the shoes.
Preparation and Application Steps for Lasting Results
Regardless of the shoe material you are customizing, following a systematic preparation and application workflow is essential for professional, long-lasting results. The first step is always deep cleaning. Any lingering dust, oil, or moisture will trap itself beneath the ink, causing the design to bubble or peel away later. After cleaning, ensure the shoes are completely dry. In humid regions, letting the shoes sit under a fan for an hour ensures no moisture remains trapped in the seams or fabric pores.
When you begin drawing, always apply the ink in thin, even layers. It is tempting to press down hard to get maximum color opacity in one go, but thick layers of paint dry unevenly. This traps wet ink beneath a dry skin, leading to premature cracking and peeling. Apply one thin coat, let it dry completely, and then apply a second or third layer to build up the color density gradually.
Respecting the manufacturer’s curing times is non-negotiable. Drying is not the same as curing; while ink may feel dry to the touch within minutes, it can take several days for the chemical binders to fully cross-link and bond with the shoe material. Keep the shoes in a dust-free, well-ventilated environment during this curing phase.
Once the curing period is complete, perform a final quality check. Gently flex the shoe in various directions to observe how the ink behaves. Rub a clean, dry microfiber cloth over the design with light pressure. If you notice any color transfer, cracking, or lifting, it indicates that the surface was not prepped correctly or the ink requires more curing time. Taking these careful steps protects your investment in shoes worth ₱5,000 or more and ensures your custom artwork stands the test of time.
Frequently Asked Questions (FAQ)
Can I use a standard permanent marker on shoes?
Standard permanent markers are not recommended for durable shoe customization. While they may work temporarily on canvas, their inks are highly susceptible to fading, turning a dull purple or bronze color when exposed to sunlight. On non-porous materials like leather and rubber, standard permanent ink lacks the flexibility to withstand bending and will quickly smudge or rub off.
Do I need a sealant after applying a shoe marker?
Whether you need a sealant depends on the marker type and the shoe material. Acrylic paint markers on leather benefit greatly from a clear, flexible acrylic topcoat to protect against scuffs and water. Fabric markers on canvas usually do not require a liquid sealant but often need heat-setting. Always check the marker manufacturer’s instructions to match the sealant to your specific material and desired finish.
How do I manage marker bleed on canvas fabrics?
To control ink bleed on canvas, use fabric-specific markers with fine tips and apply very light pressure. You can also apply a light coat of clear fabric primer to seal the fibers slightly before drawing. Inserting a firm barrier, like cardboard or a plastic shoe tree, inside the shoe keeps the fabric taut and prevents the ink from bleeding through to the interior lining.
Community discussion
Share your experience or ask a question. Comments are reviewed before publication.