
Customizing or restoring shoes is a highly rewarding project, but the success of your design depends entirely on selecting the right tools. Using an incompatible sneaker marker can lead to immediate cracking, smudging, or bleeding, turning a creative project into a frustrating mess. To achieve professional, long-lasting results, you must match the chemical formulation of the marker to the specific physical properties of your shoe’s material.
Whether you are working with premium leather, breathable canvas, or high-tech synthetic mesh, each surface requires a distinct ink chemistry to bond correctly. Leather demands flexible, surface-coating acrylics or deep-penetrating dyes. Canvas requires highly absorbent textile inks that saturate woven fibers. Synthetics and mesh need specialized adhesion promoters or elastic mediums to withstand constant movement. Understanding these material properties ensures your custom artwork remains vibrant and intact through daily wear.
Quick Guide: Matching Sneaker Marker Formulations to Shoe Materials
Before starting your customization project, it is helpful to understand how different marker formulations interact with common footwear materials. Selecting the wrong marker can lead to catastrophic peeling on smooth synthetics, severe ink bleeding on porous canvas, or ugly cracking along the natural crease lines of leather shoes.
Products mentioned in this guide
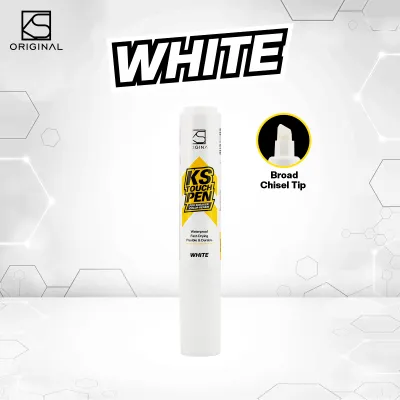
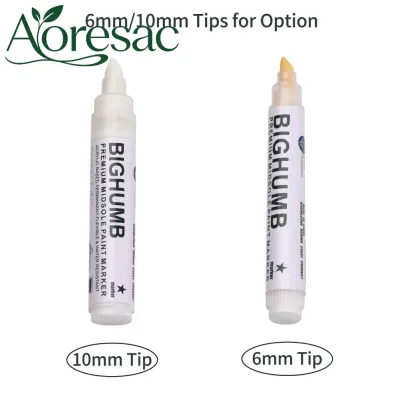
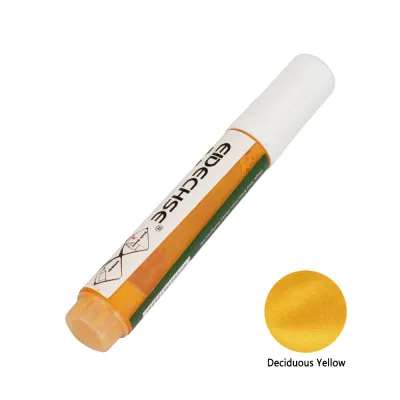
Prices are valid at publication and may change. Please refer to the product page for the latest price.
Below is a quick-reference guide to help you identify the correct marker type, the primary risks associated with mismatching, and the key characteristics of each combination:
| Shoe Material | Ideal Marker Formulation | Primary Risk of Wrong Formulation | Key Ink Characteristics |
|---|---|---|---|
| Natural Leather | Flexible Acrylic Paint Markers or Leather Dye Markers | Cracking along crease lines, peeling, or fading | High opacity, surface-coating (acrylic) or fiber-penetrating (dye) |
| Canvas & Cotton | Fabric Markers or Textile Paint Pens | Ink bleeding, feathering, and rapid washing out | Highly fluid, absorbent, requires heat-setting or curing |
| Synthetics & Mesh | Elastic Acrylic Paint Markers mixed with Fabric Medium | Peeling off non-porous surfaces, clogging mesh pores | High adhesion, maximum flexibility, thin viscosity |
Using this matrix as a starting point allows you to plan your project with confidence. For instance, applying a rigid, standard acrylic pen to a highly flexible mesh panel will inevitably cause the paint to flake off within a few steps. Conversely, using a highly fluid fabric marker on smooth leather will result in a runny, non-adherent mess that refuses to dry. Matching the marker’s physical properties to the substrate is the single most important step in sneaker customization.
Understanding Sneaker Marker Formulations and Ink Chemistry
To choose the best marker, you must understand the science behind how different inks dry, cure, and adhere to various surfaces. Sneaker markers are not one-size-fits-all tools; they are engineered with specific binders, solvents, and pigments designed for distinct environments.

Acrylic Paint Markers Acrylic paint markers contain suspended color pigments in an acrylic polymer emulsion. When the liquid carrier evaporates, the acrylic polymers cross-link to form a continuous, plastic-like film on top of the shoe material. Because they sit on the surface rather than soaking in, they offer exceptional opacity and vibrant color reproduction, even on dark backgrounds. However, standard craft acrylics are often too rigid for footwear. Sneaker-specific acrylic paint markers are formulated with specialized plasticizers that keep the dried film highly flexible, allowing the paint to bend and stretch with the shoe during walking.
Leather Dye Markers Unlike paint, which coats the surface, leather dye markers contain alcohol-based or water-based dyes that physically penetrate the open pores of natural leather. These dyes bond directly with the collagen fibers of the leather, changing the color of the material itself. Because there is no surface film, leather dyes can never crack, peel, or flake off. This makes them the absolute best choice for restoring faded color on leather panels or executing smooth, seamless color transitions. However, because they are translucent, they work best when going from a lighter color to a darker color.
Fabric Markers Fabric markers utilize highly fluid, low-viscosity inks designed to be drawn into the woven threads of textiles like canvas, cotton, and nylon. These inks contain specialized textile binders that wrap around individual fibers. Once dry, the fabric remains soft and pliable, preserving the natural drape and texture of the canvas. Many fabric markers require a curing process—such as heat-setting—to fully cross-link the binders, ensuring the design can withstand washing and wet weather without fading or bleeding.
Nib Selection and Ink Flow The physical design of the marker’s tip, or nib, also dictates its suitability for different parts of the shoe. Fine tips (ranging from 0.7mm to 1mm) are essential for outlining, detailed linework, and tight borders near the midsole. Medium bullet tips (2mm to 3mm) are ideal for filling in medium-sized panels with consistent color. For large-scale background work or base coats, broad chisel tips or dauber-style sponge applicators provide rapid, even coverage without leaving visible stroke lines. Many professional-grade sneaker markers feature replaceable nibs and refillable ink reservoirs, which extend the lifespan of your tools and allow you to swap worn-out tips without purchasing an entirely new marker.
Best Sneaker Marker Techniques for Leather Sneakers
Leather is the most common material used in classic sneakers, but its smooth, non-porous surface presents unique challenges for paint adhesion. Standard office permanent markers or cheap craft paint pens will quickly fail on leather because they cannot bond with the material and lack the elasticity required to survive constant creasing.
To achieve a professional, durable finish on leather sneakers, you must use high-quality flexible acrylic paint markers or dedicated leather dye markers. Flexible acrylics allow you to paint vibrant, multi-colored custom designs, while dye markers are perfect for clean, factory-like restorations.
Before any ink or paint touches the leather, you must perform a crucial preparation step: deglazing. Factory leather shoes are coated with a protective, water-resistant topcoat that repels liquids. If you paint directly over this finish, your design will peel off almost immediately. To remove this barrier, gently wipe the leather panels with a specialized leather preparer or high-grade acetone using a cotton pad. Always check the manufacturer instructions for both your shoes and the preparation solvent before starting, and perform this step in a well-ventilated area.
Once the factory finish is removed and the leather is clean, apply your acrylic paint markers in multiple paper-thin layers. It is tempting to press down hard to get full opacity in one go, but thick layers of paint are highly prone to cracking. Instead, draw light, even strokes and allow each layer to dry completely before applying the next. This layered approach ensures the paint film remains incredibly thin, flexible, and chemically bonded to the prepped leather surface. Because drying speed, smoothness, and water resistance depend heavily on the exact combination of marker brand and shoe finish, always allow a 24-hour test stroke to cure on a hidden area of the shoe to verify adhesion before painting highly visible panels.
Best Markers and Techniques for Canvas Sneakers
Canvas sneakers, such as classic slip-ons and high-tops, are highly porous and act like a sponge when they come into contact with liquid. While this makes canvas an incredibly receptive surface for customization, it also introduces the risk of severe ink bleeding, where the ink spreads uncontrollably along the woven fibers.
Fabric markers and fabric-specific paint pens are the gold standard for canvas customization. These markers feature low-viscosity inks that are absorbed directly into the cotton or polyester weave, ensuring the shoe remains breathable and flexible without becoming stiff or crusty.
To manage ink bleed and maintain sharp, clean lines on canvas, you can employ a few simple techniques. First, avoid holding the marker tip in one spot for too long, as the capillary action of the fabric will pull excess ink out of the nib. Outline your designs using a fine-tip fabric marker with light, rapid strokes. If you are working on highly absorbent or loosely woven canvas, you can apply a very thin coat of clear fabric primer or gesso to the canvas beforehand. This seals the fibers slightly, allowing for crisp lines without compromising the overall flexibility of the shoe.
Achieving vibrant colors on dark canvas requires a strategic layering process. Because fabric inks are somewhat translucent, applying a yellow or red marker directly onto black canvas will result in a muddy, barely visible design. To solve this, apply a base layer using a highly opaque white fabric paint pen first. Once this white base is dry, layer your colored fabric markers on top. The white background will reflect light, making your custom colors pop beautifully. Finally, verify if your specific marker formulation requires heat-setting; running a hair dryer over the dry design for a few minutes is often necessary to lock the pigments into the canvas fibers permanently.
Best Markers and Techniques for Synthetics and Mesh
Synthetic leathers, polyurethane (PU) coated plastics, and flexible mesh panels represent the most challenging materials for sneaker customization. Coated synthetics are completely non-porous and highly chemically resistant, meaning they naturally repel standard water-based inks. Mesh, on the other hand, is highly elastic and full of open air pockets, making it incredibly difficult to color without clogging the ventilation holes.
For coated synthetics, specialized synthetic leather paints or high-adhesion acrylic markers are required. To ensure the paint can handle the extreme stretching of synthetic panels, you can mix your acrylic marker ink with a dedicated fabric medium or plastic adhesion promoter. This mixture thins the paint slightly while dramatically increasing its elastic properties.
Because synthetic coatings vary wildly between shoe brands, always conduct a hidden adhesion test before committing to a full design. Apply a small stroke of your chosen marker to an inconspicuous area, such as the inside of the shoe tongue or the lower heel area. Allow it to dry completely, then rub it gently with your thumb or flex the material to verify that the ink does not peel, bubble, or scratch off easily. If the test area holds up, you can proceed with the rest of the shoe.
Coloring mesh panels requires a delicate touch to avoid clogging the breathable holes with dried paint. Instead of dragging a broad marker tip across the mesh, which fills the gaps and ruins the texture, use a fine-tip marker with extremely light, dabbing pressure. This colors only the raised fibers of the mesh while leaving the open air holes clear. Alternatively, you can use highly diluted, water-based fabric inks that dye the mesh threads on contact without building up a thick, solid film.
Essential Prep and Sealing for Long-Lasting Results
The longevity of your customized sneakers depends just as much on your preparation and finishing steps as it does on the quality of your markers. Skipping the preparation phase or failing to seal your work will result in a design that quickly succumbs to scuffs, dirt, and wet weather.
Preparation Begin by cleaning your sneakers thoroughly to remove all surface dirt, dust, and manufacturing residues. Use a dedicated sneaker cleaner and a soft-bristle brush to scrub the panels, then wipe them down with a clean microfiber cloth. For leather and synthetic surfaces, follow this up with a rubbing alcohol or leather preparer wipe-down to strip away any residual oils from handling. Ensure the shoes are completely dry before you begin drawing.
Application The golden rule of sneaker customization is to apply multiple thin coats rather than one thick coat. Thick layers of paint trap moisture underneath, leading to prolonged drying times, bubbling, and premature cracking. Allow each layer to dry to the touch before applying the next. This slow, methodical building of color ensures a smooth, even finish that behaves like a natural part of the shoe.
Sealing Once your artwork is complete and fully dry, you must protect it with a chemically compatible sealer. For acrylic paint marker designs, apply a dedicated acrylic or polyurethane finisher. These sealers are available in matte, satin, or gloss finishes, allowing you to match the original sheen of the shoe. The sealer acts as a sacrificial barrier, absorbing scuffs, resisting water, and protecting the pigments from UV-induced fading.
Curing in Tropical Climates In warm, highly humid environments like the Philippines, managing curing times is critical. High humidity slows down the evaporation of water and solvents from the paint film. Even if the marker design feels dry to the touch after an hour, the underlying layers may still be curing. Allow your customized sneakers to sit in a dry, well-ventilated indoor space for at least 24 to 48 hours before wearing them outside. Rushing this process in humid weather can cause the paint to remain tacky, making it attract dirt and scuffs instantly.
Frequently Asked Questions (FAQ)
Can I use regular permanent markers on my sneakers?
You should avoid using standard office permanent markers on your sneakers. While they are convenient and write easily on most surfaces initially, their inks are not formulated for the extreme flexing, moisture, and UV exposure that shoes endure. Standard permanent marker ink will rapidly fade, turn a strange purple or copper hue under sunlight, bleed when exposed to rain, and crack along the natural creases of the shoe. Investing in dedicated sneaker markers ensures your hard work survives daily wear.
Do I need to seal my sneaker marker designs?
Yes, sealing is highly recommended to protect your custom designs from the elements. While some high-quality fabric markers are designed to be permanent once heat-set, acrylic paint marker designs on leather and synthetics absolutely require a protective finisher. A dedicated acrylic or polyurethane sealer shields the paint from abrasions, dirt, water, and UV rays, ensuring your custom sneakers look fresh and vibrant for a long time.
Community discussion
Share your experience or ask a question. Comments are reviewed before publication.