
Starting a journal can feel incredibly overwhelming when your social media feeds are filled with highly aesthetic, multi-layered spreads featuring calligraphy, vintage stamps, and color-coordinated tape. However, the truth is that you do not need an expensive setup to begin a meaningful writing practice. If you want to know what journaling supplies you actually need to start, the answer is remarkably simple: a reliable notebook, a dependable pen, and a basic straight edge. By focusing on these core tools, you can establish a consistent daily habit without falling into the trap of overspending on decorative items that might ultimately sit unused in a drawer.
The primary goal of journaling is to capture your thoughts, organize your days, or express your creativity. The tools you use should support this goal, not distract from it. When you are just starting out, buying too many supplies at once can lead to decision fatigue. Instead of focusing on what to write, you find yourself stressing over which color of brush pen to use or how to align a sticker. Keeping your initial toolkit minimal allows you to focus entirely on the habit of writing itself. Once that habit is firmly established, you can gradually expand your collection based on your actual, observed needs rather than aesthetic trends.
The Bare Minimum: Essential Journaling Supplies You Actually Need
To build a functional setup, you only need to invest in three basic items. Selecting these tools requires looking past marketing buzzwords and understanding how different stationery materials interact with one another.
Products mentioned in this guide
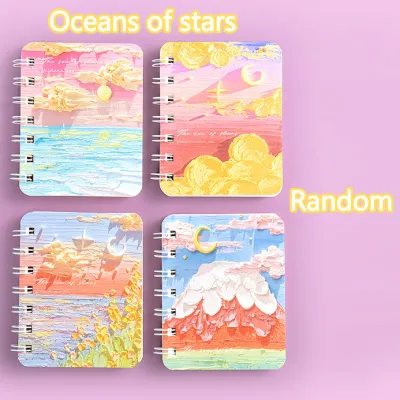
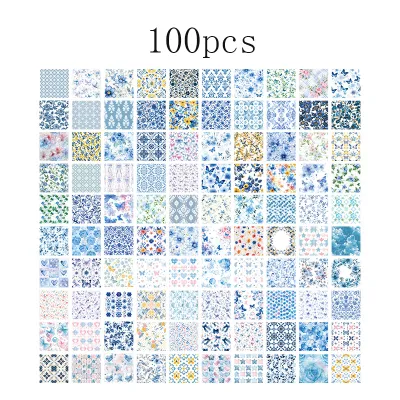
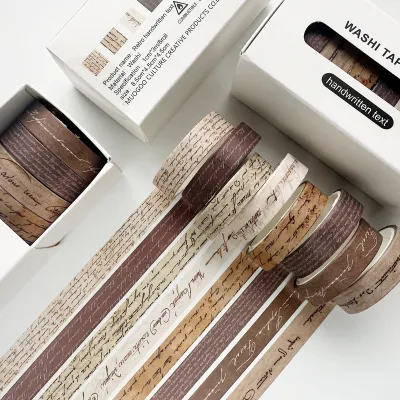
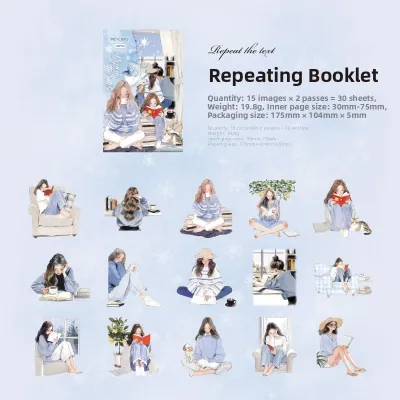

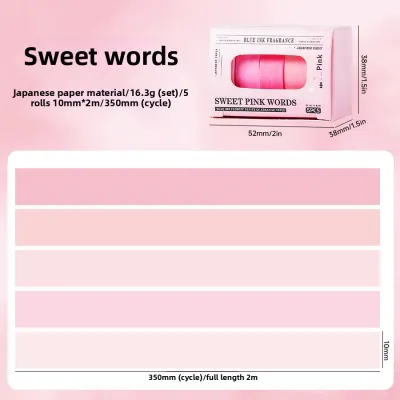
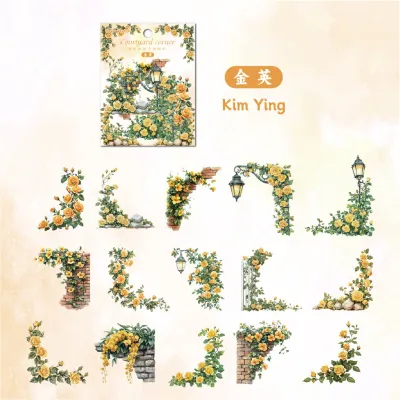
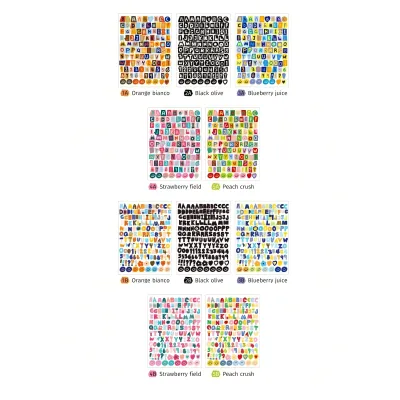
Prices are valid at publication and may change. Please refer to the product page for the latest price.
The Notebook The foundation of your journaling practice is the notebook. When shopping for a notebook, ignore vague marketing claims like “bleed-proof” or “fountain-pen friendly” and look instead for specific technical details. The most important specification is the paper weight, measured in GSM (grams per square meter). Standard office copy paper is typically around 70 to 80 GSM, which is perfectly adequate for basic ballpoint pens. If you prefer using gel pens, rollerballs, or mild water-based markers, look for a notebook with a paper weight of 100 to 120 GSM to minimize the risk of ink bleeding through to the other side of the page.
Beyond paper weight, consider the binding type. Spiral-bound notebooks are highly practical because they lay completely flat on a desk and can be folded back on themselves, which is excellent for writing in cramped spaces like cafes or public transport. However, the metal coils can sometimes get in the way of your hand when writing near the margins. Stitched or thread-bound notebooks offer a more traditional look and allow you to write seamlessly across a two-page spread, but cheaper versions may resist laying flat unless you actively break the spine. Check the manufacturer’s product descriptions to verify if the notebook features a “lay-flat” binding design.
The Pen Your pen is your primary connection to the page, so it must feel comfortable and write reliably. For beginners, a standard gel pen or a high-quality ballpoint pen is the most practical choice. Gel pens use water-based gel ink, which flows smoothly and offers vibrant, saturated lines, but they take longer to dry. In the tropical climate of the Philippines, high relative humidity can significantly slow down ink drying times. If you are left-handed or write quickly, a wet gel pen can easily lead to smudging across your page.
A reliable ballpoint pen, which uses oil-based ink, dries almost instantly and is highly resistant to smudging, even in humid weather. However, ballpoints require slightly more hand pressure to write. Whichever pen you choose, always conduct a quick swatch test on the very last page of your notebook before writing your first entry. Write a few words, draw a small grid, and wait a few seconds. Rub your finger over the ink to check the drying speed, and flip the page to observe if there is any “ghosting” (where the writing is visible from the back) or “bleeding” (where the ink actually leaks through the paper fibers).
A Ruler or Straight Edge A simple, clear plastic ruler—measuring 15 to 30 centimeters—is one of the most undervalued journaling supplies. You do not need to buy expensive dot-grid or pre-formatted journals to create clean layouts. A basic clear ruler allows you to quickly draw neat margins, divide your pages into columns, or create custom boxes for different sections of your entry. Choosing a transparent ruler is particularly helpful because it allows you to see the existing text or lines underneath as you align your pen, helping you keep your pages neat and structured without any guesswork.
Optional Add-Ons: When to Expand Your Stationery Collection
Once you have spent a few weeks writing consistently, you will begin to understand your personal journaling style. Only at this point should you consider expanding your collection. Introducing new tools too early can make your practice feel like a chore rather than a creative outlet.

Washi Tape and Stickers Washi tape and decorative stickers are incredibly popular in the journaling community, but they are entirely decorative. It is highly recommended to wait at least a month before purchasing these items. This waiting period helps you avoid buying large, expensive sets featuring color palettes or themes that do not align with your actual writing style. When you do decide to buy, start with a single roll of neutral-colored washi tape or a small pack of functional stickers (such as date headers or small arrow pointers) to see if they genuinely enhance your workflow.
Highlighters and Brush Pens Highlighters and flexible brush pens are excellent for adding color accents, creating headers, or color-coding tasks. However, these tools deposit a larger volume of liquid ink onto the paper compared to standard pens. If your notebook has thin paper (under 90 GSM), these markers will almost certainly feather (spread out across the paper fibers) or bleed through to the next page. Before purchasing a full, multi-color set of brush pens, buy a single pen in a neutral grey or pastel shade. Test it on your specific journal paper to verify that the paper can handle the ink volume without warping or bleeding.
Stamps and Ink Pads Rubber or acrylic stamps paired with ink pads can create beautiful, consistent headers and icons, but they are advanced tools that require careful consideration. Stamp inks are often highly saturated and formulated to dry quickly, which means they can easily bleed through standard notebook paper. Additionally, stamps require regular cleaning, proper storage to prevent the rubber from degrading in warm, humid conditions, and a flat, hard writing surface to get a clean impression. For a beginner, the maintenance and setup time required for stamps often outweigh their practical benefits.
Step-by-Step Guide to Creating Your First Journal Page
The hardest part of journaling is often facing a blank, white page. You do not need a complicated plan to begin. Using only your notebook, pen, and clear ruler, follow these four simple steps to complete your very first entry.
Step 1: Date and Title Setup Open your notebook to the first clean page. Position your clear ruler near the top of the page and draw a neat horizontal line to create a dedicated header section. Inside this section, write the current date, the day of the week, and a brief title. The title does not need to be profound; it can be as simple as “Morning Reflections,” “Daily Log,” or “Weekly Brain Dump.” Establishing a consistent header format helps anchor your page and provides an easy starting point every time you open your journal.
Step 2: The Brain Dump Move below your header line and begin writing. Do not worry about neatness, grammar, or spelling. The goal of a brain dump is to transfer whatever is currently occupying your mind onto the paper. You can write about your current mood, your tasks for the day, a recent conversation, or things you are grateful for. If you find your mind wandering, simply write down exactly what you are thinking, even if it is “I do not know what to write today.” Keep your pen moving for at least five minutes without stopping to judge your handwriting.
Step 3: Basic Structuring Once you have written down your thoughts, take your ruler and pen to organize the page visually. If you wrote a mix of personal reflections and actionable tasks, use your ruler to draw a vertical line down the center or a horizontal box at the bottom of the page. Label this new section “Tasks” or “Action Items” and list your to-do items there. Using simple lines to divide your page helps separate raw thoughts from actionable plans, making your journal a practical tool for daily life.
Step 4: Review and Verify After completing your entry, leave your journal open on your desk for two to three minutes. This is a crucial step, especially in humid environments, to ensure the ink has fully set. Once dry, gently run your finger over the text to verify that there is no smudging. Finally, flip the page and inspect the reverse side. Note if the ink has bled through or if the paper has buckled. This quick quality check will tell you if your current pen and paper combination is suitable for daily use, or if you need to adjust your writing pressure or switch to a different type of ink.
Common Beginner Mistakes and How to Avoid Them
Many people start journaling with high expectations but abandon the practice within a couple of weeks. Recognizing and avoiding these common pitfalls will help you maintain a sustainable, long-term habit.
The “Perfect Spread” Trap The most common reason beginners quit journaling is the pressure to create visually perfect pages. It is vital to remember that the highly curated journals shown on social media platforms are often created by experienced artists specifically for display. Your journal is a private, functional space for your thoughts. Embracing messy handwriting, crossed-out mistakes, and simple layouts will make your practice feel liberating rather than stressful. A page filled with scribbles that helped you process your day is infinitely more valuable than a beautiful, empty notebook.
Buying in Bulk When starting a new hobby, it is tempting to buy large, multi-color sets of pens, aesthetic sticker sheets, and multiple notebooks at once. However, buying in bulk before you know what you actually enjoy using often leads to waste. You might discover that you dislike the feel of a specific gel pen tip size, or that a certain notebook size is too bulky to carry in your daily bag. Buy your supplies individually first. Only invest in larger sets or higher-end stationery once you have filled at least half of your first notebook and have a clear understanding of your preferences.
Ignoring Material Compatibility A common source of frustration is assuming that any pen will work perfectly on any paper. In reality, stationery performance is entirely dependent on how specific inks interact with specific paper coatings and weights. A smooth gel pen that glides effortlessly on standard school paper might feather excessively on a highly absorbent journal page, or smear constantly on a coated, water-resistant paper. Always cross-reference your pen’s ink type (such as water-based, oil-based, or pigment-based) with your notebook’s specifications, and rely on physical testing rather than marketing promises.
Frequently Asked Questions (FAQ)
What is the best paper weight for journaling without bleed-through?
For everyday journaling using standard ballpoint pens, gel pens, or fine liners, a paper weight of 100 to 120 GSM (grams per square meter) is the ideal sweet spot. This thickness provides excellent resistance to ghosting and bleeding without making the notebook excessively heavy or bulky. If you plan to use heavy markers, watercolor washes, or wet fountain pens, you should look for specialized paper that is 140 GSM or higher. Always verify the exact GSM printed on the manufacturer’s label rather than relying on generic product descriptions.
Can I use a regular school notebook for journaling?
Yes, a standard school notebook is an excellent and highly affordable option for beginners, often costing as little as ₱20 to ₱50 in local bookstores. These notebooks allow you to practice writing daily without the fear of ruining an expensive, premium journal. Before you begin, check if the printed lines or margins fit your writing style, and test your preferred pen on the back page. If the paper is thin and prone to ink bleeding, simply switch to a standard ballpoint pen, which uses dry, oil-based ink that performs beautifully even on thin paper.
Community discussion
Share your experience or ask a question. Comments are reviewed before publication.