
Choosing the right cursive writing workbook depends entirely on your current skill level and learning goals. There is no single layout that works best for everyone; instead, the three primary workbook styles—tracing sheets, guided letter formation, and freeform practice—serve as progressive stepping stones.
For absolute beginners or those recovering fine motor control, tracing sheets provide the necessary support to build basic muscle memory without cognitive fatigue. If you already recognize the letters but struggle with consistent sizing, stroke sequence, or joining characters, a guided letter formation workbook offers the structured scaffolding required to transition toward independence. For advanced writers aiming to build endurance, increase writing speed, or personalize their handwriting style, freeform practice pages offer the ultimate test of internalized muscle memory. Match your workbook selection to your current developmental stage to ensure steady, frustration-free progress.
Understanding the Three Cursive Practice Structures
To choose the most effective workbook, it is essential to understand how each layout is physically structured and how it influences your learning process. The visual cues on a page dictate how much mental energy you spend on remembering what a letter looks like versus actually executing the physical movement.
Products mentioned in this guide
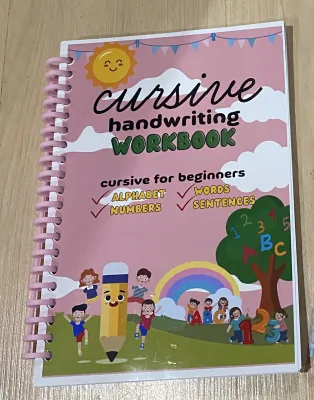
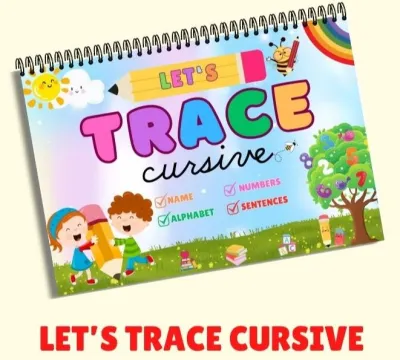
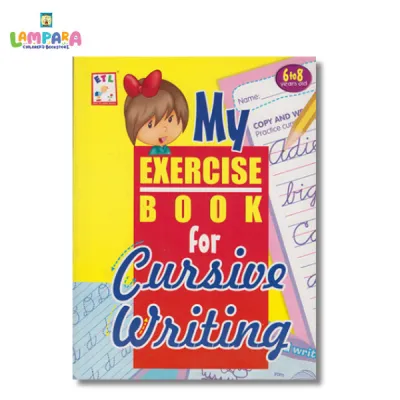

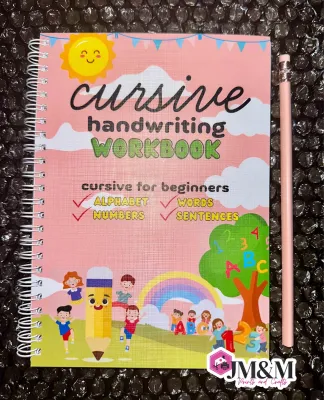
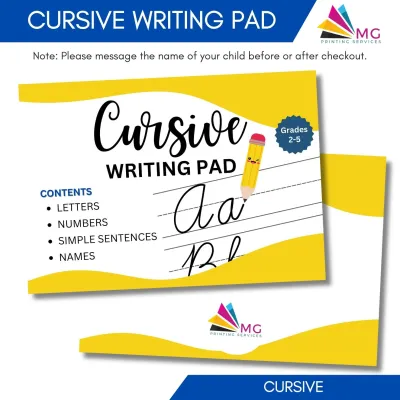
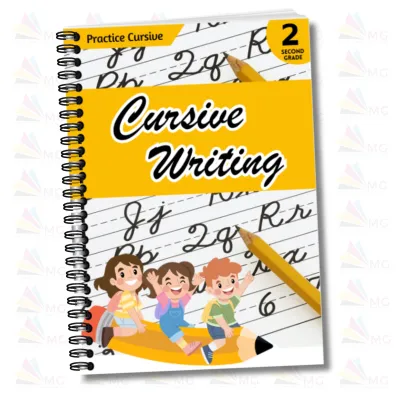
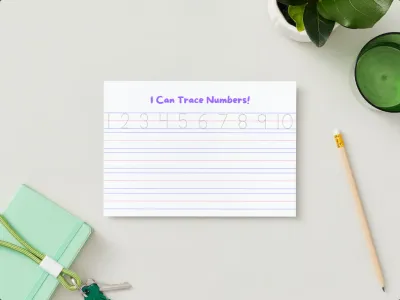
Prices are valid at publication and may change. Please refer to the product page for the latest price.
Tracing Sheets (Dotted or Faded Letters)
Tracing sheets feature pre-printed letters, words, or full sentences rendered in dotted lines, dashed outlines, or light grey ink. The primary function of this layout is to guide your pen along a highly controlled path, removing the need to recall the shape of the letter from memory. By eliminating the cognitive load of letter construction, you can focus your full attention on hand posture, pen grip, and the physical sensation of making continuous, flowing loops.
This structure is highly effective for establishing initial neuromuscular pathways. Because cursive requires a different rhythm and flow than print writing, tracing allows your hand to adapt to these new movements in a low-stress environment. However, because this style relies heavily on external visual guidance, it does not train your brain to retrieve and draw the letters independently.
Guided Letter Formation (Grids, Arrows, and Stroke Paths)
Guided letter formation workbooks introduce structural rules and directional cues to teach the mechanics of cursive. These pages typically feature numbered arrows showing the exact sequence and direction of strokes, highlighted starting dots to show where to place your pen, and bounding boxes or grids to define letter proportions. The lines on these pages often include a solid baseline, a dotted midline, and a solid top line to help you master the heights of ascenders and descenders.
This layout serves as an essential bridge between passive copying and active recall. Instead of merely tracing over a pre-existing line, you are prompted to initiate the stroke yourself while following a visual map. This structure teaches you how to maintain a consistent slant, how to transition smoothly from one letter to the next, and how to keep your writing aligned across the page.
Freeform Practice (Baseline-only or Blank Pages)
Freeform practice pages strip away almost all visual scaffolding, presenting you with either a single baseline, a standard lined format, or completely blank sheets. Some advanced workbooks use French-ruled (Seyes) paper, which provides subtle vertical and horizontal lines, but the ultimate goal of freeform practice is to write without any structural boundaries. This layout forces you to rely entirely on your internalized muscle memory to maintain letter shapes, spacing, and alignment.
Writing on freeform pages requires a high level of cognitive engagement, as you must plan the spacing of your words and the connections between letters in real time. This structure is designed to build writing endurance and speed, helping you transition your cursive from a slow, deliberate practice into a functional, everyday writing style. It is also the stage where you can begin to experiment with personalizing your letter slants and loops.
Key Comparison Dimensions for Handwriting Development
When evaluating a cursive writing workbook, comparing how each style addresses the physical and cognitive aspects of writing can help you identify the most efficient tool for your needs. The table below outlines how these three structures perform across key developmental dimensions.

| Feature / Dimension | Tracing Sheets | Guided Letter Formation | Freeform Practice |
|---|---|---|---|
| Primary Learning Mechanism | Passive muscle memory & shape familiarity | Active stroke sequencing & spatial alignment | Internalized recall, flow, & speed building |
| Cognitive Load | Low (minimal active recall required) | Moderate (requires focus on rules & paths) | High (demands complete self-regulation) |
| Spatial Constraint | Maximum (pre-defined lines and shapes) | Structured (defined by grids, midlines, & arrows) | Minimal (reliant on baseline or blank space) |
| Independence Level | Fully assisted | Partially assisted (scaffolded) | Fully independent |
| Best For | Absolute beginners & motor rehabilitation | Intermediate learners & correcting bad habits | Advanced writers & real-world application |
Muscle Memory Building
Tracing sheets build muscle memory through repetition, allowing your hand to become familiar with the continuous loops of cursive. However, this memory is largely passive. Guided formation shifts this to active muscle memory by requiring you to execute the stroke sequence independently, reinforcing the neurological connection between the letter shape and the hand movement. Freeform practice solidifies this muscle memory, ensuring that you can write legibly and consistently without any external prompts.
Spatial Awareness and Sizing
In cursive, maintaining consistent letter height and spacing is critical for legibility. Tracing sheets force your pen into the correct proportions automatically, but they do not teach you how to judge those proportions on your own. Guided workbooks use grids and midlines to train your eyes to recognize proper spatial relationships, such as making sure your lowercase “e” is exactly half the height of your uppercase “E.” Freeform practice tests this awareness, requiring you to self-regulate your spacing so that your letters do not crowd each other or drift off the baseline.
Cognitive Load and Independence
Learning cursive can be mentally exhausting if you try to master shape, sequence, connection, and spacing all at once. Tracing sheets offer the lowest cognitive load, making them an excellent starting point for young children or adults who feel intimidated by cursive. Guided formation increases the cognitive load slightly as you begin to make decisions about stroke order and letter connections. Freeform practice represents the highest level of independence, requiring your brain to coordinate letter recall, fine motor control, and spatial planning simultaneously.
Matching the Workbook Style to the Learner's Stage
To achieve the best results, your practice style must evolve alongside your skills. Using a workbook that is too advanced can lead to frustration, while staying with a basic style for too long can stall your progress.
The Beginner Stage
Beginners need to focus on fine motor control and shape recognition. At this stage, your hand is not yet accustomed to the fluid, sweeping motions of cursive writing. A workbook dominated by tracing sheets is ideal here. It allows you to practice the basic shapes of individual letters without worrying about how they connect or how large they should be.
The Intermediate Stage
Once you can recognize and trace letters easily, you enter the intermediate stage. Here, the focus shifts to stroke order consistency, proper letter connections, and spatial alignment. You should transition to a guided letter formation workbook that uses arrows, starting dots, and midlines. This structure helps you understand how letters flow into one another, preventing you from lifting your pen unnecessarily between characters.
The Advanced Stage
Advanced learners understand how to construct and connect letters but need to focus on writing speed, continuous flow, and paragraph endurance. If you find that your writing is neat but incredibly slow, or if your hand cramps after writing a single paragraph, you need freeform practice. Workbooks featuring baseline-only pages, blank sheets, or historical documents to copy will help you integrate cursive into your daily life.
When to Transition to the Next Stage
To determine when it is time to upgrade your workbook style, look for specific, observable signs in your daily practice:
- Moving from Tracing to Guided: You can confidently draw a letter shape without looking at the underlying dotted guide, and your hand moves smoothly along the tracing line without shaking or frequent pauses.
- Moving from Guided to Freeform: You no longer need to look at the numbered arrows to remember the stroke sequence, and your letters consistently touch the baseline and midline without the aid of bounding grids.
Paper Quality and Physical Features to Verify Before Buying
Because handwriting practice requires repetitive strokes and consistent pen pressure, the physical construction of your workbook is just as important as its instructional layout. Poor-quality materials can ruin your practice experience, regardless of how well the lessons are designed.
Paper Weight and GSM
Always check the product description for the paper weight, measured in Grams per Square Meter (GSM). For cursive practice, look for workbooks with a paper weight of at least 100 GSM to 120 GSM.
In high-humidity environments, such as the tropical climate of the Philippines, paper fibers naturally absorb ambient moisture from the air. This moisture absorption makes standard school paper (often 70 to 80 GSM) highly susceptible to feathering—where the ink spreads out along the paper fibers like a spiderweb—and bleed-through, where the ink leaks through to the reverse side of the page. High-quality, thick paper resists this moisture absorption, ensuring that your gel pens, fountain pens, or heavy ink markers leave clean, crisp lines on both sides of the sheet.
Binding Types
For comfortable handwriting practice, the workbook must lie completely flat on your desk. Look for workbooks featuring lay-flat binding, such as Smyth-sewn, thread-bound, or spiral bindings.
Standard perfect-bound books (which use glue along the spine) tend to pop closed or curve upward near the center margin. This curve forces you to fight the book’s tension while writing, which disrupts your hand angle and ruins your cursive slant. While spiral binding allows the book to lie flat, the metal or plastic coils can sometimes obstruct your wrist, especially if you are left-handed or practicing wide, continuous cursive loops. If you choose a spiral workbook, ensure the margins are wide enough to keep your hand clear of the coils.
Paper Texture and Tip Compatibility
The texture of the paper—often described as smooth or toothy—interacts directly with your writing instrument. Smooth paper (such as satin or highly calendered finishes) minimizes friction, allowing gel pens and fountain pens to glide effortlessly across the surface. This is excellent for developing a fast, continuous cursive flow, but it can cause pencils or ballpoint pens to slip.
Toothy paper has a slight texture that provides resistance, giving you greater control over your pen strokes. This is highly beneficial for beginners who are still building fine motor control and prefer using pencils or standard ballpoint pens. Before purchasing, verify the paper texture in the product specifications to ensure it matches your preferred writing tool.
Decision Framework: How to Choose Your Next Cursive Workbook
To select the perfect cursive writing workbook for your current needs, apply this simple, conditional decision framework:
- Choose Tracing if you are an absolute beginner, are teaching young children who are just developing fine motor skills, or are undergoing physical rehabilitation to rebuild hand-eye coordination. This style is best for low-stress, highly repetitive practice that focuses purely on comfort and basic shape familiarity.
- Choose Guided if you know the shapes of the alphabet but struggle with inconsistent letter sizes, uneven slants, or messy connections between letters. This style is ideal for intermediate writers who need structural boundaries to correct bad habits and establish proper stroke sequences.
- Choose Freeform if you can write individual cursive words easily but want to build writing speed, improve your layout on blank paper, or develop a unique, personalized signature style. This style is perfect for daily journaling, note-taking, and long-form writing practice.
- Verify first if the workbook's paper weight is at least 100 GSM and features lay-flat binding. If you plan to practice with fountain pens, gel pens, or liquid inks, perform a quick trial on a corner or an inconspicuous back page of the workbook to check for ink feathering, bleeding, or slow drying times before committing to a full practice session.
Frequently Asked Questions (FAQ)
Can I combine different workbook styles in one practice session?
Yes, combining workbook styles within a single practice session is an excellent way to accelerate your learning. You can structure a highly effective 20-minute practice routine by starting with a five-minute warm-up on a tracing sheet to loosen your wrist and fingers.
Following the warm-up, spend ten minutes on a guided letter formation page, focusing on specific letters or connections that you find challenging. Finally, spend the last five minutes writing freely on a freeform page, applying what you just practiced to a short journal entry or a favorite quote. This progressive structure moves your brain from passive observation to active execution, improving long-term muscle memory retention.
What type of pen works best for tracing versus freeform cursive?
For tracing sheets, pencils or fine-liner pens with a tip size of 0.5mm or smaller work best. These fine tips allow you to see the underlying dotted lines clearly, ensuring that you are following the guide accurately rather than covering it up with a thick line of ink.
For freeform practice, smoother writing instruments like gel pens (0.7mm) or fountain pens with a medium nib are ideal. These pens require very little physical pressure to lay down ink, allowing your hand to glide smoothly across the paper and encouraging a continuous, uninterrupted cursive flow. Regardless of your choice, always test your pen on a back page first to verify that the ink does not bleed through the workbook paper.
Community discussion
Share your experience or ask a question. Comments are reviewed before publication.