
Velvet fabric is a woven textile characterized by a dense, short, uniform pile that gives it a signature soft feel and a luxurious, light-reflecting surface. For embroidery enthusiasts, working with this material is highly rewarding but requires a solid understanding of its unique physical properties. The very features that make velvet so appealing—its plush texture, shifting sheen, and varying weight—also present distinct challenges, such as pile crushing, fabric shifting, and stitch sinking. By mastering how pile direction, stretch, and weight interact with your embroidery tools, you can create stunning, professional-grade designs that stand out beautifully on this opulent canvas.
Understanding the Core Structure of Velvet Fabric
Velvet is constructed using a special double-cloth weaving process where two layers of fabric are woven simultaneously with an extra set of warp yarns. These warp yarns are then cut apart, creating the upright, dense tufts known as the pile. This pile can consist of cut loops or, in some specialty variations, uncut loops, which directly determine how the fabric catches the light and how embroidery threads sit on the surface.
The underlying fibers used to weave velvet greatly influence its behavior under an embroidery needle. Traditional silk and rayon velvets offer an incredibly fluid drape and a high, liquid-like sheen, but they are highly delicate and prone to water spotting or heat damage. Cotton velvet (often called velveteen) is heavier, stiffer, and more stable, making it easier to hoop but requiring a stronger needle to pierce the dense backing. Synthetic velvets, such as those made from polyester or nylon, are highly durable and resistant to wrinkling, but they can be sensitive to high heat and may stretch more than natural fiber alternatives.
Products mentioned in this guide
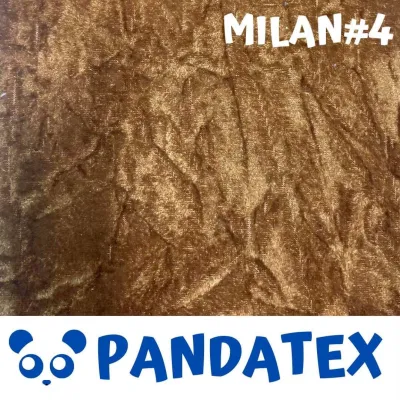
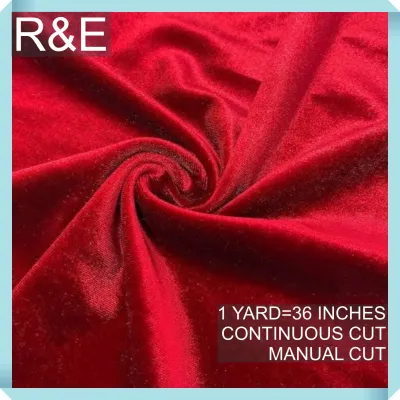
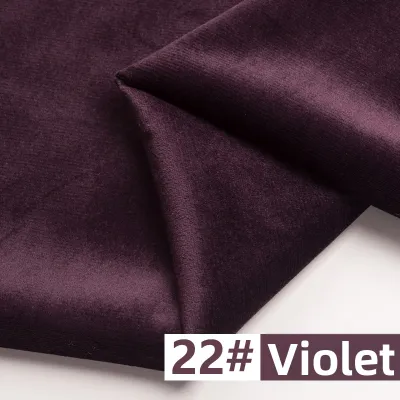
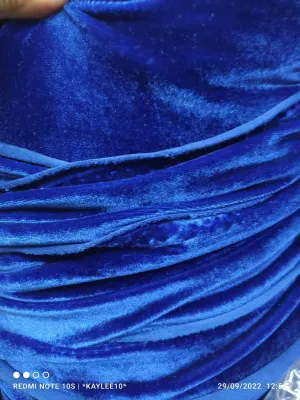
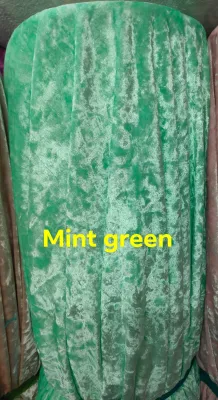
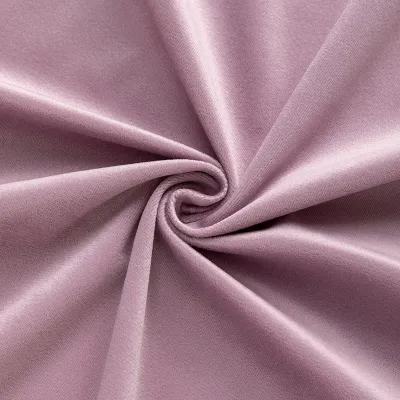
Prices are valid at publication and may change. Please refer to the product page for the latest price.
Because the pile is raised and dense, embroidery stitches can easily sink into the fibers and become virtually invisible. This means delicate, highly detailed designs or thin, single-line running stitches often get lost in the plush texture. Embroiderers must plan their design placement carefully, opting for bolder, more solid stitch fills or using specialized topping materials to keep the thread sitting proudly on top of the pile.
How Pile Direction Influences Your Embroidery Design
Velvet has a distinct “nap,” which refers to the direction in which the pile fibers naturally lay. You can easily determine the pile direction by gently running your hand across the surface of the fabric. If the fabric feels smooth and the fibers lie flat, you are brushing “with the nap” (downward pile direction); if the surface feels rough, resists your hand, and looks slightly darker or more matte, you are brushing “against the nap” (upward pile direction).

The direction of the nap alters how light reflects off your finished embroidery. Stitching a design against the nap can cause the embroidery threads to sink deeper into the resisting fibers, which often creates a darker, more shadowed effect that can look uneven from different angles. Conversely, stitching with the nap allows the embroidery to lay flatter and appear more vibrant, as the light reflects uniformly across both the thread and the surrounding fabric.
When working on multi-panel embroidery projects, such as a structured bag, a decorative cushion, or a paneled garment, consistency is critical. You must check and align the pile direction of every single fabric piece before cutting or hooping. If one panel has the nap running upward and the adjacent panel has it running downward, the finished piece will look like two completely different colors due to the way light bounces off the mismatched pile.
Managing Stretch and Weight During Hooping and Stitching
Many modern velvets, especially those blended with elastane or knitted rather than woven (such as stretch velour), possess a significant amount of give. Before you begin, check the fabric’s stretch by gently pulling it horizontally and vertically. If you hoop a stretchy velvet too tightly, the fabric will snap back to its original shape once released, causing severe puckering and distortion around your embroidered design.
The weight of the velvet—ranging from lightweight silk-mixes to heavy upholstery-grade cotton velvets—dictates your choice of embroidery hoop and machine settings. Heavy velvets are prone to slipping out of standard plastic hoops during high-speed stitching, which can ruin design registration and cause misaligned outlines. For heavier weights, a sturdy wooden hoop or a specialized magnetic hoop is often necessary to maintain consistent tension without letting the fabric slide.
Traditional hooping, where the fabric is clamped tightly between an inner and outer ring, can leave permanent, unsightly “hoop burn” or crushed rings on velvet. To prevent this, consider “floating” the velvet instead of hooping it directly. This technique involves hooping only your stabilizer, applying a temporary adhesive or basting stitch, and gently pressing the velvet onto the stabilizer surface. If you must hoop the fabric directly, place a protective layer of soft muslin, flannel, or tissue paper between the hoop rings and the velvet face to cushion the delicate pile.
Choosing the Right Stabilizers and Needles for Velvet
Choosing the correct stabilizer depends on the weight of your velvet and the density of your embroidery design. For stable, woven cotton velvets with light designs, a medium-weight tear-away stabilizer may suffice. However, for stretchy or lightweight velvets, a firm cut-away stabilizer is essential to support the fabric during and after stitching, preventing the design from sagging over time.
In the humid tropical climate of the Philippines, store your water-soluble toppings in airtight containers to prevent them from absorbing moisture and becoming sticky before they reach your embroidery machine. Always use a water-soluble topping (such as a thin water-soluble film) on top of the velvet before stitching; this temporary barrier keeps your embroidery threads from sinking into the plush pile.
Your needle must be sharp enough to pierce the dense backing of the velvet without tearing the fibers or leaving large, permanent holes. For woven velvets, a sharp embroidery needle (size 75/11 or 80/12) is generally ideal, while a ballpoint or stretch needle is necessary for knit or stretch velvets to prevent skipped stitches. Avoid using needles that are too thick, as they can permanently displace the woven backing yarns, leaving visible puncture marks if you ever need to rip out a stitch.
Before committing your design to your main fabric, always perform a test run on a scrap piece of the exact same velvet. Use this trial to verify that your stabilizer supports the stitch density, the needle does not snag the pile, and the water-soluble topping washes away cleanly without leaving residue. Check the back of the test piece for any signs of puckering or thread looping, adjusting your machine tension or stabilizer layers accordingly.
Frequently Asked Questions (FAQ)
Can you use standard embroidery thread on velvet fabric?
Yes, standard polyester or rayon embroidery threads work beautifully on velvet, provided you account for the fabric’s texture. Rayon thread offers a high sheen that complements the luxurious look of velvet, while polyester provides excellent durability. When selecting thread, check that the weight (typically 40-weight) is thick enough to stand out against the dense pile, and consider using slightly brighter or highly contrasting colors to ensure the design remains clearly visible against the deep, light-absorbing background of the fabric.
How do you remove hoop marks or crushed pile after embroidering?
If your velvet has suffered minor crushing or hoop marks, you can often restore the pile using gentle steam. Hold a handheld steamer or a steam iron a few centimeters above the fabric—never letting the hot metal touch the velvet directly—and allow the steam to penetrate the fibers. Once the fabric is warm and slightly damp from the steam, gently brush the pile upward with a soft-bristled brush or a clean scrap of velvet to lift the crushed fibers. Always check the fabric’s care label first, as synthetic velvets can melt under high heat, and some delicate silks may water-spot if the steam condenses into large droplets.

Community discussion
Share your experience or ask a question. Comments are reviewed before publication.