
Choosing your 2027 weekly planner layout is the single most important decision you will make before committing to a year of organization. The right format acts as a natural extension of your mind, while the wrong one creates friction that leads to blank pages by February. To find your ideal match, you must align the layout with how you naturally process tasks, manage time, and record information.
The three primary formats—vertical, horizontal, and hourly—each serve distinct cognitive styles. Vertical columns excel at categorizing structured tasks, horizontal rows offer open-ended writing freedom, and hourly grids provide strict time-blocking control. By evaluating your daily workflow and environmental needs, you can select a layout that keeps you productive all year long.
Quick Decision Guide: Matching Your Schedule to a Layout
To quickly identify your planning style, consider how you approach a typical day. Task-driven planners focus on what needs to get done, regardless of the specific hour. Time-driven planners live by appointments, meetings, and strict time blocks. Note-heavy planners use their weekly spreads for journaling, tracking habits, and capturing spontaneous ideas.
Products mentioned in this guide
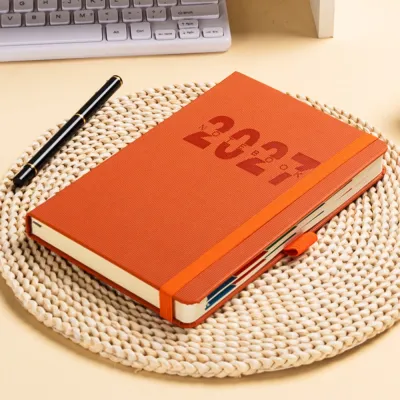
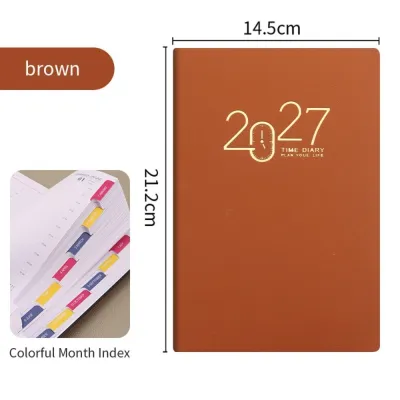
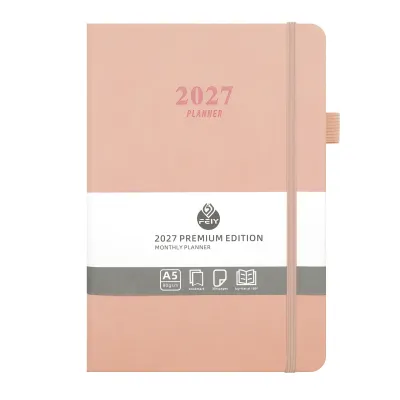
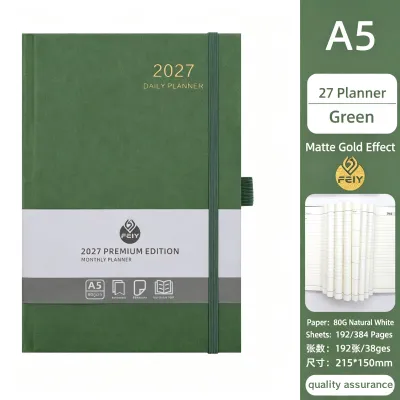
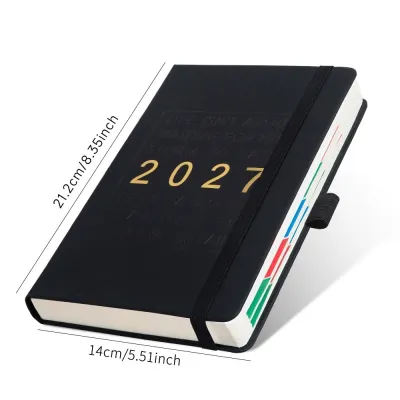
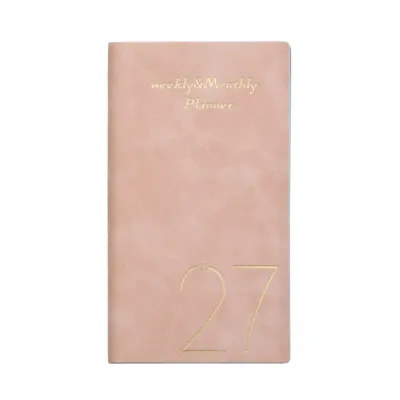
Prices are valid at publication and may change. Please refer to the product page for the latest price.
Use this diagnostic matrix to match your daily habits to the most efficient layout:
| Daily Habit / Workload Type | Primary Need | Recommended Layout |
|---|---|---|
| High volume of daily tasks, categorized lists, habit tracking | Visual segmentation | Vertical Column |
| Narrative journaling, open-ended notes, flexible weekly overview | Writing freedom | Horizontal Row |
| Back-to-back meetings, class schedules, strict time-blocking | Time-axis precision | Hourly Grid |
| Shifting workloads, project tracking, mixed notes and tasks | Hybrid flexibility | Modular / System Planner |
If your daily routine shifts constantly, a single fixed layout might feel restrictive. Hybrid planners often benefit from choosing a minimalist base layout and supplementing it with modular inserts, sticky notes, or dashboard cards to handle temporary spikes in scheduling complexity.
Vertical Layout: Structured Columns for Task-Heavy Days
A vertical weekly layout divides a two-page spread into tall, narrow columns, with each column representing a single day. This structure mimics the natural downward flow of a list, making it highly intuitive for task-oriented individuals. By presenting the entire week side-by-side, it allows you to scan your upcoming workload at a single glance.

This format is highly effective for managing extensive to-do lists and tracking daily habits. Many vertical planners divide each column into three distinct, unlabelled blocks. You can use these segments to separate your day chronologically (morning, afternoon, evening) or categorically (work tasks, personal errands, and fitness tracking). This natural division helps prevent your professional responsibilities from crowding out your personal life.
However, vertical columns have distinct physical limitations. The narrow width of each column restricts horizontal writing space, forcing you to use short phrases or tiny handwriting. If you prefer long-form journaling, mind mapping, or writing detailed meeting notes directly in your weekly spread, a vertical layout may feel uncomfortably cramped.
Horizontal Layout: Flexible Rows for Notes and Broad Overviews
Horizontal layouts arrange the days of the week in wide, horizontal rows, typically stacked across a two-page spread. This format closely resembles a traditional notebook, offering a familiar and comfortable writing experience. Because your eyes move naturally from left to right, horizontal rows feel less like a rigid schedule and more like an open canvas.
This layout is ideal for users who prioritize writing freedom over strict daily segmentation. It is highly suited for meal planning, project brainstorming, and keeping a flexible daily log. If you enjoy memory keeping or bullet journaling, the wide rows accommodate full sentences, sketches, and decorative stickers without crowding your actual plans.
The primary limitation of a horizontal layout is its lack of built-in structure. Without vertical columns or time markers, it is easy for tasks to blend together, making it difficult to visualize your daily timeline. If you require strict day-by-day separation, you will need to spend extra time manually drawing dividers or using color-coded ink to keep your tasks organized.
Hourly Layout: Time-Axis Precision for Appointments
An hourly layout features vertical columns integrated with a pre-printed time axis, usually running from early morning to late evening. This format is designed for absolute precision, transforming your planner into a visual map of your day. By allocating physical space to specific hours, it forces you to confront the reality of how much time you actually have.
This format is indispensable for students with fixed class schedules, freelancers managing billable hours, and professionals with back-to-back appointments. It is also the foundation for time-blocking, a productivity method where you dedicate specific blocks of time to single tasks. Seeing your open time slots visually represented helps prevent overcommitment and ensures you allocate sufficient travel or prep time between tasks.
Despite its precision, the hourly layout can be unforgiving. On days with few scheduled appointments, the pre-printed time slots can result in large patches of wasted space. Furthermore, because the hourly grid dominates the page, there is often very little room left for writing general, non-time-specific to-do lists or spontaneous notes.
Physical Specs: How Size and Binding Affect Your Layout Choice
Once you select a layout, physical specifications dictate how your planner performs in daily use. The overall dimensions of the planner directly impact the usable writing area. For instance, a compact A6 planner with a vertical layout will have incredibly narrow columns, which may frustrate those with larger handwriting. If you opt for a dense hourly grid, an A5 or B6 size generally provides the necessary breathing room.
Paper quality is another critical factor, especially in humid tropical climates like the Philippines. High relative humidity can cause paper fibers to expand, making them more absorbent. This often leads to increased ink feathering, ghosting, or slower drying times for gel and fountain pens. When shopping, look for planners featuring high-density paper (typically 80 GSM to 120 GSM) and perform a quick pen test in an inconspicuous area to ensure your favorite writing instruments do not bleed through.
Finally, evaluate the binding style. A weekly planner must lie completely flat on your desk to ensure comfortable writing across the center gutter. Thread-bound, disc-bound, or twin-ring bindings are excellent choices for flat-lay usability. Avoid stiff, glued bindings that force you to hold the pages down with one hand while trying to write with the other.
Frequently Asked Questions (FAQ)
Can I use a horizontal planner for time-blocking?
Yes, you can adapt a horizontal layout for time-blocking by drawing a custom timeline across the top or bottom of each daily row. Alternatively, you can use pre-printed time-tracking stickers or thin washi tape to divide the horizontal space into morning, afternoon, and evening blocks. While this offers excellent customization, it does require a regular investment of setup time compared to using a pre-printed hourly layout.
What if my schedule changes throughout the year?
If your scheduling needs fluctuate, look for a modular planner system. You can use sticky notes to temporarily overlay hourly grids onto vertical columns during busy weeks, or insert dashboard cards for extra task lists. If you anticipate major lifestyle changes in 2027, a disc-bound or ring-bound system allows you to swap out vertical, horizontal, and hourly pages as your daily routine evolves.
Community discussion
Share your experience or ask a question. Comments are reviewed before publication.