
Quick Answer: Which Colored Pencil Type Fits Your Style?
Choosing between wax-based and oil-based colored pencils depends on how you want the core to glide across your paper and the specific techniques your artwork demands. If you prefer a buttery, creamy feel that fills the paper’s texture quickly and allows for heavy, painterly blending, wax-based pencils are your ideal choice. They excel at rapid coverage and smooth, seamless gradients.
Conversely, if you require a firm core that holds a sharp point for intricate details, permits dozens of light layers, and never develops a cloudy surface film, oil-based pencils are the better fit. They offer a more controlled, resistant drawing experience that appeals to fine artists and illustrators.
Because individual brand formulations vary significantly, always check the manufacturer’s specifications for core hardness and binder composition before purchasing a full set. Testing individual open-stock pencils on your preferred paper is the most reliable way to verify their performance.
Products mentioned in this guide
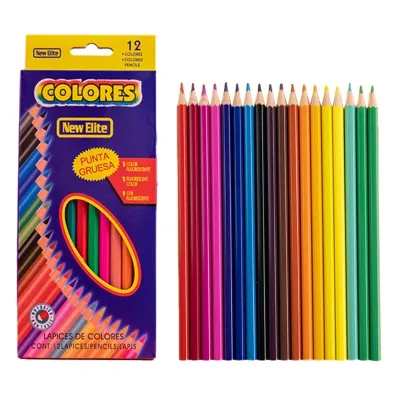
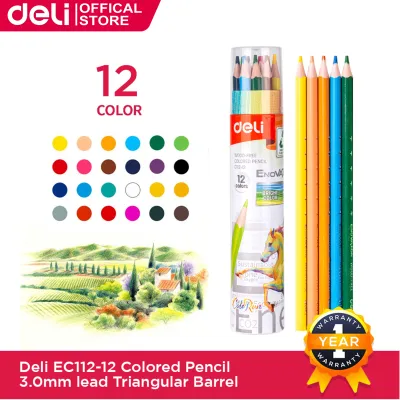
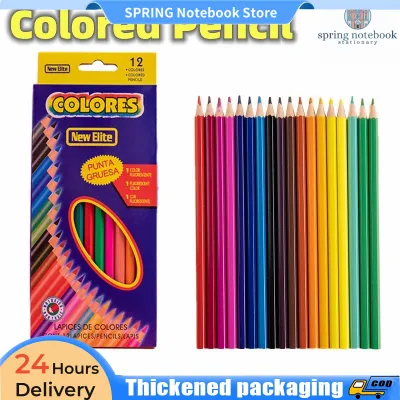
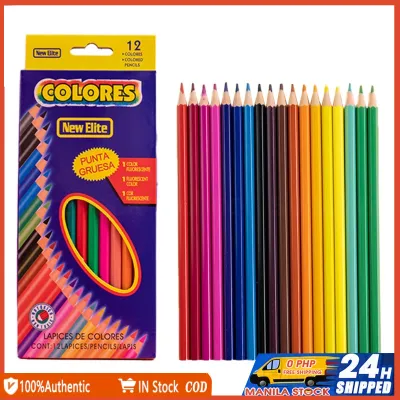
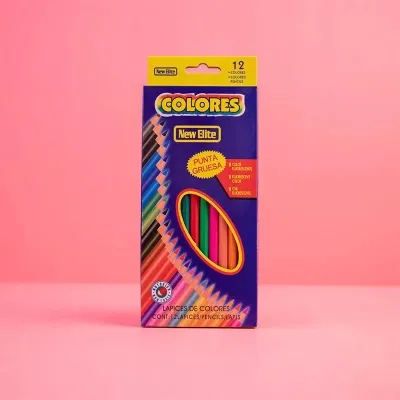
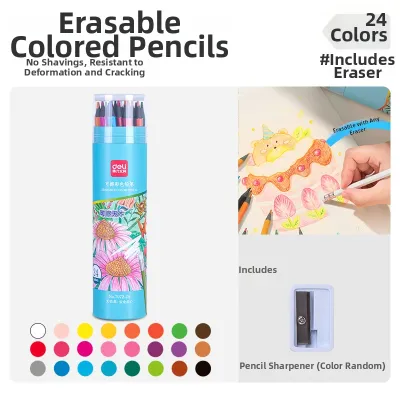
Prices are valid at publication and may change. Please refer to the product page for the latest price.
Understanding the Core: Wax vs. Oil Binders
To understand how these tools behave, it helps to look at what lies inside the pencil core. Every colored pencil core is made of a mixture of color pigments, fillers like clay or extenders, and a binding agent. The binder is the crucial ingredient that holds the dry pigment particles together in a solid stick and allows them to transfer smoothly onto your drawing surface.

Wax-based pencils utilize a binder primarily composed of paraffin or other soft waxes. This wax melts slightly under the friction of drawing, releasing a generous amount of pigment onto the paper. Oil-based pencils use a vegetable or drying oil as the primary binder, which creates a much tougher, more cohesive core that resists crumbling under heavy hand pressure.
The ratio of pigment to binder, along with the presence of added clays, determines the overall hardness and break resistance of the pencil. Student-grade and professional-grade pencils differ primarily in pigment concentration and binder quality rather than just the binder type. Professional-grade options of both types use high-quality, lightfast pigments and minimal fillers, ensuring rich color payoff and long-lasting artwork.
The Wax-Based Colored Pencil Experience
Drawing with a wax-based colored pencil offers an immediate, tactile satisfaction. The core glides across the paper with a soft, velvety smoothness that requires very little downward pressure to deposit vibrant color. This creamy consistency makes it easy to block in large areas of color quickly, as the soft wax easily fills the microscopic valleys of the paper.
However, this soft composition comes with a unique physical phenomenon known as wax bloom. Over time, the wax binder in heavily applied areas can migrate to the surface of the drawing, creating a hazy, cloudy white film that dulls the intensity of your colors. This occurrence is especially common in warm, humid tropical climates, where ambient moisture and heat encourage the wax to rise.
Despite the potential for wax bloom, artists favor wax-based pencils for their exceptional ability to burnish. Burnishing involves applying heavy pressure to grind the pencil layers into the paper fibers, creating a slick, paint-like surface with high color saturation. This technique is perfect for bold, graphic illustrations, smooth skin tones, and rich, solid backgrounds.
The Oil-Based Colored Pencil Experience
Using an oil-based colored pencil provides a completely different sensory experience. The core feels noticeably firmer and offers a slight, pleasant resistance against the paper. Because the oil binder is much tougher than wax, these pencils can be sharpened to an incredibly fine point without the tip snapping or crumbling under normal drawing pressure.
This structural integrity makes oil-based pencils the preferred tool for rendering fine details, such as individual strands of animal fur, delicate botanical veins, or precise architectural lines. The pigment is deposited in thin, controlled layers, which prevents the paper’s texture from becoming saturated too quickly and allows you to build up complex color mixtures gradually.
Another major advantage of the oil binder is its natural resistance to wax bloom. Because there is no wax to migrate to the surface, your finished drawings retain their original depth and color clarity indefinitely. Additionally, oil-based binders respond beautifully to standard solvents, allowing you to dissolve and paint the pigment across the paper using a brush dipped in odorless mineral spirits or baby oil.
Head-to-Head Comparison: Blending, Layering, and Smudging
When evaluating these two pencil types side-by-side, their performance differences become clear across several key artistic techniques. Understanding these practical limits will help you match the pencil to your specific workflow.
Blending and Color Mixing
Wax-based pencils blend physically through pressure and friction. Because the binder is soft, you can easily smear and mix colors directly on the paper using a paper stump, a colorless blender, or another pencil. Oil-based pencils blend more gradually through optical color mixing, where multiple translucent layers of different colors sit on top of one another to create a new hue. For seamless, painterly transitions, wax offers immediate results, while oil provides unmatched precision and control.
Layering Capacity
The physical thickness of the binder dictates how many layers your paper can accept. Wax-based pencils build up a thick, physical layer on the paper. After three to five layers, the surface often becomes slick and saturated, rejecting any additional pigment. Oil-based pencils deposit a much thinner film, allowing you to apply ten or more delicate layers before the paper’s tooth is completely filled.
Smudging, Erasing, and Solvent Reactions
Because wax is soft and sits on top of the paper fibers, it is more prone to accidental smudging if you drag your hand across your work. However, this softness also makes light layers of wax relatively easy to lift with a kneaded eraser. Oil-based pigments tend to bind more deeply with the paper fibers, making them highly smudge-resistant but also more difficult to erase completely once applied. When it comes to solvents, oil-based pencils dissolve smoothly into a wash, whereas wax-based pencils require stronger solvents to break down the wax barrier.
| Feature | Wax-Based Pencils | Oil-Based Pencils |
|---|---|---|
| Core Texture | Soft, buttery, and creamy | Firm, slightly dry, and resistant |
| Point Retention | Wears down quickly; needs frequent sharpening | Holds a sharp point; highly break-resistant |
| Layering Limit | Low to medium (surface becomes slick quickly) | High (allows numerous thin, translucent glazes) |
| Wax Bloom | Susceptible (especially in humid conditions) | Highly resistant to surface clouding |
| Blending Style | Physical smudging and heavy burnishing | Gradual layering or solvent-assisted washes |
| Debris & Crumble | Moderate to high; leaves small crumbs | Minimal to none; clean drawing path |
How to Choose the Right Colored Pencil for Your Projects
To select the best tool for your creative space, consider your drawing style, your preferred paper, and the climate of your workspace. A structured decision framework can guide your next purchase.
Choose Wax-Based Pencils If:
- You enjoy a fast, expressive drawing style with immediate color payoff.
- Your work features large areas of solid color, bold gradients, or heavy burnishing.
- You prefer a soft, buttery feel that does not fatigue your hand during long drawing sessions.
- You primarily work on medium-to-heavy textured papers that can grab and hold the soft wax.
Choose Oil-Based Pencils If:
- Your artwork relies on intricate details, fine lines, and highly controlled shading.
- You build up colors slowly using dozens of delicate, transparent layers.
- You live in a warm, humid environment where managing wax bloom is a constant challenge.
- You enjoy using solvents to blend your colored pencils into smooth, paint-like washes.
Paper Compatibility and Testing
Regardless of the binder type, your choice of paper plays a massive role in your final results. Smooth, hot-pressed papers are excellent for the fine detail work of oil-based pencils, but they can struggle to accept multiple layers of wax. Textured, cold-pressed papers provide the necessary grip to pull pigment from soft wax pencils, but they may require more effort to fill completely. Before investing in a large, expensive set, purchase a few individual open-stock pencils from different brands to test how they interact with your favorite paper.
Reading Product Labels
Identifying the binder type can sometimes be tricky, as manufacturers do not always print “wax” or “oil” clearly on the packaging. Look for descriptive keywords on the label. Terms like “soft core,” “creamy,” or “thick lead” usually indicate a wax-based pencil. Keywords such as “polychromos,” “hard core,” “break-resistant,” or “water-resistant” often point to an oil-based formulation. When in doubt, consult the manufacturer’s official digital catalog or product data sheets to verify the binder composition.
Frequently Asked Questions (FAQ)
Can you mix wax and oil colored pencils in the same drawing?
Yes, you can successfully combine both wax-based and oil-based colored pencils in a single piece of artwork. However, the order in which you apply them is critical for proper adhesion. Because wax-based pencils create a slick, non-porous barrier when applied heavily, laying a hard oil-based pencil over a thick wax layer can cause the oil pencil to slip, scrape, or fail to deposit pigment.
To avoid this issue, always start your drawing with your oil-based pencils to establish your fine details, light values, and initial color layers. Once your detailed work is complete, you can safely apply wax-based pencils over the top for heavy blending, highlights, or final burnishing. Always test your specific pencil combination on a scrap piece of the exact paper you plan to use to ensure the layers adhere without lifting.
How do I fix or prevent wax bloom on my finished artwork?
If a cloudy, white haze begins to appear over the dark areas of your wax-based drawing, you can easily restore the original color depth. Take a clean, dry, lint-free microfiber cloth or a soft facial tissue and gently wipe the surface of the drawing using light, circular motions. This friction will warm and disperse the migrated wax without smearing your pigment.
To prevent wax bloom from returning, apply a few light coats of a compatible UV-resistant matte fixative spray to your finished artwork. The fixative seals the surface, locking the wax in place and preventing it from rising to the top. Because some fixatives can slightly alter or darken certain colors, always spray a test sample of your colored pencils on scrap paper before applying the sealant to your final masterpiece.
Community discussion
Share your experience or ask a question. Comments are reviewed before publication.