
Crafters looking to elevate their needlework often turn to alternative bases that offer a structured, premium finish. Leatherette fabric, a popular synthetic alternative to genuine leather, has become a staple for creating personalized journal covers, custom patches, and durable bags. If you have ever wondered whether this material can withstand the repetitive punctures of an embroidery needle, the answer is a resounding yes—but with several crucial caveats. Because leatherette does not behave like traditional woven textiles, successful embroidery requires a specialized approach to stabilization, needle selection, and design density.
In tropical regions like the Philippines, where high humidity can affect how synthetic coatings behave, understanding the physical properties of your base material is even more critical. High moisture levels can make certain polyurethane coatings slightly tacky, causing standard sewing feet to drag or needles to gum up. By mastering the unique characteristics of leatherette fabric, you can create beautiful, long-lasting embroidered pieces without risking ruined materials or broken needles.
What Is Leatherette Fabric? Key Traits for Needlework
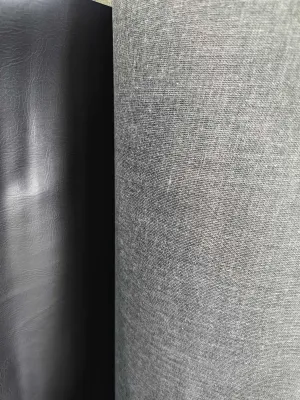
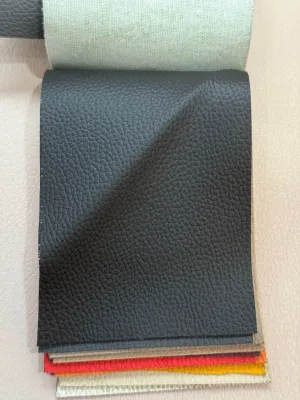
To work successfully with leatherette fabric, it helps to understand what it is actually made of. Often referred to as faux leather, synthetic leather, or pleather, leatherette is a composite material. It typically consists of a woven, knit, or non-woven fabric backing made from polyester, cotton, or a blend of both. This structural backing is coated with a synthetic plastic layer, most commonly polyurethane (PU) or polyvinyl chloride (PVC). The plastic top layer is embossed with a textured grain to mimic the natural appearance of animal hide.
Products mentioned in this guide
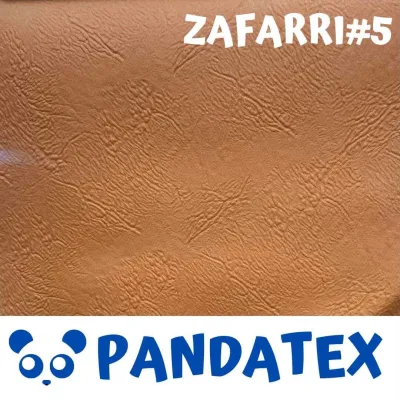
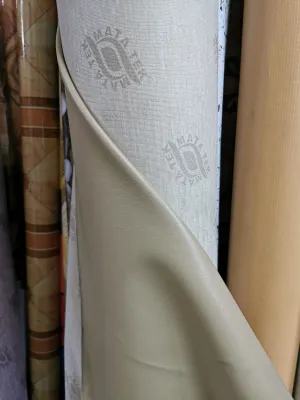
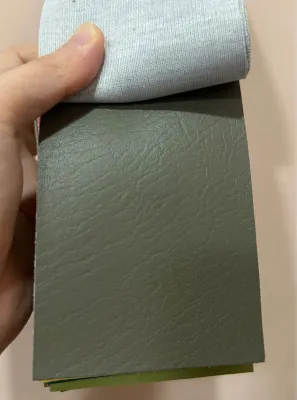
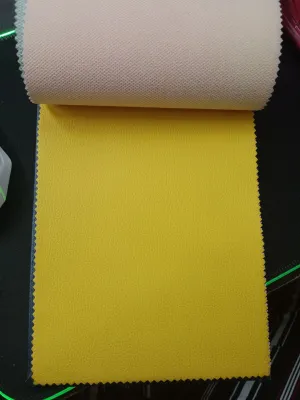
Prices are valid at publication and may change. Please refer to the product page for the latest price.
These structural layers give leatherette several distinct traits that directly impact hand and machine needlework:
- Lack of Stretch: Unlike knit fabrics, standard leatherette has very little to no stretch, especially if it has a woven backing. This stability is excellent for keeping designs aligned, but it means the material will not forgive uneven tension.
- Non-Fraying Edges: Because the synthetic coating seals the fibers, the edges of leatherette fabric do not fray or unravel when cut. This makes it an exceptional choice for raw-edge appliqué or clean-cut patches.
- Permanent Needle Holes: This is the most critical factor for embroiderers. Unlike woven fabrics where fibers shift to accommodate a needle and close up when a stitch is removed, leatherette is physically punctured. Once a needle pierces the synthetic coating, that hole is permanent. If you make a mistake, you cannot simply rip out the stitches and try again without leaving visible scars on the surface.
When sourcing materials, you will generally encounter two main types of leatherette: PU and PVC. PU leatherette is softer, more flexible, and closer in feel to genuine leather. It is generally easier to needle and is preferred for lightweight crafts, apparel accessories, and flexible book covers. PVC leatherette, on the other hand, is stiffer, thicker, and more rigid. It is highly durable and water-resistant, making it excellent for heavy-duty upholstery or structured bags, but it requires a much stronger needle to penetrate cleanly. Always check the manufacturer’s label or product specifications for the thickness and backing type before starting your project to ensure your machine can handle the load.
Can You Embroider on Leatherette? (Including Cross-Stitch)
Standard hand and machine embroidery are highly compatible with leatherette fabric. The smooth, uniform surface of the synthetic coating allows for clean stitch definition, making monograms, intricate line motifs, and decorative borders stand out beautifully. Whether you are personalizing a faux leather pouch or adding a brand logo to a custom planner cover, the material provides a sleek, modern background that elevates the overall look of the finished piece.

However, traditional cross-stitch presents a unique set of challenges on standard leatherette. Cross-stitch relies on a highly visible, uniform grid of holes—such as those found in Aida cloth or even-weave linen—to ensure stitches are perfectly square and evenly spaced. Regular leatherette fabric is completely solid, offering no visual guide for counting stitches. Trying to freehand cross-stitch on a solid synthetic sheet usually results in uneven, distorted patterns and a highly frustrating crafting experience.
Fortunately, there are two practical workarounds that allow you to achieve beautiful cross-stitch designs on faux leather:
- Perforated Leatherette: Some manufacturers produce specialized faux leather sheets that are pre-punched with a uniform grid of tiny holes specifically designed for cross-stitch and needlepoint. These sheets are excellent for making durable bookmarks, coin purses, and small ornaments. In local craft stores and online marketplaces, these are often sold in convenient A5 or A4 sheets, ranging from ₱50 to ₱150 depending on the thickness and finish.
- Waste Canvas or Soluble Canvas: If you want to cross-stitch on standard, solid leatherette, you can temporarily apply a layer of waste canvas or water-soluble canvas to the surface. You stitch your design through both the canvas and the leatherette, using the canvas grid as your guide. Once the embroidery is complete, you either pull out the individual waste canvas threads or dissolve the soluble canvas in warm water, leaving only your perfectly aligned cross-stitches on the leatherette surface.
How to Hoop and Stabilize Leatherette Without Damage
Securing your fabric properly is the foundation of high-quality embroidery, but traditional hooping methods can easily ruin a pristine sheet of leatherette. When you clamp a thick, synthetic material tightly between two plastic or wooden embroidery hoops, the pressure often leaves a permanent, indented ring on the surface—a phenomenon known as “hoop burn.” Additionally, the physical friction can crush or scuff the embossed faux leather grain, leaving unsightly shiny spots that cannot be repaired.
To protect your material while maintaining the necessary tension, you must use alternative hooping and framing methods. The most reliable technique is “floating” the leatherette rather than hooping it directly:
- Hoop the Stabilizer: Hoop only your stabilizer first. A sturdy tear-away or medium-weight cut-away stabilizer works best to support the weight of the stitches and prevent the leatherette from shifting during the embroidery process.
- Apply Temporary Adhesive: Apply a light layer of temporary embroidery adhesive spray to the hooped stabilizer. To protect your work area and the face of your project, never spray adhesive directly onto the leatherette itself.
- Position the Fabric: Gently press the leatherette fabric onto the sticky stabilizer, smoothing it out from the center to ensure there are no air bubbles or wrinkles.
- Secure the Edges: Secure the outer edges of the leatherette to the hoop using low-tack painter's tape or specialized embroidery clamps for added security.
If you frequently embroider on faux leather, investing in magnetic embroidery hoops is an excellent option. Magnetic hoops hold the material securely using strong magnets rather than a friction-fit clamp, distributing pressure evenly and eliminating the risk of hoop burn.
Additionally, the synthetic coating of leatherette can sometimes be slightly sticky or rubbery, especially in warm, humid tropical climates. This texture can cause the embroidery needle or the machine’s presser foot to drag, leading to skipped stitches or puckering. To prevent this, place a layer of lightweight, water-soluble topping over the design area before stitching. This topping acts as a barrier, allowing the needle to glide smoothly over the surface. Once the design is finished, simply tear away the excess topping and remove any remaining residue with a damp cloth or sponge.
Best Needles, Threads, and Machine Settings for Faux Leather
Using the correct tools and machine settings is essential to prevent your leatherette from tearing, puckering, or damaging your embroidery machine. Because the synthetic coating of faux leather is dense, standard embroidery needles (which have slightly rounded ballpoints designed to slip between woven threads) will struggle to penetrate the material. This struggle can lead to bent needles, shredded thread, and skipped stitches.
For thicker, more rigid PVC leatherette, you should use a dedicated leather needle. Leather needles feature a sharp, wedge-shaped point that physically slices a tiny slit through the synthetic layer and backing fabric, allowing the thread to pass through with minimal friction. For thinner, more delicate PU leatherette, a sharp embroidery needle or a microtex needle (size 75/11 or 80/12) is often a better choice. Microtex needles have an extremely sharp, slim point that creates very clean, small punctures, reducing the risk of leaving overly large holes in the material. Always perform a test run on a scrap piece of the exact same leatherette to determine which needle creates the cleanest puncture without tearing the backing.
When it comes to thread selection, high-quality polyester or rayon embroidery threads are highly recommended. These threads offer excellent sheen, strength, and smooth feeding. Avoid using overly thick, heavy, or highly textured decorative threads; these require larger needles and can create wider holes, which structurally weakens the leatherette and can cause the material to split along the stitch line.
Before pressing the start button on your embroidery machine, make a few quick adjustments to your settings:
- Slow Down the Speed: Reduce your machine's sewing speed to around 400 to 500 stitches per minute. Slower speeds reduce friction and heat buildup, preventing the synthetic plastic coating from melting or sticking to the needle.
- Check the Presser Foot: If your machine's standard metal presser foot sticks to the shiny surface of the leatherette, swap it out for a non-stick Teflon foot or a roller foot. Alternatively, you can place a small piece of matte magic tape on the bottom of your standard foot to help it glide effortlessly over the material.
- Adjust Tension: Slightly loosen your upper thread tension if you notice the stitches pulling too tightly and puckering the synthetic surface.
Design Rules and Common Mistakes to Avoid
Planning your embroidery design with the physical limits of leatherette fabric in mind will save you time, frustration, and wasted materials. The most common mistake crafters make when embroidering on faux leather is choosing a design that is too dense. Because every needle penetration creates a permanent hole, a highly dense design with heavy fill stitches or multiple overlapping layers acts exactly like a postage stamp perforation. Under the tension of the stitches or during daily use, the leatherette can easily tear, causing the entire embroidered section to fall out or separate from its backing fabric.
To ensure your project remains durable, follow these design guidelines:
- Choose Open Designs: Opt for lightweight, airy, or linear designs. Redwork, outline-only motifs, light satin stitch borders, and open fill patterns work beautifully on leatherette because they minimize the number of punctures.
- Avoid Heavy Underlay: If you are digitizing your own designs, reduce or eliminate heavy underlay stitches. A simple contour or light grid underlay is usually sufficient to stabilize the design without over-perforating the material.
- Emphasize Testing: Never skip the testing phase. Embroider your chosen design on a scrap piece of your leatherette using the same stabilizer, needle, and thread you plan to use for the final project. This allows you to check for puckering, verify that the needle holes are clean, and adjust your machine tension before working on your actual project.
Additionally, be extremely cautious with heat and adhesives. Never use heavy spray adhesives directly on the face of the leatherette, as the solvents can permanently dissolve, discolor, or ruin the synthetic finish. Similarly, avoid using standard iron-on or fusible stabilizers that require high heat to activate the adhesive. High temperatures will quickly melt, warp, or scorch the PVC or PU coating, leaving you with a ruined, misshapen piece of material. Stick to self-adhesive (peel-and-stick) stabilizers or temporary spray adhesive applied strictly to the stabilizer backing.
Frequently Asked Questions (FAQ)
Does leatherette fray when cut or embroidered?
No, leatherette fabric does not fray or unravel when cut or embroidered. Because the synthetic polyurethane or polyvinyl chloride coating binds the underlying woven or knit fibers together, the edges remain perfectly clean and intact. This non-fraying characteristic makes leatherette an excellent choice for raw-edge appliqué, freestanding patches, and intricate cut-out embroidery designs, as you do not need to finish or seal the edges to prevent fraying over time.
Can I iron leatherette fabric to remove wrinkles before embroidering?
You should never apply direct heat or steam to the coated surface of leatherette fabric, as this can easily melt, scorch, or permanently alter the textured finish of the synthetic layer. To safely remove wrinkles, place a thick, dry pressing cloth or a clean cotton towel over the backing side (the fabric side) of the leatherette and iron on a very low heat setting. Always test this method on a small, hidden scrap piece first to ensure the heat does not damage the material.
Community discussion
Share your experience or ask a question. Comments are reviewed before publication.