
Starting your sculpting journey begins with choosing the right materials. If you want to explore hand-building without the need for a high-temperature kiln or specialized baking ovens, a beginner-friendly air dry clay set is the ideal entry point. These convenient packages provide the essential medium and basic tools required to shape, carve, and finish your first projects right at home.
However, not all sets are created equal. Selecting the wrong formulation or a package filled with unnecessary plastic gimmicks can lead to early frustration. To make an informed decision, you must evaluate the clay’s physical properties, the utility of the included accessories, and how well the material handles drying in your local environment.
In tropical regions like the Philippines, where high humidity can significantly influence drying times and storage requirements, understanding these variables is even more critical. A great starter set balances ease of use, forgiving workability, and practical storage solutions so you can focus on mastering your hand-building techniques.
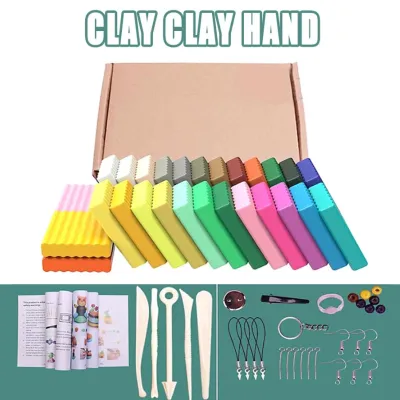
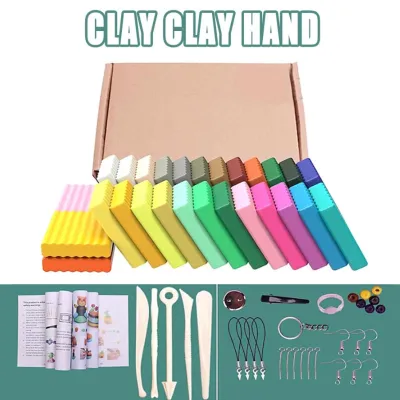
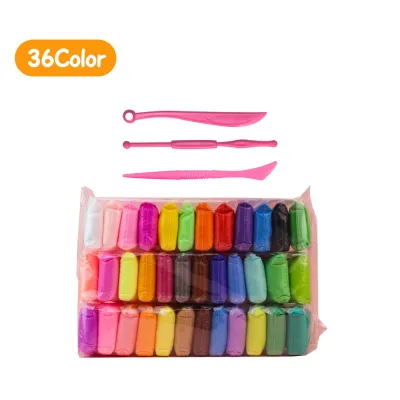
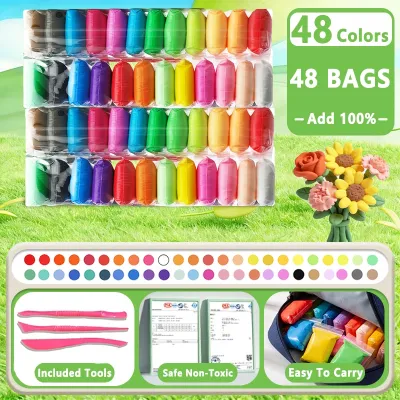
Products mentioned in this guide
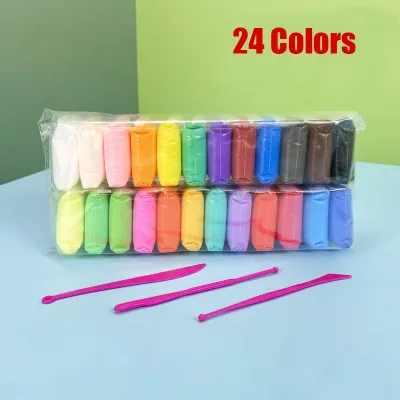
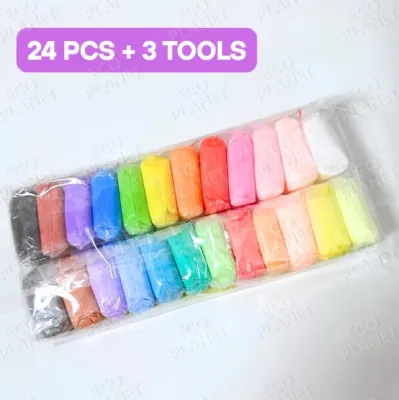
Prices are valid at publication and may change. Please refer to the product page for the latest price.
Quick Checklist: Core Features of a Beginner-Friendly Air Dry Clay Set
When browsing online marketplaces or local craft shops, it is easy to get overwhelmed by massive kits boasting dozens of accessories. For your first purchase, prioritize quality and simplicity over sheer volume. A well-rounded starter set should meet several foundational specifications to ensure a smooth learning curve.
Use this quick checklist to evaluate any potential air dry clay set:
- Manageable Clay Weight: Look for sets offering 500g to 1kg of clay. This provides enough material for several small trial projects without leaving a massive amount of leftover clay vulnerable to drying out.
- Versatile Base Colors: Opt for white, off-white, or classic terracotta. These neutral bases act as blank canvases, allowing you to paint and customize your finished pieces easily.
- Essential Shaping Tools: Ensure the set includes at least three to five basic shaping tools, such as a wooden modeling tool, a wire cutter, and a small roller.
- Airtight Packaging: Verify that the clay comes in resealable tubs or heavy-duty, zip-lock foil packaging to preserve freshness between crafting sessions.
The primary goal of your first set is to provide a forgiving medium. As a beginner, you want a clay that is easy to manipulate, resists cracking when slightly overworked, and allows you to practice basic hand-building without the pressure of working with highly sensitive, professional-grade modeling mediums.
Diagnosing the Clay: Weight, Color, and Texture Needs
The heart of any air dry clay set is, of course, the clay itself. Before committing to a specific brand, it is essential to diagnose the material’s characteristics to ensure they align with your learning goals.

Weight and Volume
Purchasing clay in bulk might seem cost-effective, but starting with a smaller quantity (around 500g to 1kg) is a much wiser diagnostic step. This modest volume allows you to run small trial tests to observe how the clay shrinks, how consistently it dries, and whether you enjoy its tactile feedback. If you find the material too sticky or too stiff, you can easily switch brands without having wasted a large, expensive block of clay.
Color Selection
Beginner sets generally come in three varieties: pure white, terracotta, and multi-colored packs. While multi-colored packs of lightweight polymer-like air dry clay are popular for making small, cartoonish figurines, they limit your ability to learn traditional finishing techniques. Choosing a solid white or terracotta clay is highly recommended. These neutral tones allow you to focus purely on form and texture during the sculpting phase, and they provide an excellent base for applying acrylic paints and protective sealants later.
Texture and Workability
When reading product descriptions, pay close attention to terms describing the clay’s texture. Standard cellulose-based (paper-fiber) clays are highly recommended for beginners because they are exceptionally easy to blend, smooth with a splash of water, and join using basic scoring techniques. On the other hand, heavily fiber-reinforced clays or nylon-infused modeling compounds offer superior structural strength for larger armatures but can be significantly harder to detail, carve, or smooth, making them frustrating for first-time crafters.
Shrinkage Rates
All air dry clays shrink as their water content evaporates, but the rate of shrinkage varies widely between brands. High-shrinkage clays (often those with high water-to-solid ratios) are prone to severe warping and cracking, especially around rigid internal supports. Look for manufacturer specifications or user reviews indicating a low shrinkage rate (ideally under 5% to 8%). If the packaging does not specify the shrinkage rate, perform a quick trial by rolling out a small, flat tile of clay and measuring it before and after it cures.
Evaluating the Toolkit: Essential vs. Filler Accessories
Many manufacturers pack their air dry clay set options with dozens of cheap, fragile accessories to make the bundle look more attractive. To get the best value, you must learn to distinguish between genuine, high-utility tools and low-quality fillers.
Sculpting and Shaping Tools
A functional starter toolkit does not need thirty different pieces. Instead, look for a set that provides a few high-quality, durable essentials:
- Wooden or Plastic Modeling Tools: A dual-ended tool with a curved thumb-like end for smoothing and a pointed end for detailing is indispensable.
- Wire Clay Cutter: Essential for slicing clean portions off your main clay block without compressing or distorting the material.
- Acrylic Roller: A small, non-stick rolling pin is crucial for achieving an even thickness when rolling out slabs of clay for pinch pots or tiles.
Work Surface Protection
Clay naturally wants to stick to porous surfaces like wooden dining tables or laminate desks, which can cause your delicate creations to tear when you try to lift them. A beginner set that includes a non-stick silicone mat or a small canvas board provides immediate value. If your chosen set does not include one, you can easily substitute a sheet of parchment paper or a silicone baking mat from your kitchen.
Finishing Supplies
Some starter kits include tiny pots of acrylic paint, basic brushes, and a small vial of gloss varnish. While these inclusions are convenient bonuses for immediate crafting, keep your expectations realistic. The paints provided are often highly diluted, and the included varnishes may not offer long-term moisture protection. For a truly professional, durable finish, plan to purchase a dedicated, high-quality acrylic paint set and a robust water-resistant varnish or sealant separately.
Red Flags to Avoid
Be wary of sets that advertise “50-in-1” or “100-piece” assortments. These frequently consist of dozens of identical, tiny plastic cookie-cutter molds, fragile plastic sculpting knives that bend under pressure, and flimsy armature wires that cannot support the weight of the clay. These fillers drive up the price while distracting you from learning the fundamental hand-building techniques—such as pinching, coiling, and slab building—that form the foundation of successful sculpting.
Project Alignment: Drying Time, Shrinkage, and Scale
Before purchasing a set, consider what you actually want to make. The physical limits of air dry clay mean that your project’s scale and design must align directly with the clay’s drying and structural properties.
Project Scale and Armatures
If your goal is to craft delicate jewelry, small charms, or intricate miniature figurines, you need a fine-grained, smooth clay that holds crisp details without crumbling. For larger, structural projects like decorative bowls, plant pots, or standing figures, the clay must be robust enough to support its own weight while wet. Larger figures will require you to build an internal support structure, known as an armature, using aluminum foil or wire. Ensure your clay choice is compatible with armatures; some highly elastic, lightweight clays do not adhere well to metal wires and may pull away as they dry.
Drying Time Expectations
Unlike kiln-fired ceramic clay or oven-baked polymer clay, air dry clay requires patience. Standard drying times range from 24 to 72 hours, depending heavily on the thickness of your piece and the ambient humidity. In the tropical climate of the Philippines, where relative humidity is consistently high, expect your projects to take the full 72 hours—or even longer—to cure completely. Avoid the temptation to rush this process. To verify if a piece is fully dry, touch it gently; if it feels cool to the touch, moisture is still evaporating from the core, and it is not yet ready for sanding or painting.
Post-Drying Workability
A major part of the crafting process happens after the clay has dried. Beginners often make mistakes, leaving rough edges, uneven surfaces, or visible seams. A high-quality air dry clay should remain sandable and carvable once fully cured. This allows you to use fine-grit sandpaper to smooth out imperfections and a carving tool to refine details. Avoid brittle, low-grade clays that crumble or shatter under the gentle pressure of sandpaper, as they will make achieving a clean, professional finish nearly impossible.
Storage and Shelf Life: Keeping Unused Clay Workable
Air dry clay begins curing the moment it is exposed to air. Because of this, how you store your unused clay between crafting sessions is just as important as how you sculpt with it.
Packaging Quality
When evaluating an air dry clay set, look closely at how the clay itself is packaged. Individually wrapped, vacuum-sealed foil bricks are excellent for preserving freshness before the first use. Once opened, however, you need a reliable storage solution. Sets that include airtight plastic tubs with secure lids offer a significant advantage over those that only provide thin, non-resealable plastic wraps.
Rehydration Limits
Over time, even well-stored clay can lose some of its moisture and become slightly stiff or crumbly. You can easily diagnose and revive slightly dry clay by misting it with a few drops of clean water, wrapping it tightly in plastic wrap, and letting it rest in an airtight container overnight before kneading it. However, you must recognize the boundary of no return: once air dry clay has fully hardened, crystallized, or cured, its chemical bonds have permanently locked. At this stage, it cannot be rehydrated or saved, and attempting to blend it back into fresh clay will only ruin the texture of your new batch.
Environmental Factors
Storing your clay correctly requires managing your local environment. In highly humid tropical conditions, mold can quickly become an issue if organic, cellulose-based clay is stored wet for extended periods. Always store your sealed clay containers in a cool, dark cupboard away from direct sunlight and heat sources, which can cause moisture to evaporate inside the container, forming condensation that encourages mold growth. If you plan to store opened clay for more than a few weeks, placing a tiny damp sponge or a piece of damp paper towel inside the outer container (without letting it directly touch the clay for long periods) can help maintain a stable moisture balance.
Frequently Asked Questions (FAQ)
Is air dry clay safe for food or water contact?
No, air dry clay is strictly non-toxic but is not food-safe, nor is it naturally waterproof. Because it is a porous, water-based material, it will absorb liquids, soften, and eventually disintegrate if it comes into contact with water. Even if you apply multiple layers of acrylic sealer or craft varnish, these coatings are not food-safe and can degrade over time. Therefore, you should only use your air dry clay set to create decorative items, such as trinket dishes, jewelry, wall hangings, and faux planters, rather than functional mugs, bowls, or plates intended for eating or drinking.
Can I bake air dry clay in the oven to make it dry faster?
You should never bake, microwave, or use a heat gun to force-dry air dry clay. Air dry clay is formulated to dry slowly and evenly at room temperature through natural evaporation. Applying artificial heat causes the exterior layer of the clay to dry and shrink rapidly while the interior core remains wet. This extreme moisture imbalance creates intense internal pressure, leading to severe warping, deep cracking, and structural failure. In worst-case scenarios, baking can even scorch or burn the organic fibers within the clay. The safest and most effective drying method is to place your finished piece on a wire drying rack in a well-ventilated room out of direct sunlight.
Do I need to seal my finished air dry clay projects?
Yes, sealing your finished projects is highly recommended if you want them to last. Because cured air dry clay remains highly porous, it will continuously absorb moisture from the surrounding air, which can cause it to soften, warp, or develop mold over time—especially in humid environments. Applying a sealant also locks in your paint job, prevents UV fading, and protects the surface from dust and scratches. Once your piece is completely dry and painted, apply two to three thin coats of a water-based acrylic varnish, polyurethane sealer, or a specialized craft sealant, allowing each layer to dry fully before applying the next.
Community discussion
Share your experience or ask a question. Comments are reviewed before publication.