
Starting a punch needle project in a school art class is an exciting way to explore textile arts, but a successful experience depends heavily on having the right tools from day one. For a beginner, purchasing a complete punch needle kit is the most efficient way to avoid the frustration of mismatched materials, missing accessories, or mid-project supply runs. A truly comprehensive kit provides a carefully calibrated ecosystem where the needle, yarn, fabric, and hoop are designed to work together seamlessly. By selecting a kit that contains every necessary component, students can focus on mastering the basic loop technique rather than troubleshooting loose fabric or jammed needles.
Selecting the right kit involves understanding how these components interact and verifying that the materials can withstand the classroom environment. Since art classes operate on structured schedules, minimizing setup time and material failures is essential for keeping students on track. This guide outlines the essential components, quality evaluation criteria, and practical school-specific considerations to help you choose a reliable punch needle kit that supports beginner success.
Essential Components of a Truly Complete Punch Needle Kit
To ensure a student can complete their art project without interruption, a punch needle kit must contain a specific inventory of core tools and materials. The most critical tool in the package is the punch needle itself. This specialized tool features a hollow shaft and a sharp, beveled tip that allows yarn to pass through easily. A complete kit must include a dedicated threading tool—usually a long, flexible wire threader—which is essential for pulling the yarn through the handle and out of the needle’s eye. Without this simple accessory, threading the needle becomes nearly impossible, halting the project before the first stitch is made.
Products mentioned in this guide
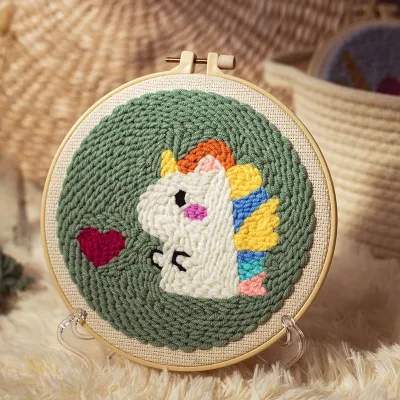
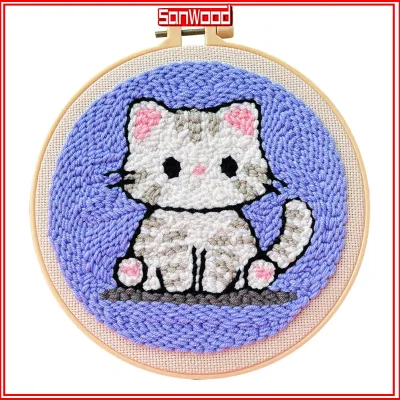
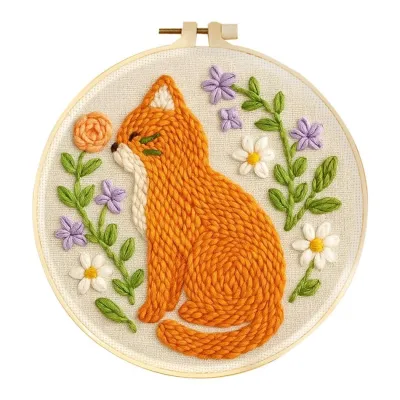
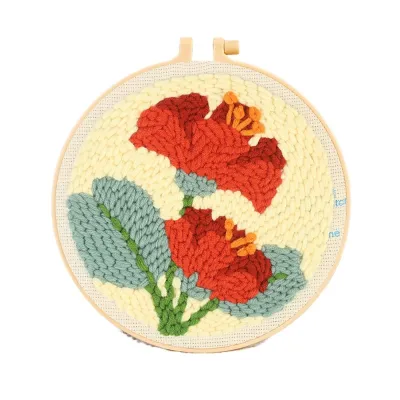
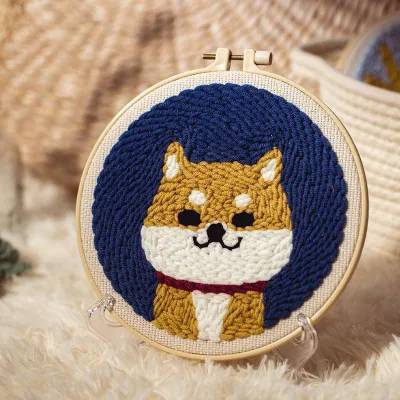
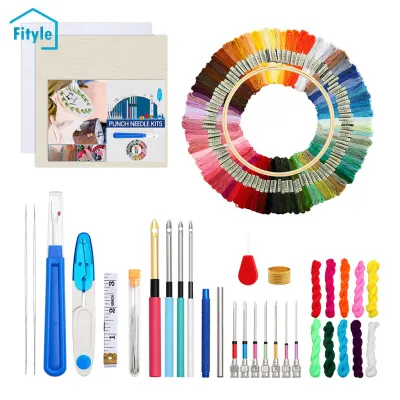
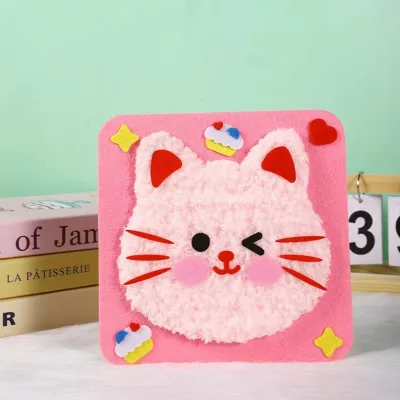
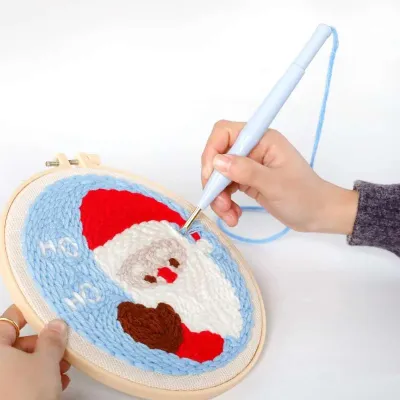
Prices are valid at publication and may change. Please refer to the product page for the latest price.
The foundation fabric is the canvas of the punch needle project, and its quality directly affects how well the yarn loops remain anchored. A complete kit should provide a pre-cut piece of fabric that is significantly larger than the included hoop, allowing ample excess material to be gripped tightly by the frame. This fabric must feature a weave density that matches the needle size, ensuring that the fibers part easily when the needle is inserted and close firmly around the yarn when the needle is withdrawn.
Maintaining strict fabric tension is critical for consistent stitch depth, which is why a reliable tension device must be included. Most beginner kits feature a circular embroidery hoop made of plastic or wood. This hoop must be capable of holding the fabric taut, like a drum, throughout the entire crafting process. If the fabric sags or slips, the needle will fail to create uniform loops, leading to uneven textures and unraveled stitches.
Finally, the kit must supply a sufficient quantity of yarn in all the colors required to complete the specific design. Beginners should look for kits that provide a generous surplus of yarn to account for practice stitches, mistakes, or tension variations. Along with the yarn, a clear, beginner-friendly pattern guide should be included, featuring a pre-drawn template or step-by-step visual instructions that guide the student through the color layout and stitching order.
How to Evaluate Kit Quality for Beginner Art Students
Not all punch needle kits are created equal, and many budget options contain low-quality components that can frustrate a student. The first and most important factor to evaluate is the compatibility between the needle size and the yarn thickness. If the needle’s eye is too small for the yarn, the fibers will snag, creating friction that prevents the yarn from flowing smoothly through the tool. Conversely, if the needle is too large for the yarn, the loops will simply fall out of the fabric as soon as the needle is lifted. A high-quality kit will explicitly state that the needle and yarn have been matched for optimal performance.

The grip strength of the included hoop is another critical point of evaluation. Plastic hoops with a built-in tongue-and-groove design generally offer superior grip compared to basic wooden hoops, as they lock the fabric in place and prevent slipping. If you choose a wooden hoop, ensure it features a sturdy, adjustable metal tension screw that can be tightened with a screwdriver or by hand. A loose hoop requires constant readjustment, which disrupts the student’s rhythm and can damage the foundation fabric over time.
The weave tightness of the foundation fabric must also be examined closely. Monk’s cloth, a 100% cotton fabric with a distinct double-weave pattern, is the standard for punch needle art because it is durable and highly forgiving. Beginners should avoid kits that substitute cheap, loosely woven burlap or stiff polyester fabrics, as these materials often tear under the pressure of the needle or fail to hold the yarn loops securely. The fabric should feel soft yet substantial, with visible, uniform holes that accommodate the needle tip without shredding.
Lastly, clear and comprehensive instructions are vital for a student working independently or in a classroom setting. The kit should include detailed, step-by-step visual guides that explain how to thread the needle, how to stretch the fabric over the hoop, and how to execute the basic punch stitch. Instructions that rely solely on brief text descriptions without diagrams or links to video tutorials can leave beginners confused, leading to avoidable mistakes and wasted materials.
Aligning Kit Specifications with School Project Needs
When selecting a punch needle kit for a school art class, practical classroom logistics must be taken into consideration. The physical scale of the project should match the limited desk space available to the student. Large frames can be cumbersome to manage in a crowded classroom, whereas a compact hoop diameter of 4 to 6 inches fits comfortably on a standard school desk. Smaller projects are also highly advantageous because they can be completed within the limited hours allocated for the art curriculum, preventing students from falling behind or feeling overwhelmed.
Material safety and maintenance are equally important factors, especially in an educational environment. Parents and teachers should review the manufacturer’s labels to ensure that the yarn dyes are non-toxic and safe for prolonged skin contact. Additionally, consider how the finished piece will be maintained; in tropical climates with high humidity, wool yarns may be susceptible to moisture damage or pests, making synthetic acrylic yarns a more practical and durable choice for school projects.
Portability is another key requirement for school-bound art supplies. A complete kit should ideally include a reusable storage bag, pouch, or box that keeps the needle, yarn skeins, and hoop organized. This prevents small, essential parts like the wire threader from getting lost in a backpack during transit between home and school. A dedicated container also protects the unfinished artwork from getting soiled or snagged on other school supplies.
Finally, budget alignment is a major consideration for families purchasing school supplies. While individual components can be sourced separately, a complete kit is generally much more cost-effective, often priced reasonably in ₱ compared to the cumulative cost of buying a high-quality needle, a sturdy hoop, multiple yarn colors, and specialized fabric individually. When comparing kits, ensure that the price reflects a truly complete set, as some cheaper options omit the needle or the hoop, forcing you to make additional purchases later.
Pre-Purchase Checklist to Avoid Missing Supplies
Before finalizing your purchase of a punch needle kit, it is wise to run through a quick checklist to ensure the student has everything required from start to finish. Many kits focus entirely on the active stitching phase but neglect the finishing steps. Check if the kit includes finishing supplies, such as fabric glue or backing felt, which are necessary to secure the loops on the reverse side of the fabric. Without a proper adhesive or backing, the completed design can easily unravel when handled or displayed.
You should also consider the availability of replacement parts. The wire threading tool is incredibly thin and easily misplaced in a busy classroom. Selecting a kit that includes a spare threader, or choosing a brand that offers easily accessible replacement parts, can save a student from being unable to continue their work if a component goes missing.
Additionally, verify how the pattern is transferred to the foundation fabric. The most beginner-friendly kits feature a design that is already pre-printed directly onto the fabric, allowing the student to start punching immediately. If the kit requires the student to transfer the pattern themselves, ensure it includes the necessary transfer paper or tracing templates, or be prepared to supply a fabric marker separately.
Frequently Asked Questions (FAQ)
Can regular knitting yarn be used with any punch needle kit?
No, regular knitting yarn cannot be used interchangeably with any punch needle kit. The success of punch needle art depends on a precise match between the yarn weight, the needle’s eye diameter, and the weave of the foundation fabric. If you attempt to use thick, bulky knitting yarn with a fine punch needle, the yarn will jam inside the hollow shaft and refuse to form loops. Conversely, using thin yarn with a large needle will result in loose loops that slip out of the fabric. If you wish to use external yarn, you must verify that its weight matches the specific needle size provided in your kit.
Is monk's cloth necessary, or can beginners use other fabrics?
While monk’s cloth is highly recommended for beginners due to its durability and excellent loop retention, it is not the only option, though alternatives must be chosen carefully. Monk’s cloth features a unique woven structure that stretches easily and grips yarn securely without tearing. Beginners should avoid standard cotton fabrics, tight canvas, or Aida cloth (commonly used for cross-stitch), as these materials do not have the correct weave density. Aida cloth is too stiff and will warp or tear under the pressure of a punch needle, while standard cotton will not hold the loops in place without the immediate application of fabric glue.
Community discussion
Share your experience or ask a question. Comments are reviewed before publication.