
Choosing your first acrylic marker set can feel overwhelming given the sheer variety of tip sizes, paint formulas, and color palettes available. Unlike standard school markers, these tools contain actual acrylic paint, offering a vibrant, opaque finish that can transform everyday objects into works of art. By focusing on a few essential specifications, you can easily find a starter set that matches your creative goals without overspending.
To select the right starter set, prioritize a versatile medium bullet nib (around 2mm to 3mm) for general drawing, a core palette of 12 to 24 highly pigmented colors, and clear labeling that indicates multi-surface compatibility. Opting for water-based, non-toxic formulas ensures a comfortable working environment, while checking for a reliable valve-action priming system guarantees consistent paint flow. Balancing these features against your budget will help you avoid the common pitfalls of dry nibs, watery paint, or clogged tips.
Understanding Acrylic Marker Basics
To appreciate why acrylic markers are highly valued by crafters and artists, it helps to understand how they differ from traditional drawing instruments. Standard markers typically use dye-based alcohol or water inks, which are translucent and soak directly into paper fibers. Acrylic markers, on the other hand, utilize a water-based suspension of fine pigment particles in an acrylic polymer emulsion. This chemical composition allows the paint to sit on top of the material rather than sinking into it, resulting in remarkable opacity.
Products mentioned in this guide
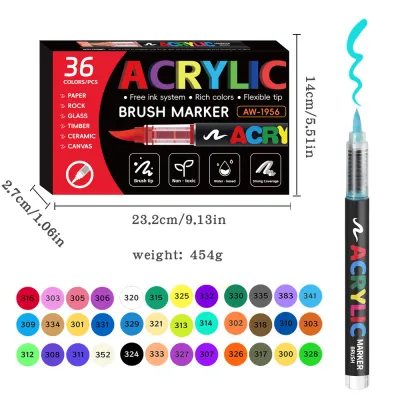
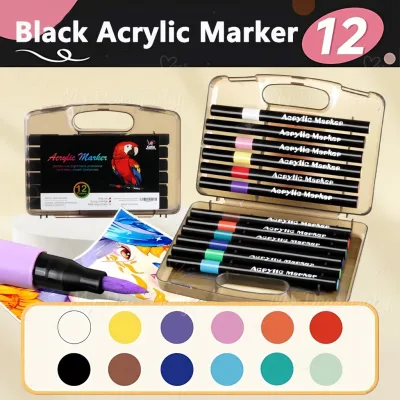
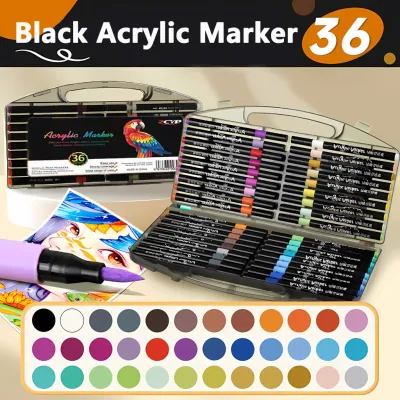
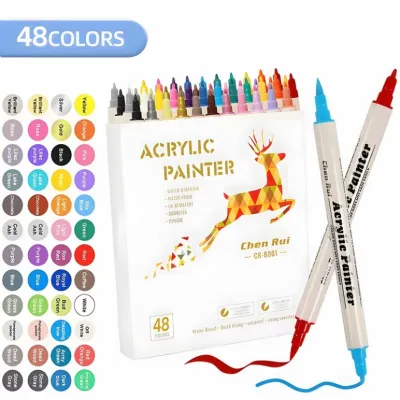
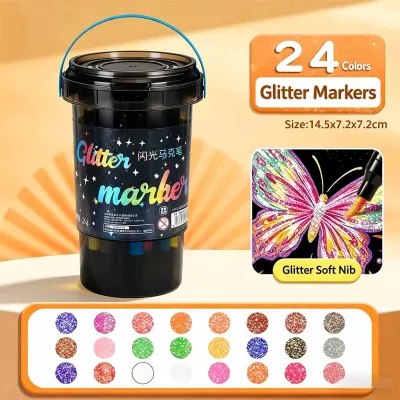
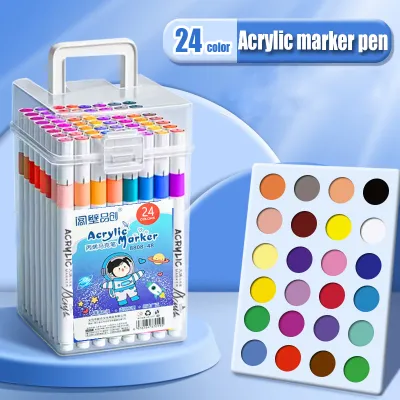

Prices are valid at publication and may change. Please refer to the product page for the latest price.
This surface-layer coverage means you can easily apply light colors over dark backgrounds, a technique that is virtually impossible with standard coloring markers. Once the water in the emulsion evaporates, the acrylic polymer cures into a flexible, water-resistant plastic film. This cured layer binds securely to a wide variety of materials, making the markers highly versatile tools for mixed-media projects.
In tropical climates like the Philippines, high atmospheric humidity can influence how these markers behave. While the paint remains water-resistant once fully cured, the initial drying phase may take slightly longer in humid conditions. Understanding this characteristic helps you pace your layering process, ensuring each coat is dry to the touch before you apply the next color.
Key Specifications to Evaluate
Nib Shapes and Priming Mechanisms
The nib is the physical point of contact between the marker and your surface, directly dictating the style of lines you can produce. For beginners, understanding the common nib shapes and how they control paint delivery is crucial for a frustration-free experience.

- Extra-Fine Nibs (0.7mm to 1mm): Best suited for fine outlines, detailed cross-hatching, and precise writing. They require a light touch, as rough surfaces can easily wear down or clog the delicate tips.
- Medium Bullet Nibs (2mm to 3mm): The most versatile option for beginners. They allow for both moderate line work and filling in medium-sized shapes, making them the standard choice for starter sets.
- Broad Chisel Nibs (4mm to 8mm+): Ideal for large-scale projects, bold lettering, and filling in expansive background areas quickly.
- Reversible Nibs: Some modern starter sets feature removable nibs that can be pulled out and flipped. One end may be a bullet tip, while the other is a chisel tip, offering dual functionality in a single marker.
Most quality acrylic markers utilize a valve-action priming mechanism to keep the paint sealed and fresh inside the barrel. Inside the marker, a small metal ball bearing helps mix the pigment and binder when shaken. To prime a new marker, you must shake it thoroughly with the cap securely on, then gently press the nib vertically down onto a piece of scrap paper. This action compresses an internal spring, opening the valve and allowing the paint to saturate the dry felt tip. Consistent, gentle pumping is key; excessive force can flood the nib and cause messy pools of paint.
Color Range and Opacity Levels
When browsing starter sets, it is tempting to choose the largest collection available. However, a smaller set of high-quality, opaque markers is far more useful than a massive set of watery, translucent ones.
For a practical starting point, look for sets containing 12 to 24 colors. This range should include the primary colors (red, yellow, and blue) for basic color mixing, essential neutrals (black and white) for outlining and highlighting, and a few secondary shades or metallics (like gold and silver) for decorative accents. White is particularly important, as a high-quality, opaque white marker is indispensable for adding highlights over darker layers.
Opacity levels depend heavily on the concentration of pigment within the acrylic emulsion. Because you cannot test the markers before purchasing, look for manufacturer specifications that explicitly state “high opacity” or “excellent coverage.” You can verify these claims by looking for user demonstrations on dark cardstock or black plastic. If a light yellow or pink marker can cleanly cover a black line in one or two coats without looking streaky, the set possesses sufficient pigment density for serious crafting.
Ink Capacity and Maintenance
The longevity of your marker set depends on how much paint each pen holds and how well you maintain the tips over time. Because acrylic paint dries into a solid plastic film, improper storage or maintenance can quickly render a marker unusable.
While many markers feature opaque plastic barrels that hide the paint level, some brands offer clear barrels or small indicator windows. These visual cues are incredibly helpful for beginners, allowing you to see exactly how much paint remains before starting a large project. Additionally, check if the brand offers replacement nibs. Since rough surfaces like stone, unglazed pottery, or raw wood can fray felt tips long before the paint reservoir is empty, being able to swap out a damaged nib extends the life of your investment.
Proper storage is the final piece of the maintenance puzzle. Acrylic markers should generally be stored horizontally when not in use. This position prevents the heavy pigment particles from settling entirely at the bottom of the barrel or clogging the valve assembly at the tip. In warm, tropical environments, ensuring the caps click firmly into place is vital to prevent the ambient heat from drying out the exposed nibs between creative sessions.
Matching Markers to Your Surfaces
One of the greatest appeals of acrylic paint markers is their ability to adhere to almost any surface. However, the way the paint behaves depends entirely on whether the material is porous or non-porous.
- Porous Surfaces: Materials like heavy watercolor paper, canvas tote bags, raw wood, and terracotta pots absorb a portion of the paint binder. This absorption creates an incredibly strong mechanical bond, making the paint highly permanent once dry. However, because the surface is thirsty, it will draw more paint out of the marker, requiring more frequent priming and consuming more ink.
- Non-Porous Surfaces: Materials like glass jars, plastic phone cases, glazed ceramic mugs, and polished metal do not absorb any paint. The acrylic film simply dries on top of the surface. While this allows for incredibly smooth application, the cured paint can easily scratch or peel off if subjected to friction or moisture.
To ensure successful adhesion, proper surface preparation is essential. For non-porous items, wipe the surface down with rubbing alcohol to remove oils, dust, and fingerprints. For rough, porous wood or highly absorbent terracotta, applying a thin coat of clear or white acrylic gesso primer can seal the pores, ensuring your marker colors dry vibrantly without sinking too deeply into the material.
Because smoothness, drying speed, and water resistance depend entirely on the specific combination of marker paint and surface material, always perform a small trial on an inconspicuous area. Draw a simple line, let it dry completely, and check its adhesion by gently rubbing it. If the paint scratches off easily, you will need to apply a protective sealant once your artwork is finished.
How to Build Your Starter Shortlist
When you are ready to purchase, establishing a clear decision framework will help you find the best value. In the local market, starter sets can range from budget-friendly options around ₱300 to professional-grade sets costing ₱1,500 or more.
To build your shortlist, balance your budget against your intended projects. If you are exploring the medium as a casual hobby, decorating beach pebbles, or working on school posters, a mid-range set of 12 to 18 markers offers an excellent balance of cost and performance. If you plan to customize high-value items like canvas shoes or ceramic decor, investing in a slightly higher-priced set with replaceable nibs and proven pigment density will yield more durable results.
Before finalizing your purchase on local ecommerce platforms or at stationery stores, read customer reviews carefully to spot common performance issues. Look for recurring complaints regarding leaking caps, watery paint that requires four or five coats to look solid, or markers that arrive dried out. Pay close attention to comments about color shifting, as some lower-quality acrylic paints can dry significantly darker or duller than they appear when wet.
Finally, always verify the authenticity of the seller. Purchasing from official brand stores or authorized local distributors on online marketplaces ensures you receive genuine products that have been stored in temperature-controlled environments. Authentic sellers are also more likely to offer reliable return policies or customer support if you happen to receive a marker with a faulty valve mechanism.
Frequently Asked Questions (FAQ)
Do acrylic markers need to be sealed?
Whether you need to seal your work depends entirely on the surface material and how the finished object will be used. For decorative paper, canvas paintings, or items kept safely on a shelf, sealing is generally unnecessary. However, for items that will be handled frequently, exposed to the elements, or washed—such as customized phone cases, painted garden pots, or glassware—a protective sealant is highly recommended.
To protect your design, apply a water-based acrylic spray sealer or a brush-on varnish once the paint has cured completely. In humid conditions, it is best to wait at least 24 hours before applying any topcoat. Always apply the sealer in thin, even layers; heavy, wet coats of solvent-based sealers can reactivate and smudge the underlying acrylic paint.
How do I revive a dried-out acrylic marker?
If an acrylic marker stops flowing, it is usually due to paint drying inside the felt nib rather than the reservoir running empty. You can often revive the marker using simple, reversible troubleshooting steps. First, gently pull the dry nib out of the marker barrel using a pair of tweezers or your fingers.
Submerge the clogged nib in a small cup of warm water for a few minutes to dissolve the dried acrylic paint. Once the water runs clear, press the nib into a paper towel to squeeze out all excess moisture. Reinsert the dry, clean nib into the marker, cap it tightly, shake it thoroughly, and gently prime it on scrap paper to draw the fresh paint down from the reservoir. If the paint inside the main barrel has completely solidified, stop attempting to revive it, as forcing the valve can damage the pen.
Are acrylic markers safe for skin or fabric?
While most quality acrylic markers are labeled as non-toxic and water-based, they are not designed or certified for cosmetic use. You should avoid using them as body paint or makeup, as the acrylic binders can cause irritation on sensitive skin, and the dried paint film can be difficult to peel or wash off. If paint accidentally gets on your skin, wash it off promptly with warm water and mild soap.
On fabric, acrylic paint is highly permanent once dry. If you paint on a canvas tote bag or a cotton t-shirt, the design will resist washing, though it may gradually fade or crack over time. To maximize the durability of fabric designs, you can mix the paint with a textile medium or heat-set the cured design by placing a protective cloth over the artwork and pressing it with a dry iron on a medium setting.
Community discussion
Share your experience or ask a question. Comments are reviewed before publication.