
Acrylic markers have revolutionized the way artists, hobbyists, and DIY enthusiasts approach painting. By packing highly pigmented acrylic paint into a convenient pen format, these tools eliminate the need for messy brushes, water cups, and palettes. However, walking into a local stationery shop or browsing online marketplaces can quickly become overwhelming due to the sheer variety of options available.
For a beginner, the key to choosing your first acrylic marker set lies in balancing versatility, ease of use, and cost. You do not need the most expensive professional-grade collection to start creating beautiful work. Instead, focusing on fundamental specifications like nib design, ink opacity, and surface compatibility will ensure you get a set that matches your creative goals without stretching your budget.
Quick Answer: Core Features to Check Before Buying
When shopping for your first acrylic marker set, prioritize three essential features to ensure a smooth and frustration-free experience:
Products mentioned in this guide
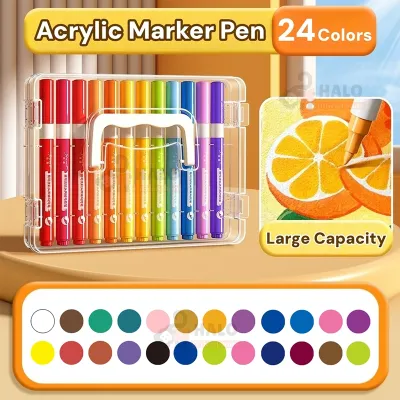
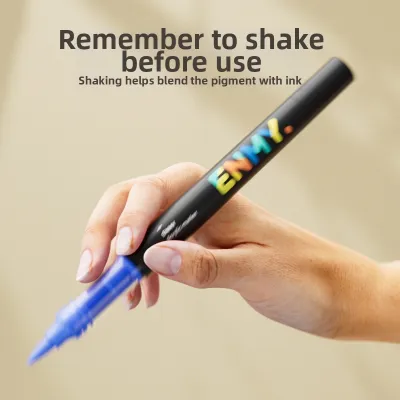
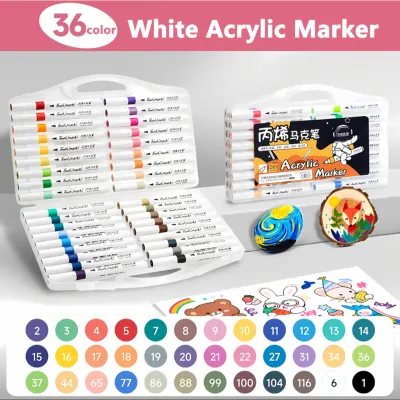
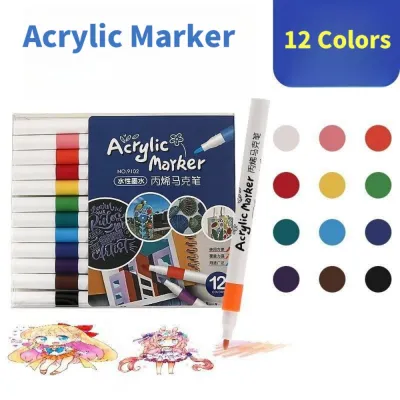
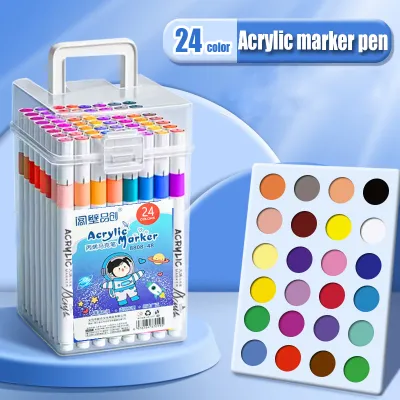
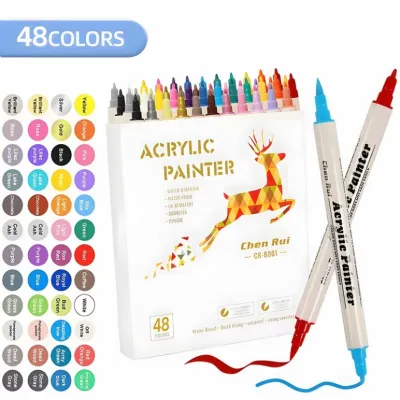

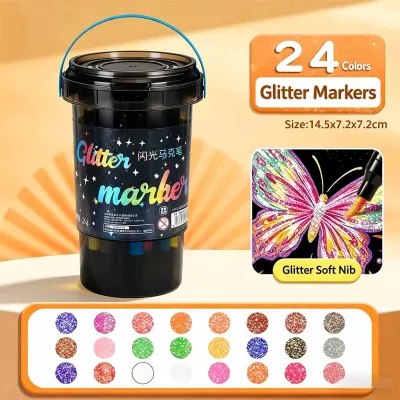
Prices are valid at publication and may change. Please refer to the product page for the latest price.
- Nib Versatility: Look for sets featuring medium bullet tips (around 2mm to 3mm) or reversible nibs that can switch between a bullet and a chisel point. This gives you the flexibility to outline fine details and fill in larger areas with a single pen.
- Ink Opacity and Finish: Verify the label to ensure the markers use highly opaque, water-based acrylic paint rather than translucent pigment ink. A matte or satin finish is generally the most forgiving for beginners.
- Surface Compatibility: Confirm that the markers are rated for the specific materials you plan to decorate, whether that is canvas, wood, terracotta, glass, or plastic.
By checking these three specifications on the product packaging or online listing, you can confidently select a starter set that delivers vibrant, long-lasting results.
Understanding Acrylic Marker Basics
To make an informed purchase, it helps to understand what makes acrylic markers unique compared to other writing instruments. Unlike standard alcohol-based or water-based dye markers, which sink into paper fibers and can easily bleed through, acrylic markers contain actual liquid paint. This paint sits on top of the surface, forming a cohesive, opaque layer that remains highly visible even on dark or textured backgrounds.

Once the paint dries completely, it cures into a permanent, water-resistant, and slightly flexible plastic film. This characteristic makes acrylic markers incredibly versatile, allowing you to paint on non-porous items like stones, glass jars, and plastic phone cases. However, because the paint is suspended in a liquid medium, it behaves differently than regular ink.
Before you can write or paint with a new acrylic marker, you must prime it. This process involves shaking the marker vigorously with the cap on to mix the settled paint pigments, then gently pressing the nib down repeatedly on a scrap piece of paper. This pumping action opens an internal valve, allowing the paint to flow down and saturate the dry felt tip. Understanding this mechanism is crucial, as a marker that does not write immediately is rarely defective; it simply requires proper priming.
Additionally, because these markers contain paint, safety and ventilation are important considerations. While most high-quality water-based acrylic markers are low-odor and non-toxic, working in a well-ventilated room is always recommended, especially during long crafting sessions. If you are working with children, look for clear non-toxic certifications on the packaging to ensure peace of mind.
Key Specifications to Evaluate
Nib Types and Sizes
The nib, or tip, of the marker determines the type of lines you can draw and how quickly you can cover a surface. For beginners, understanding the distinction between different nib sizes is the first step in narrowing down your choices.
- Fine Nibs (0.7mm to 1mm): These are ideal for detailed line work, outlining, and writing. They behave much like a fine-point pen but deliver solid paint.
- Medium Nibs (2mm to 3mm): This is the most versatile size for beginners. It is thin enough to draw clean lines but thick enough to fill in small shapes efficiently.
- Broad or Chisel Nibs (4mm to 8mm and above): These are designed for large-scale projects, such as poster making, mural painting, or filling in expansive backgrounds.
Many starter sets feature reversible nibs. If a nib becomes frayed or clogged, you can simply pull it out with tweezers, flip it around, and insert the fresh end. This feature significantly extends the lifespan of your markers. Before purchasing, check the manufacturer’s product description to see if they offer replacement nibs, which can save you from buying an entirely new marker if a tip wears out prematurely.
Ink Opacity, Finish, and Lightfastness
The quality of the paint inside the marker directly impacts your final artwork. When evaluating different sets, pay close attention to how the manufacturer describes the ink’s properties.
- Opacity Levels: High-quality acrylic paint should be opaque, meaning it completely hides the surface underneath. Look for terms like "high coverage" or "opaque" on the label. Semi-opaque or transparent markers will require multiple layers to look solid, which can lead to streaking and uneven textures.
- Finishes: Acrylic markers generally dry to a matte, satin, or gloss finish. Matte finishes are excellent for scanning or photographing your work because they do not reflect light. If you want to add highlights or decorative accents, look for specialty sets that offer metallic finishes like gold, silver, or bronze.
- Lightfastness: This rating indicates how well the paint resists fading when exposed to sunlight over time. If you plan to sell your artwork or display it in a sunny room, look for markers that explicitly state they are lightfast or archival. For casual sketching and practice, standard lightfastness is more than sufficient.
Color Selection and Set Sizes
It is tempting to buy the largest set available, but beginners are often better off starting small. A massive set with dozens of shades can be overwhelming and expensive.
- Start with a Basic Palette: A set of 12 to 18 colors is the sweet spot for beginners. Ensure it includes the primary colors (red, blue, yellow), black, white, and a few secondary shades like green and purple. White is particularly important, as it is used constantly for highlights and layering over darker colors.
- Evaluate the Cost per Marker: To find the best value for your budget, divide the total price of the set in ₱ by the number of markers included. This gives you a clear point of comparison between different brands. Keep in mind that extremely cheap sets may contain less paint or lower-quality pigments that require multiple coats, ultimately costing you more in the long run.
Surface Compatibility and Preparation
One of the greatest joys of using acrylic markers is their ability to adhere to almost anything. However, achieving a professional, durable finish depends heavily on how you prepare your canvas.
- Porous Surfaces (Canvas, Wood, Paper, Terracotta): These materials absorb paint readily. While this creates a very strong bond, porous surfaces can also drink up a lot of paint, emptying your markers faster. Applying a base coat of acrylic primer or gesso can seal the surface, saving your marker ink and making your colors pop.
- Non-Porous Surfaces (Glass, Metal, Plastic, Glazed Ceramic): Paint sits entirely on top of these smooth materials. Because there are no pores for the paint to grip, it can scratch off easily if not handled carefully.
To ensure the best adhesion, always clean your surface thoroughly before you begin. In humid tropical climates like the Philippines, moisture and oils from your hands can easily trap themselves under the paint, leading to peeling or bubbling later on. Wash smooth items with soap and water, or wipe them down with rubbing alcohol to remove any grease. Allow the surface to dry completely before applying the first stroke.
Before committing to a large design, always perform a quick test on a hidden area or a scrap piece of the same material. This allows you to observe how the paint behaves, check the drying time, and ensure the ink does not bleed or bead up on the surface.
Building Your First Shortlist: What to Avoid
To protect your wallet and avoid creative frustration, keep these common pitfalls in mind when compiling your shopping list:
- Avoid Oversized, Premium Sets Initially: Do not invest thousands of pesos in a professional-grade, 80-piece set before you know if you enjoy the medium. Start with a modest, reputable starter pack to test the grip, flow, and feel of the pens.
- Steer Clear of Unlabeled or Ultra-Cheap Sets: Markers that lack clear branding, ingredient lists, or safety certifications often suffer from poor quality control. You may end up with markers that are already dried out inside the box, or paint that is watery, streaky, and prone to cracking as it dries.
- Watch Out for Poor Packaging and Storage Reviews: When browsing online marketplaces, filter the user reviews to look for recurring complaints. Pay close attention to mentions of leaky caps, dried-out nibs upon arrival, or paint that separates inside the barrel. A reliable cap design is essential for keeping the paint fresh, especially in warm climates where heat can accelerate drying.
Frequently Asked Questions (FAQ)
Can I use acrylic markers on regular printer paper?
Standard printer paper is generally too thin and uncoated to handle the moisture of liquid acrylic paint. If you use acrylic markers on lightweight paper, you will likely experience warping, bleeding through to the next page, and surface pilling, where the paper fibers clump up and ruin your nibs. For the best results, use heavier mediums such as mixed-media paper, cardstock, or dedicated marker pads with a weight of at least 200 gsm.
How do I revive a dried-out acrylic marker?
If your marker’s tip has dried out because the cap was left off, you can often revive it with a simple, reversible process. Gently pull the removable nib out of the marker and soak it in a small container of warm water for a few minutes to dissolve the hardened acrylic paint. Pat the nib dry with a paper towel, reinsert it, and prime the marker again. Always check the manufacturer’s guidelines before attempting to add water or blending mediums directly into the marker barrel, as altering the paint formula can ruin the ink flow permanently. If the paint inside the barrel has fully cured and hardened, the marker cannot be saved and must be replaced.
Community discussion
Share your experience or ask a question. Comments are reviewed before publication.