
Selecting the right construction marker pen depends entirely on matching the marker’s ink chemistry and physical tip durability to the specific surface texture and environmental conditions of your job site. Whether you are laying out foundation lines on raw concrete, marking dimensions on wet lumber, or labeling PVC and metal pipes, using the wrong marker leads to faded, smeared, or completely illegible guides. For rough, dusty, or wet surfaces, specialized industrial markers like solid paint crayons or valve-action liquid paint markers are essential, while standard permanent ink markers are restricted to clean, dry, non-porous materials.
Diagnose Your Surface Texture and Job Site Environment
Before selecting a construction marker pen, you must evaluate the physical properties of your work surfaces. Surface porosity is the primary factor dictating how ink behaves. Highly porous materials like raw concrete, cinder blocks, brick, and unplaned lumber act like sponges, rapidly absorbing low-viscosity, dye-based inks. This absorption causes the lines to bleed out, fade, or disappear entirely into the material’s pores. Conversely, non-porous surfaces like polished steel, copper, glass, and PVC pipes do not absorb ink at all. On these materials, the ink must adhere to the outermost layer and dry quickly through solvent evaporation without running or pooling.
Environmental factors on active job sites also play a decisive role in marker performance. In tropical climates like the Philippines, high ambient humidity, intense heat, and seasonal monsoon rains create challenging conditions. Moisture on wood or metal surfaces prevents standard water-based or alcohol-based inks from bonding, causing the ink to bead up or wash away instantly. Airborne dust, concrete powder, and sawdust form a physical barrier over the material, which can clog standard marker tips and render them useless.
Products mentioned in this guide
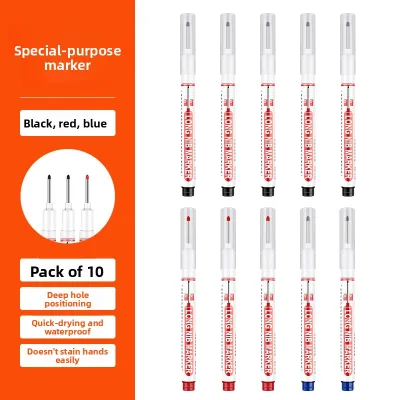
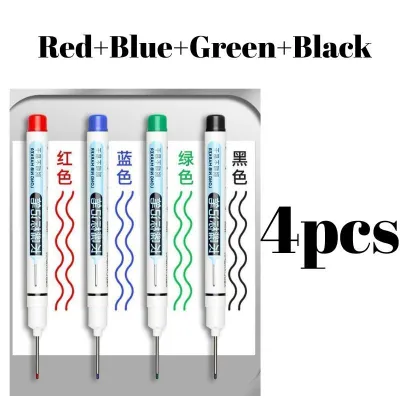
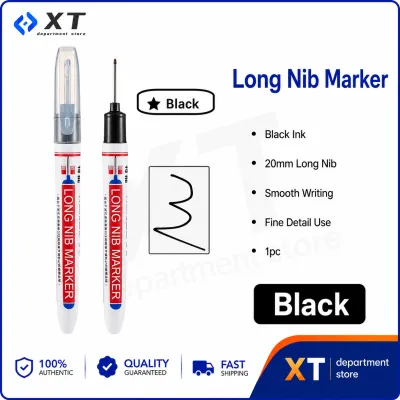
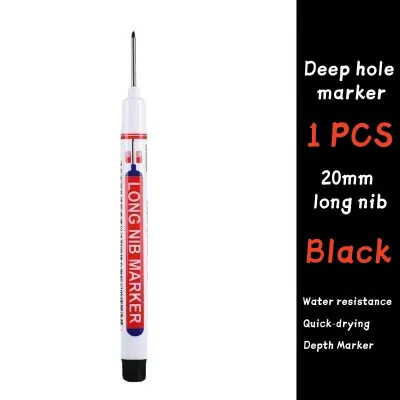
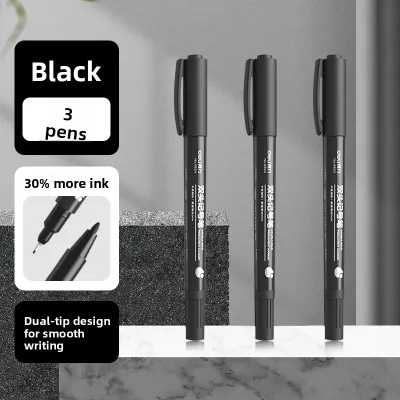
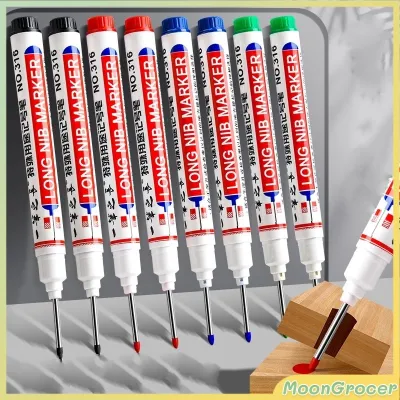
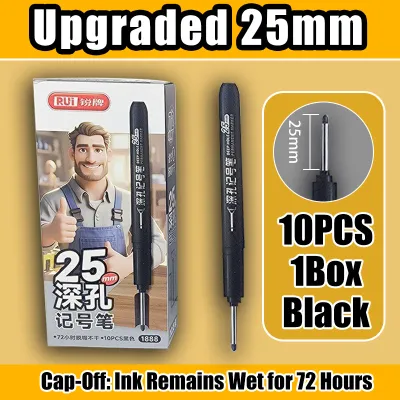
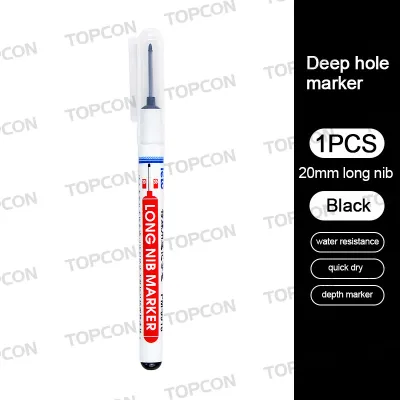
Prices are valid at publication and may change. Please refer to the product page for the latest price.
Additionally, you must distinguish between the need for temporary layout marks and permanent identification. Temporary marks—such as layout lines on finished tile or temporary electrical placements—must be easily removable or designed to fade without leaving ghost residues. Permanent marks on structural steel, plumbing pipes, or exterior masonry must withstand harsh UV exposure, heavy rain, and physical abrasion over months of construction. Inspecting your specific work area and the state of your materials before choosing a tool prevents costly layout mistakes.
Match the Ink Formulation to Your Material
Ink formulation is the core engine of any construction marker pen. Selecting the correct chemical composition ensures that your marks remain sharp, visible, and durable under specific environmental stresses.

Concrete, Masonry, and Rough Surfaces
Marking rough, abrasive, and porous masonry requires high-viscosity, opaque pigments that sit on top of the surface rather than sinking into it. Solid paint markers (often styled as solidified paint sticks) and valve-action liquid paint markers are the industry standards for these materials. Solid paint markers resist crumbling on jagged concrete edges and can mark directly through dust, oil, rust, and water.
Valve-action markers utilize an internal mixing ball and a spring-loaded tip to pump thick, opaque pigment ink onto the surface when pressed. For dark masonry, dusty concrete, or asphalt, high-visibility colors like bright white, yellow, and fluorescent orange are highly recommended. These opaque shades ensure that layout lines remain clearly visible under low-light indoor conditions or under the glare of the bright sun.
Wood and Lumber
Standard permanent markers with alcohol-based inks are highly efficient for clean, dry plywood, structural softwood framing, and planed timber. However, construction sites frequently utilize pressure-treated lumber, green wood, or resinous species like coco lumber.
When marking damp or highly resinous wood, standard dye-based inks tend to bleed along the wood fibers, turning a precise layout line into a blurry, unreadable smudge. To prevent this capillary action, use specialized paint-based markers or heavy-duty lumber crayons. These formulations contain binders that lock the pigment in place on the wood’s surface, ensuring crisp, readable dimensions even if the lumber is exposed to sudden tropical downpours on an open job site.
Metal, PVC, and Non-Porous Materials
For clean, dry metal sheets, copper tubing, and PVC pipes, fast-drying, alcohol-based permanent inks are highly effective. They dry within seconds, preventing accidental smudging during handling and assembly.
However, if the metal is coated in protective oils, rusted from coastal humidity, or covered in condensation, standard inks will bead up and fail to adhere. For these challenging conditions, specialized oil-based paint markers are necessary. Their formulations cut through thin oil films and loose rust to leave a durable, opaque mark.
When working on stainless steel, high-pressure piping, or sensitive alloys, verify that the marker is certified as low-chloride and low-halogen. Standard inks containing sulfur or halogens can initiate stress corrosion cracking in stainless steel over time, compromising structural integrity. Always check the manufacturer’s technical data sheet to confirm chemical compatibility for industrial piping.
Choose the Right Tip and Barrel for Site Conditions
The physical design of a construction marker pen determines its durability and usability in rugged environments. Traditional fine felt tips are designed for paper and smooth cardboard; when dragged across concrete or rough wood, they shred within inches.
For abrasive surfaces, opt for valve-action markers with durable acrylic, polyester, or metal-clad nibs. Solid paint markers, which wear down evenly like a crayon, have no tip to clog or shred, making them exceptionally long-lasting on rough stone and steel. Some specialized markers feature extended, stainless steel micro-tips designed to reach through narrow drill holes or metal brackets, allowing you to mark mounting points on concrete or metal walls with high precision.
The marker’s barrel and cap should also match the demands of the job site. Look for heavy-duty plastic or aluminum barrels that resist crushing if stepped on or dropped. A non-slip, textured grip is crucial when working with sweat-slicked hands or heavy work gloves in hot, humid climates. Features like a heavy-duty pocket clip prevent the marker from falling out of your tool vest, and a roll-stop cap design keeps the marker from rolling off inclined surfaces, scaffolding, or workbenches.
Proper storage is critical for maintaining ink flow and preventing premature dry-out. While solid paint sticks are highly forgiving, liquid paint and permanent ink markers should generally be stored horizontally or tip-down, depending on the manufacturer’s instructions. This prevents the solvent from evaporating or the pigment from settling away from the nib, ensuring the marker is ready to write instantly when uncapped. On Philippine job sites, keeping markers out of direct sunlight inside your toolbox prevents the solvents from boiling or drying out prematurely. Prices for these markers vary, ranging from budget-friendly utility options around ₱50 to heavy-duty, certified industrial paint markers costing up to ₱300 or more per piece.
Quick Diagnostic Matrix: Surface to Marker Selection
The following matrix maps common job site surfaces to the ideal marker specifications to help you make a quick, reliable decision on-site.
| Surface Type | Recommended Ink Type | Ideal Tip Style | Key Feature to Look For |
|---|---|---|---|
| Raw Concrete & Masonry | Solid Paint or Valve-Action Pigment | Solid Stick or Tough Acrylic Nib | High opacity, dust-resistant, fade-resistant |
| Wet or Treated Wood | Paint-Based or Solid Crayon | Solid Stick or Chisel Felt | Bleed-resistant, water-resistant binders |
| Clean Metal & PVC | Alcohol-Based Permanent Ink | Bullet or Chisel Nib | Fast-drying, smudge-resistant, refillable |
| Oily or Rusted Metal | Oil-Based Paint | Valve-Action Acrylic Nib | Penetrates oil, rust-tolerant adhesion |
| Stainless Steel / Pressure Pipes | Low-Halogen / Low-Chloride Paint | Valve-Action Medium Nib | Corrosion-safe certification, chemical resistance |
Test and Verify Adhesion Before Full Layout
Before commencing a major layout or marking high-value materials, perform a simple, low-risk on-site testing protocol. Select a small, inconspicuous area of the material to verify the marker’s performance. Clean a small patch of dust, loose rust, or excessive oil, apply a test mark, and observe the drying time and opacity.
Conduct a basic adhesion check once the recommended drying time has passed. A gentle rub test with a gloved finger or a dry cloth will reveal if the ink has bonded properly or if it easily wipes away. Keep in mind that high ambient humidity and cooler rainy-day temperatures can significantly extend the drying times of solvent-based and paint-based inks compared to dry, sunny conditions.
Always consult the manufacturer’s label on both the marker and the material being marked. Check for surface compatibility, ventilation requirements (especially when working in enclosed basements or utility rooms with solvent-heavy paint markers), and specific safety warnings. If the marker’s instructions conflict with the material manufacturer’s care guidelines—particularly on finished surfaces, decorative stone, or sensitive plastics—stop and contact the manufacturer or a qualified professional to avoid permanent damage or voiding product warranties.
Frequently Asked Questions (FAQ)
Can I use a standard office permanent marker on construction sites?
While standard office permanent markers are convenient and affordable, they are designed for paper, cardboard, and clean plastic. On a construction site, their soft felt tips quickly shred on rough concrete or wood. Furthermore, standard dye-based inks lack the opacity to show up on dark surfaces and will bead up on oily metal or fail to adhere to dusty, damp substrates.
How do I remove construction paint markers from finished surfaces?
Before attempting removal, check the finished surface manufacturer’s cleaning guidelines to avoid damaging the finish or voiding the warranty. For non-porous surfaces like glazed tile, glass, or polished metal, low-risk solvents like isopropyl alcohol or specialized paint-removing wipes can dissolve the dried paint. However, porous materials like raw concrete, brick, or unfinished wood absorb the paint deeply into their pores; removing these marks typically requires mechanical abrasion (such as sanding or wire brushing) or heavy-duty chemical paint strippers applied with professional guidance.
Community discussion
Share your experience or ask a question. Comments are reviewed before publication.