
Choosing the right Ohuhu marker set is a decision that directly shapes your creative experience, whether you are just starting to explore blending or are an experienced illustrator working on complex commissions. The most suitable set is not simply the largest one available; rather, it is the configuration that aligns your current skill level, artistic goals, and preferred techniques with the correct nib types and color palettes. By matching your tools to your specific workflow, you can avoid the frustration of unused colors, prevent premature wear on your materials, and ensure your paper can handle the heavy saturation of alcohol-based inks.
In tropical climates like the Philippines, where high humidity can influence how paper fibers absorb moisture and how alcohol-based inks evaporate, selecting the right setup becomes even more critical. High humidity can slightly prolong the drying time of alcohol inks on non-porous surfaces, while also making standard paper more prone to warping when heavily saturated. Understanding how these environmental factors interact with your markers will help you achieve clean, professional-looking blends without unexpected bleeding or feathering.
Understanding Ohuhu Marker Tip Configurations
The physical tip, or nib, of your marker determines how ink is delivered to the page and dictates the types of strokes you can achieve. Ohuhu markers are available in several distinct nib configurations, each designed to support specific artistic styles and techniques. Selecting the right combination depends on whether your work focuses on broad, expressive color laydowns or meticulous, fine-detailed line work.
Products mentioned in this guide
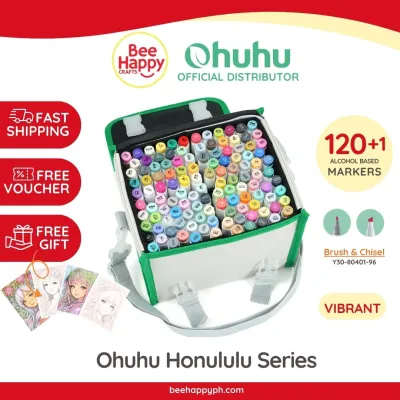
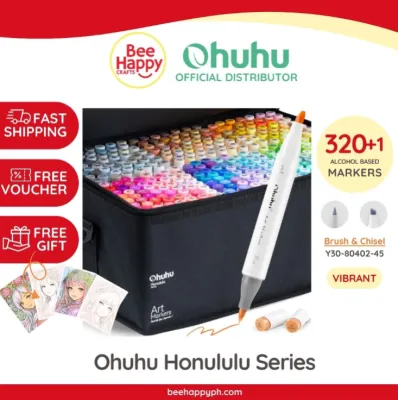
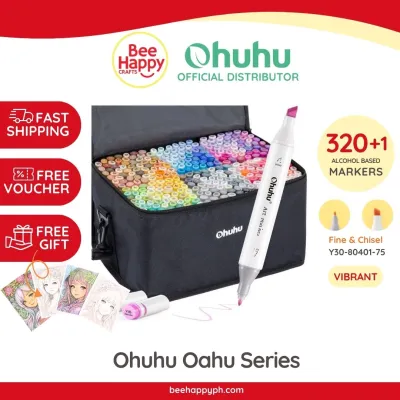
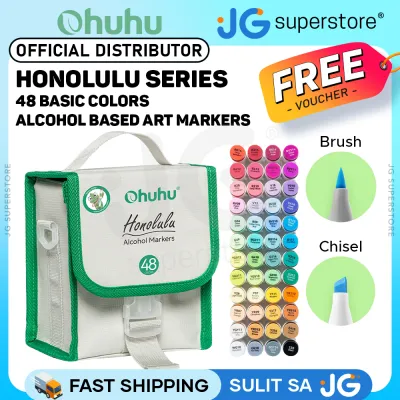
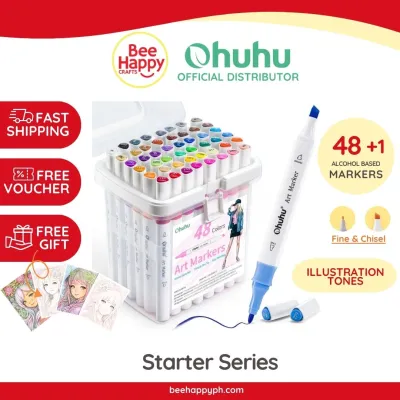
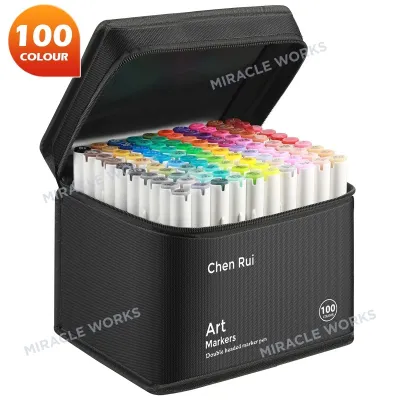
Prices are valid at publication and may change. Please refer to the product page for the latest price.
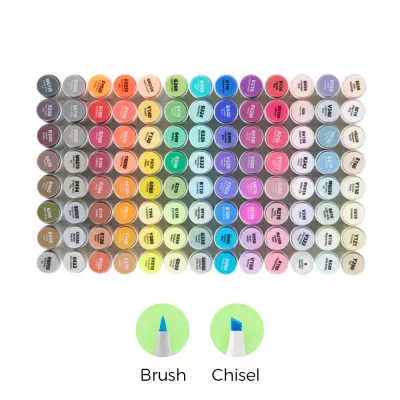
The brush and chisel configuration is one of the most versatile options available for artists of all levels. The flexible brush tip behaves much like a traditional paintbrush, responding dynamically to changes in hand pressure to create fluid, sweeping strokes, delicate lines, or seamless color transitions. This makes it the preferred choice for smooth blending, organic shapes, and expressive hand lettering. On the opposite end, the rigid chisel tip provides a wide, flat edge that is highly efficient for filling in large background areas quickly and drawing consistent, broad lines for architectural or geometric layouts.
For artists who specialize in highly detailed illustrations, manga, or precise technical drawings, the fine and brush configuration offers an excellent balance of control. The fine tip is a stiff, bullet-shaped point that does not bend under pressure, allowing you to maintain consistent line weights, execute tight cross-hatching, and color within extremely small, intricate boundaries. When paired with the expressive capabilities of the brush tip on the other end, this configuration provides the precision needed for character design, facial features, and fine textures without requiring you to switch between different marker lines.
Beyond these standard options, specialty configurations such as the dot and brush tip cater to unique artistic effects and decorative projects. The dot tip allows you to create consistent circular dots of varying sizes simply by adjusting how firmly you press the marker onto the paper. This is exceptionally useful for stippling techniques, creating dotted patterns, bullet journaling, or adding whimsical textures to your illustrations. Because configurations and regional availability can vary significantly, always check the product packaging and manufacturer labels carefully to verify the exact tip types included in a specific set before making your purchase.
Matching Set Sizes to Your Skill Level and Goals
Selecting the right color count is a balancing act between having enough variety to create realistic depth and avoiding the overwhelm of an excessively large palette. While a massive set of markers is visually appealing, starting with a size that matches your current experience level ensures you build strong foundational blending skills before managing a complex color library.

For beginners and casual coloring enthusiasts, small to medium sets ranging from 24 to 48 colors are highly recommended. These curated palettes focus on essential primary and secondary colors, basic skin tones, and a few neutral grays, which forces you to learn how to layer and blend limited colors to create new shades. Starting small prevents decision paralysis, making it easier to focus on mastering hand pressure, stroke direction, and ink control. These sets are also highly portable and require minimal storage space, making them well-suited for casual sketching at a local café or at home.
Hobbyists, intermediate illustrators, and fan artists generally find their sweet spot in medium to large sets containing 72 to 120 colors. This range introduces a much broader selection of pastel shades, subtle mid-tones, and diverse skin tone palettes, which are essential for rendering realistic highlights, shadows, and complex character designs. With more incremental steps between shades, you can achieve smoother gradients with less physical blending, reducing the risk of over-saturating and tearing your paper. This size is ideal for those who have committed to a specific art style and want to expand their creative boundaries.
Semi-professional and advanced artists who rely on markers for client work, detailed landscapes, or high-end design projects often require large or fully expanded sets of 168 colors or more. These comprehensive libraries provide an extensive array of subtle color gradations, specialized gray scales (such as cool, warm, and neutral grays), and duplicate essentials that are consumed rapidly during heavy, continuous usage. Having access to almost every conceivable shade allows professional artists to work quickly and maintain absolute color consistency across multi-page projects or series.
Instead of investing in the largest available set immediately, a highly practical strategy is to start with a solid foundational set of 48 or 72 colors. As you identify the specific subjects you enjoy drawing most, you can expand your collection using targeted supplementary packs, such as specialized skin tone sets, pastel collections, or gray-scale sets. This modular approach is much easier on your budget, prevents you from paying for colors you rarely use, and allows your marker collection to grow organically alongside your developing artistic skills.
Evaluating Paper Compatibility and Ink Behavior
The performance of any alcohol marker is heavily dependent on the surface you write on. Unlike water-based markers, alcohol-based inks are highly fluid, dry incredibly fast, and are designed to bleed through standard paper fibers to facilitate smooth blending. Understanding this physical behavior is crucial to achieving clean results and protecting your workspace.
Using standard printer paper or lightweight sketchbooks with alcohol markers almost always results in disappointment. Because these papers are highly absorbent and thin, they draw ink out of the marker tip rapidly, causing the color to feather or spread unpredictably past your outlines. Furthermore, the ink will aggressively bleed through the page, which can ruin subsequent sheets in your sketchbook or leave permanent stains on your desk or table. To prevent this, always use marker-specific paper, bleed-proof pads, or heavy-weight mixed-media paper with a minimum weight of 200 gsm. These specialized papers feature a coated backing or dense fiber structure that keeps the ink on the surface longer, allowing you to blend colors seamlessly before they dry.
Before starting a final art piece, make it a habit to test your ink flow, feathering, and blending capabilities on a scrap piece of the exact paper you plan to use. This practice is particularly valuable in the Philippines, where seasonal humidity can alter how paper fibers hold moisture. Paper that has absorbed ambient humidity may cause alcohol ink to spread slightly more than dry paper, so a quick test run helps you adjust your coloring speed and border margins accordingly. Always place a protective plastic sheet or a thick piece of cardstock directly beneath your working page to catch any residual bleed-through.
When evaluating different marker lines, it is also wise to check the manufacturer’s labels for ink volume indicators and to verify if the specific model supports refills or replacement nibs. High-quality alcohol markers are a long-term investment, and being able to purchase individual ink refills or swap out a frayed brush tip for a fresh one is far more cost-effective and environmentally friendly than replacing the entire marker. Verifying these details beforehand ensures that your favorite, most-used shades can be maintained easily over years of creative work.
Building Your Shortlist: What to Check Before Buying
With a clear understanding of nib types, set sizes, and paper requirements, you can begin narrowing down your options to build a practical shortlist. Taking the time to verify a few key details before finalizing your purchase will help ensure you receive a high-quality, authentic product that fits seamlessly into your creative routine.
First, carefully review the included color chart or swatch card for the specific set you are considering. Different sets of the same size may feature slightly different color balances; for example, one 48-piece set might lean heavily toward vibrant, saturated primary colors, while another might focus on soft pastels or earth tones. Ensure the palette matches the specific demands of your projects, whether you are drawing anime characters, botanical illustrations, or architectural layouts.
Next, pay close attention to seller ratings, verified customer reviews, and unboxing feedback on your preferred online marketplaces. Because alcohol markers can dry out if they are stored improperly in hot warehouses or if their caps are not fully sealed during transit, buying from reputable, highly rated distributors is essential. Look for recent reviews from local buyers in the Philippines to confirm that the markers arrived in pristine, fully saturated condition and were packaged securely to prevent damage during shipping.
Additionally, consider how the storage case design fits your physical workspace and portability needs. Many Ohuhu sets come in flexible canvas bags, which are lightweight and excellent for travel but can make it difficult to keep your markers organized in numerical order. If you plan to use your markers primarily at a dedicated desk, look for sets that include internal plastic grids to keep the markers standing upright, or consider purchasing a separate horizontal organizer. Storing alcohol markers horizontally is highly recommended, as it ensures an even distribution of ink to both nibs and prevents one end from drying out prematurely.
Finally, always review the retailer’s return and replacement policies before checking out. Even with strict quality control, individual markers can occasionally experience issues such as a dried-out nib or a loose cap during long-distance shipping. Knowing that the seller offers a straightforward replacement or refund policy for defective items ensures you can shop with confidence and quickly resolve any issues upon unboxing your new set.
Frequently Asked Questions (FAQ)
How do I revive a dried-out alcohol marker?
If you notice one of your marker nibs is starting to feel scratchy or dry, first consult the manufacturer’s instructions to see if approved refill inks are available for your specific model. For minor dryness caused by ink settling, you can try storing the marker completely flat or horizontally for 24 to 48 hours; this simple step allows the internal ink reservoir to redistribute evenly to both ends of the marker. If the marker is truly empty, adding a few drops of compatible refill ink directly to the wide chisel nib or into the marker barrel is the most effective and permanent solution. However, if a nib has become physically frayed, split, or clogged with paper fibers, attempting to revive it with ink will not restore its performance, and you should replace the nib or the marker entirely to avoid damaging your paper.
Can I use alcohol markers on canvas or wood?
While you can technically apply alcohol markers to non-paper surfaces like canvas or wood, doing so requires careful preparation and carries certain limitations. Because raw wood and unprimed canvas are highly porous, they will rapidly absorb the alcohol ink, causing the colors to spread unpredictably, lose their vibrancy, and fade quickly over time. To achieve clean lines and vibrant colors, you must first prime the surface with a high-quality gesso or a specialized clear sealant to create a smooth, non-porous barrier. Additionally, keep in mind that the rough, abrasive textures of wood and canvas will cause delicate brush tips to wear down, fray, or tear much faster than smooth marker paper, so it is best to use older markers or stick to the more durable chisel tips for these types of mixed-media projects.
Community discussion
Share your experience or ask a question. Comments are reviewed before publication.