
Selecting the right permanent marker requires matching the tip geometry and ink formulation to your specific task and material. Whether you are labeling plastic storage bins to withstand high tropical humidity, marking cardboard boxes for a household move, or executing detailed illustrations on heavy paper, choosing the incorrect variant can lead to blurred lines, bleeding ink, or premature tip wear. By evaluating the physical characteristics of each marker tip and verifying the ink’s compatibility with your target surface, you can ensure clean, legible, and long-lasting results. This guide breaks down the primary options available so you can make an informed decision before purchasing your next writing instrument.
Understanding Sharpie Tip Types and Ink Formulations
The performance of a permanent marker depends heavily on its physical tip design and the chemical properties of its ink. Marker tips are generally constructed from porous, bonded fiber or felt, shaped into specific geometries to control the flow of ink. The most common shapes include needle points, fine points, and chisel tips, each producing a distinct line width. For instance, a fine point offers a consistent, medium-width line suitable for standard handwriting, while a chisel tip features multiple flat edges, allowing the user to transition between broad strokes and narrow lines simply by rotating the marker body.
Beyond the tip shape, the ink formulation determines how the marker behaves on different materials. Standard permanent ink is typically alcohol-based, designed to dry quickly through evaporation and adhere to a wide variety of surfaces. However, specialized tasks require alternative formulations. Industrial-grade inks resist extreme temperatures and chemical exposure, making them suitable for demanding environments. Metallic markers utilize opaque, pigment-based inks that sit on top of the surface, which is necessary for visibility on dark papers or plastics. Paint-based markers contain a thicker, liquid paint formula that requires mechanical agitation to mix the pigments before use, providing a highly durable layer on metal, glass, and stone.
Products mentioned in this guide
Prices are valid at publication and may change. Please refer to the product page for the latest price.
Before purchasing, check the manufacturer’s labels for surface compatibility and drying characteristics. In warm, humid climates like the Philippines, high ambient moisture can slow down solvent evaporation, potentially extending drying times and increasing smudging risks. Reviewing the packaging helps you identify whether an ink is formulated for quick-drying performance under humid conditions or if it requires a completely dry, dust-free surface to cure properly.
Matching Sharpie Variants to Your Specific Applications
To achieve clean and lasting results, you must map the physical characteristics of the marker to the specific demands of your project. Selecting a marker based solely on color or availability often leads to frustration, such as ink bleeding through thin paper or a delicate tip wearing down on rough concrete.

Fine Point and Ultra Fine Point for Detail and Labeling
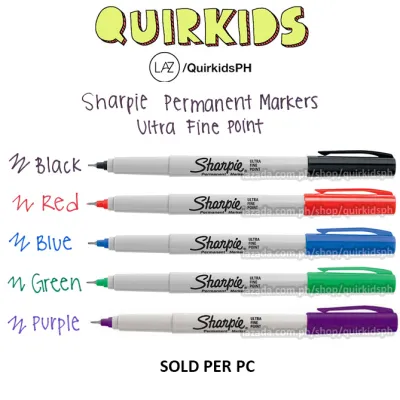
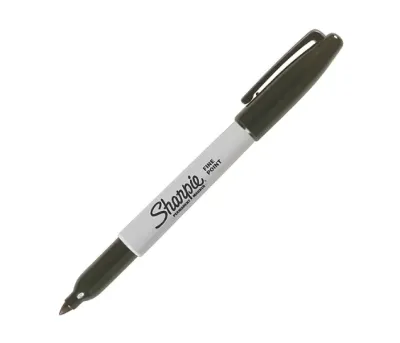
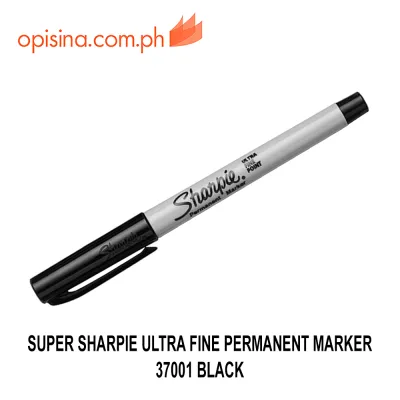
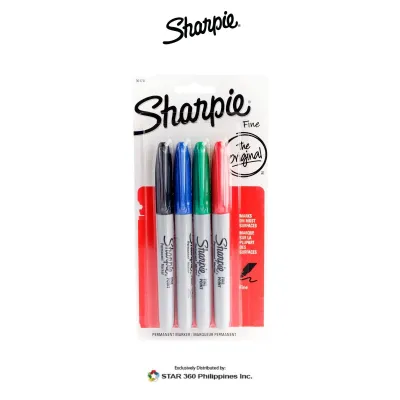
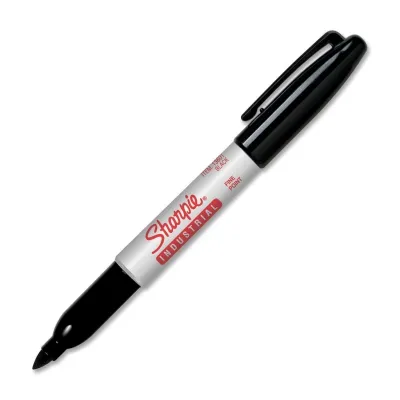
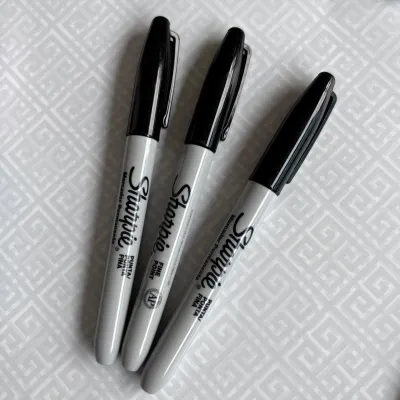
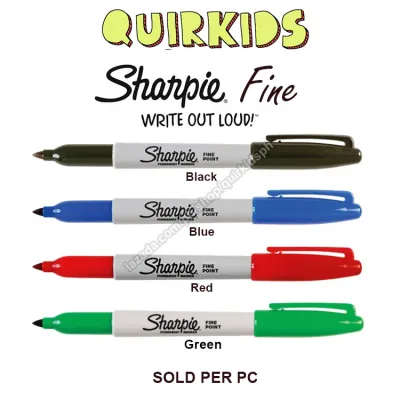
Fine point and ultra-fine point markers are the standard choices for everyday writing, detailed labeling, and precise creative work. The fine point marker features a durable, bullet-shaped tip that delivers a consistent line, making it highly suitable for writing on plastic food containers, organizing school supplies, or labeling household items. The ultra-fine point, which often utilizes a plastic-collared needle tip, provides an exceptionally thin line that allows for legible writing in cramped spaces, such as on small cable tags, laboratory vials, or detailed planner pages. These precision tips excel on smooth, non-porous surfaces where the ink can dry quickly without spreading.
Despite their versatility, fine and ultra-fine tips have distinct physical limitations on unsuitable materials. Writing on rough, abrasive surfaces like unfinished wood, rusty metal, or coarse cardboard can quickly fray the delicate fiber tips, permanently distorting the line quality and restricting ink flow. Additionally, when applied to highly porous materials like standard copy paper, cardboard, or fabric, the capillary action of the fibers pulls ink rapidly from the tip, causing the lines to bleed and feather outward. This bleeding ruins the legibility of small text and drains the marker’s ink reservoir much faster than normal.
To ensure a clean result, perform a quick verification test on a scrap piece of your target material before starting. Apply a single stroke to check the line thickness and observe whether the ink spreads or bleeds through the backing. In humid environments, allow the test mark to sit for several seconds, then gently tap it with a dry finger to verify its smudge resistance. If the ink remains wet or smears easily, the material may require a specialized quick-drying formulation, or the surface may need to be wiped clean of moisture and oils before marking.
Chisel Tip for Broad Coverage and Industrial Marking
Chisel tip markers are designed for heavy-duty tasks that demand high visibility, broad coverage, and durability on rugged surfaces. The tip features a wide, angled wedge shape that allows the user to produce different line widths depending on how the marker is held. These markers are the standard choice for labeling large moving boxes, creating highly visible warehouse signage, or marking construction materials like PVC pipes and timber. The robust construction of the chisel tip handles rougher textures much better than fine points, making it a reliable tool for industrial environments and outdoor applications.
Mastering the handling techniques of a chisel tip allows you to maximize its utility across various tasks. By using the broad, flat edge of the wedge, you can quickly fill in large letters or color in wide areas with minimal strokes. Rotating the marker to utilize the sharp, pointed corner of the chisel tip enables you to write smaller, more controlled text or draw defined borders. This dual-functionality makes the chisel tip highly versatile, reducing the need to switch between different markers when transitioning from bold labeling to smaller descriptive notes on a shipping crate.
However, chisel tips have clear limitations that you must consider before purchasing. They lack the precision required for writing on small labels, filling out forms, or executing intricate illustrations, as the generous ink flow can easily overwhelm tight spaces. Because the broad tip delivers a significantly larger volume of ink to the surface with every stroke, these markers deplete their ink reservoirs much faster than fine-point variants during continuous use. Users should also expect a stronger solvent odor during large-scale projects, as the increased surface area of the wet ink releases more vapors into the surrounding air as it dries.
Twin Tip and Specialty Variants for Versatility and Art
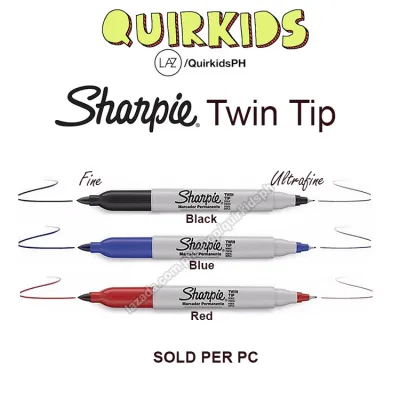
For users who require maximum flexibility or specialized visual effects, twin tip and specialty markers offer tailored solutions that standard single-tip markers cannot match. Twin tip markers feature two distinct nibs—typically a fine point on one end and an ultra-fine point on the other—connected to a shared internal ink reservoir. This design is highly beneficial for mixed-media art, bullet journaling, and field labeling, as it allows you to switch instantly between bold headings and detailed notes without carrying multiple pens. It simplifies your toolkit while ensuring that both tips utilize the exact same ink color and formulation for a cohesive look.
Specialty variants expand your capabilities to surfaces and designs where standard black or colored inks fail to perform. Metallic markers, available in gold, silver, and bronze, use specialized opaque pigments that stand out vividly on dark cardstock, black plastic bins, and glossy holiday decorations. Neon markers feature fluorescent inks that react under ultraviolet light, making them excellent for eye-catching event signage or color-coded organizing. Paint-based markers, which utilize water- or oil-based paint formulas, are highly effective for permanent marking on non-porous surfaces like glass windows, glazed ceramics, and polished metals, offering superior opacity and resistance to fading under direct tropical sunlight.
Before purchasing these specialized tools, it is crucial to perform specific pre-purchase and pre-use checks to ensure proper performance. For twin tip markers, verify that both caps seal tightly with an audible click, as a loose cap on either end will dry out the shared reservoir. For paint-based and metallic variants, check the packaging instructions regarding preparation; many require vigorous shaking with an internal mixing ball and repeated priming of the tip on a scrap surface to start the ink flow. Ensuring you are willing to follow these preparation steps is essential, as failing to prime a paint marker correctly can result in either a dry tip or an uncontrolled puddle of paint.
Surface Compatibility and Safety Checks Before You Buy
Achieving a permanent, clean mark depends as much on the surface material as it does on the marker itself. Before buying, evaluate the porosity, texture, and cleanliness of the target surface. Highly porous materials, such as raw wood, canvas, and low-grade paper, absorb ink deeply, which can cause significant bleeding and require multiple passes to achieve solid color. Conversely, extremely smooth, non-porous surfaces like glass, glazed ceramics, and certain high-density plastics do not absorb ink at all. On these materials, standard permanent ink relies entirely on surface adhesion; if the surface is oily, dusty, or covered in condensation from high tropical humidity, the ink will bead up, dry unevenly, or rub off easily.
Safety and environmental conditions are equally important factors to consider before selecting a marker. Standard permanent markers contain organic solvents that evaporate quickly, releasing a characteristic odor. When working indoors, in small offices, or in poorly ventilated household spaces, using multiple markers simultaneously can lead to a buildup of solvent vapors. If you plan to use markers for extended periods in confined areas, look for low-odor formulations or ensure you can work near an open window or under an exhaust fan. For outdoor projects exposed to intense sunlight and heavy rain, verify that the marker packaging explicitly states water and fade resistance to prevent your markings from washing away or bleaching over time.
Finally, always review the manufacturer’s guidelines regarding skin contact, food safety, and surface removal. Standard permanent markers are not formulated for cosmetic use or prolonged skin contact, and they should never be applied to surfaces that come into direct contact with food or beverages, such as the inside of lunchboxes or the rims of drinking cups. If you are marking items in a medical, laboratory, or childcare environment, check for specific non-toxic certifications on the label. Understanding these safety boundaries beforehand ensures that your marking projects remain safe, effective, and compliant with the intended use of the product.
Frequently Asked Questions (FAQ)
How do you revive a dried-out permanent marker?
If a permanent marker stops writing, you can attempt to restore the ink flow by following low-risk, manufacturer-approved methods. First, store the marker vertically with the tip pointing downward for several hours; this allows gravity to pull the remaining solvent and pigment back into the nib. To determine if the marker is truly empty or just temporarily dried at the tip, examine the nib closely. If the tip has been left uncapped, the solvent at the very surface of the fibers may have evaporated, creating a dry barrier while ink remains in the reservoir.
Avoid using unauthorized household solvents, such as nail polish remover, gasoline, or industrial thinners, to revive the marker. These harsh chemicals can dissolve the plastic marker body, permanently destroy the synthetic fiber tip, or alter the ink’s chemical composition, rendering it unsafe or unusable. If storing the marker tip-down does not restore ink flow, and the tip remains pale and dry, the ink reservoir is likely fully depleted, and the marker should be replaced.
Can permanent marker ink be removed from unintended surfaces?
Accidental marks on unintended surfaces can often be removed if treated quickly, especially on non-porous materials. For surfaces like glass, glazed ceramic tile, or metal, applying a small amount of isopropyl alcohol or a specialized whiteboard cleaner to a soft cloth can dissolve the permanent ink binders, allowing you to wipe the stain away. On dry-erase whiteboards, scribbling over the permanent mark with a standard dry-erase marker and then immediately wiping it off is a highly effective, non-abrasive removal technique.
However, high-risk materials require extreme caution. Certain plastics, finished or varnished wood, and delicate fabrics can be permanently stained or damaged by cleaning agents. Strong solvents can melt plastic surfaces, strip away wood finishes, or cause the ink to bleed deeper into fabric fibers, creating a larger stain. Before applying any cleaning agent or solvent to an accidental mark, always perform a hidden spot test on an inconspicuous area of the material to ensure it does not discolor, melt, or degrade the surface finish.
Community discussion
Share your experience or ask a question. Comments are reviewed before publication.