
Starting your shoe customization journey requires a focused selection of preparation liquids, core paint colors, application tools, and protective sealants. While the world of custom sneakers offers endless specialized additives and hundreds of paint shades, a beginner only needs a few versatile essentials to achieve a durable, professional-looking finish. By focusing on proper surface preparation and mastering color mixing with a minimal palette, you can create high-quality custom designs without overspending on unnecessary supplies.
In the Philippines, where sneaker culture is vibrant and tropical weather presents unique environmental factors like high humidity, choosing the right materials is crucial. Humidity affects how paint adheres, dries, and cures, making proper product selection and application techniques even more important. Whether you are working on classic leather sneakers or canvas slip-ons, building a reliable starter kit is the first step toward successful customization.
Prepping the Shoes: Cleaners and Deglazers
Before a single drop of paint touches your shoes, you must prepare the surface to ensure proper adhesion. Factory leather shoes are coated with a protective sealer or glaze that prevents moisture and dirt from penetrating the material. If you paint directly over this factory finish, the paint cannot bond with the leather and will quickly crack, peel, or flake off during wear.
Products mentioned in this guide
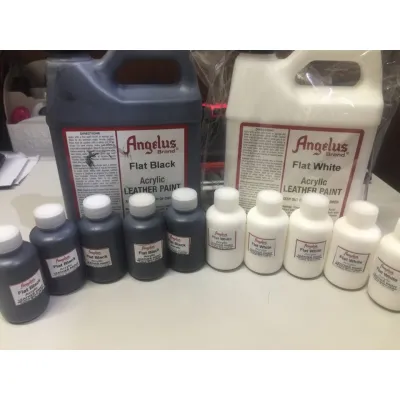
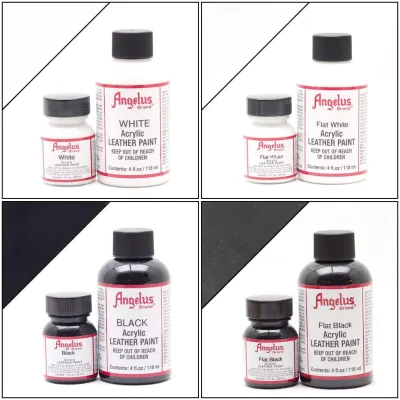
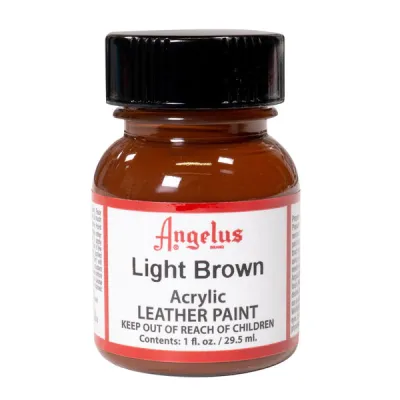
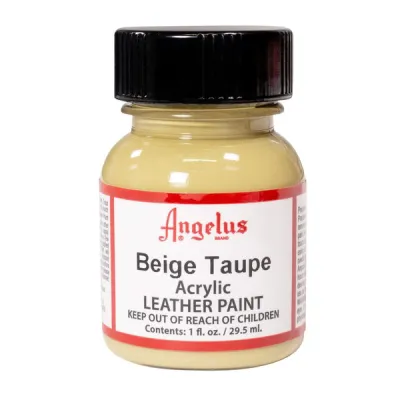
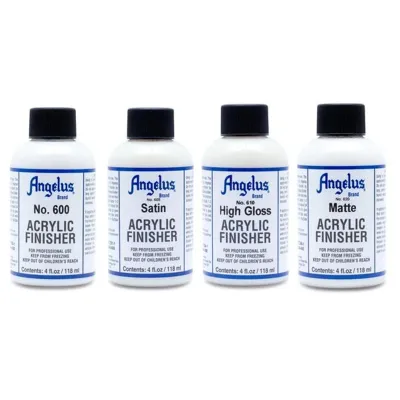
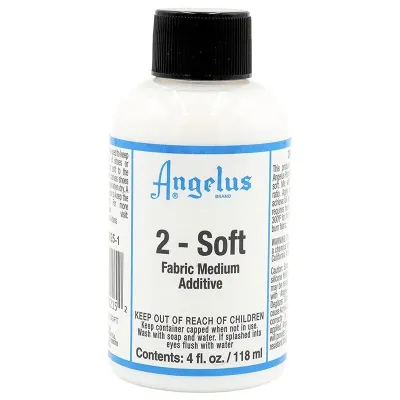
Prices are valid at publication and may change. Please refer to the product page for the latest price.
To strip this factory barrier, you will need a specialized leather preparer and deglazer or pure acetone. Standard deglazers are formulated specifically for leather, stripping the factory finish efficiently without drying out the underlying hide too aggressively. Pure acetone is a common alternative, but you must use it with caution. While highly effective on genuine leather, harsh solvents like acetone can easily melt, warp, or severely weaken synthetic leathers and plastic-based textiles. Always perform a small spot test on an inconspicuous area of the shoe, such as the inner tongue, to observe how the material reacts before treating the entire surface.
Working with these chemical solvents requires strict safety precautions. Always wear protective gloves, such as nitrile gloves, to prevent the liquids from stripping the natural oils from your skin. Work in a well-ventilated area—ideally outdoors or near an open window with a fan running—to avoid inhaling strong fumes, which can accumulate quickly in warm, humid tropical environments.
To apply the deglazer, use lint-free microfiber cloths or flat cotton pads. Avoid using standard cotton balls, as they tend to shred on rough edges and leave tiny fibers trapped on the shoe surface, which will ruin the smoothness of your paint layers. Rub the surface firmly until the factory shine dulls to a matte finish, indicating that the raw leather is ready to receive the paint.
Selecting Core Angelus Paint Colors for Beginners
When building your initial paint collection, resisting the urge to buy dozens of pre-mixed shades will save you money and build your color-mixing skills. A highly versatile starter palette consists of five core colors: flat white, flat black, red, blue, and yellow. With these primary colors plus black and white, you can mix almost any shade, tint, or tone you need for your designs.

Angelus paints are primarily acrylic-based leather paints formulated specifically for the flexibility required by footwear. However, different shoe materials require different paint formulations or additives. Standard leather paint works beautifully on smooth genuine leather and many high-quality synthetics. If you are customizing canvas, mesh, or soft fabric shoes, standard leather paint applied directly will dry stiff and rough. For these materials, you must mix the paint with a fabric medium (such as Angelus 2-Soft) and heat-set it to maintain the fabric’s natural flexibility and soft texture.
Before purchasing, verify the compatibility of the paint with your specific shoe fabric by checking the product labels and manufacturer guidelines. If you plan to use an airbrush instead of traditional hand brushes, you will also need a thinning medium (such as Angelus 2-Thin) to lower the paint’s viscosity and prevent your airbrush nozzle from clogging. Testing a small mixture on a scrap piece of similar material is an excellent way to verify drying speed, flexibility, and color accuracy before committing to the actual shoe.
Essential Brushes and Application Tools
The quality of your application tools directly impacts the smoothness of your paint layers and the level of detail you can achieve. For acrylic-based leather paints, synthetic bristle brushes are highly recommended over natural hair brushes. Synthetic fibers, such as taklon, are more durable, hold their shape better when loaded with heavy acrylic paint, and are easier to clean. They also minimize visible brush strokes, helping you achieve a smooth, factory-like finish.
You do not need a massive assortment of brushes to start. A basic, effective set should include three primary shapes and sizes. First, a medium flat brush (such as a #4 or #6 flat) is essential for applying base coats and covering large panels quickly and evenly. Second, a round brush (such as a #2 round) helps navigate curved edges and medium-sized design elements. Finally, a fine detail liner brush (such as a #0 or #00 detail brush) is indispensable for clean outlines, intricate patterns, and sharp color boundaries.
Beyond brushes, several auxiliary tools are necessary to maintain a clean, organized workspace. High-quality masking tape—specifically low-tack vinyl tape or painter’s crepe tape—is crucial for masking off soles, logos, and areas you want to keep paint-free. You will also need plastic mixing cups or a reusable paint palette to blend your custom shades, along with palette knives to mix the paint thoroughly without wasting product or damaging your delicate brush bristles.
Sealing and Protecting Your Custom Design
Once your paint design is complete, applying a protective finisher is vital to shield your artwork from scuffs, water, dirt, and daily wear. Acrylic finishers act as a clear, flexible barrier over the paint, locking in the colors and preventing environmental moisture from degrading the bond.
Finishers are categorized primarily by their sheen level, which dramatically alters the final look of your custom shoes. A matte finisher removes almost all shine, mimicking a modern, flat factory look. Satin or semi-gloss finishers provide a subtle, natural leather sheen, while gloss and high-gloss finishers deliver a shiny, reflective surface. Choose the sheen that best complements your design aesthetic, and ensure you stir the finisher thoroughly before application, as the matting agents tend to settle at the bottom of the bottle.
Matching the finisher to your specific paint type and shoe material is essential. Always follow the manufacturer’s instructions regarding application thickness and curing times. Before applying any finisher, the paint must be completely dry and fully cured—typically requiring at least 24 hours of drying time.
Environmental conditions play a massive role in how finishers dry. In tropical regions with high humidity, finishers can dry cloudy or tacky if applied too thickly or in damp conditions. Work in a dust-free, dry indoor environment, and apply the finisher in multiple paper-thin coats rather than one thick layer. This ensures a crystal-clear, durable seal that will not cloud or peel.
Building Your Starter Kit on a Budget
Starting a new hobby can quickly become expensive if you buy every product on the shelf. To build a cost-effective starter kit, prioritize the absolute essentials: a deglazer, five core paint colors (white, black, red, blue, yellow), a basic synthetic brush set, masking tape, and a matte or satin finisher. Skip optional additives, glitter paints, neon shades, and specialized cleaning kits until you have mastered the basic techniques of prepping, painting, and sealing.
To ensure you are getting genuine, high-quality products, purchase your supplies from authorized art supply stores or official brand channels. Counterfeit or improperly stored leather paints can dry out, clump, or lose their adhesive properties, leading to ruined customs and wasted money.
To help you plan your budget, use this simple checklist framework to track your components and estimate your initial costs in Philippine Pesos (₱):
| Item Category | Essential Component | Estimated Cost Range (₱) |
|---|---|---|
| Preparation | Leather Preparer & Deglazer (approx. 150ml) | ₱350 – ₱500 |
| Core Paints | 5 Basic Colors (1 oz bottles: White, Black, Red, Blue, Yellow) | ₱1,200 – ₱1,500 |
| Brushes | Synthetic Brush Set (Flat, Round, Detail Liner) | ₱250 – ₱450 |
| Workspace | Low-Tack Painter's Masking Tape | ₱100 – ₱200 |
| Protection | Acrylic Finisher (approx. 118ml) | ₱350 – ₱500 |
| Total Estimated Investment | Complete Starter Setup | ₱2,250 – ₱3,150 |
This budget framework allows you to start customizing multiple pairs of shoes with professional-grade materials while keeping your initial investment manageable.
Frequently Asked Questions (FAQ)
Can I use regular acrylic paint instead of Angelus on shoes?
Standard craft acrylic paint is not formulated for the constant flexing, stretching, and environmental exposure that shoes endure. Regular acrylics dry rigid and brittle, which leads to rapid cracking and peeling as soon as you take your first step. Specialized leather paints contain flexible acrylic polymers that bond directly with the leather fibers, allowing the paint to bend and stretch with the shoe’s natural movement. Always check product specifications to ensure the paint is rated for leather or fabric use before applying it to footwear.
How do I clean my brushes after using leather paint?
Because leather paint is acrylic-based, it dries relatively quickly and becomes water-resistant once cured. To preserve your brushes, you must clean them immediately after use before the paint has a chance to dry in the bristles. Rinse them thoroughly with lukewarm water and mild soap, or use a dedicated synthetic brush cleaner. Gently reshape the bristles with your fingers and lay the brushes flat to dry; storing them upright while wet can cause water to seep into the ferrule, loosening the glue and causing the bristles to shed.
Community discussion
Share your experience or ask a question. Comments are reviewed before publication.