
For your very first DIY jewelry project, the most practical DIY beads to buy are medium-sized, round acrylic or glass beads. These options offer a balanced combination of affordability, uniform hole sizes, and ease of handling, allowing you to practice basic stringing and knotting techniques without unnecessary frustration. Starting with forgiving materials ensures that your early crafting sessions are rewarding and help build your confidence.
In tropical climates like the Philippines, where high humidity can affect certain jewelry components over time, selecting moisture-resistant materials is key to making pieces that last. By focusing on a few essential bead types, shapes, and compatible stringing materials, you can easily create beautiful, durable accessories right at home.
Comparing Common Bead Materials for Beginners
Acrylic and plastic beads are widely considered the most beginner-friendly option on the market. They are exceptionally lightweight, highly cost-effective, and very forgiving when you are practicing new techniques. If you make a mistake and need to cut your elastic cord, using inexpensive acrylic beads ensures you have not wasted premium materials. They are also excellent for testing how different color patterns look in real life before committing to more expensive designs.
Products mentioned in this guide
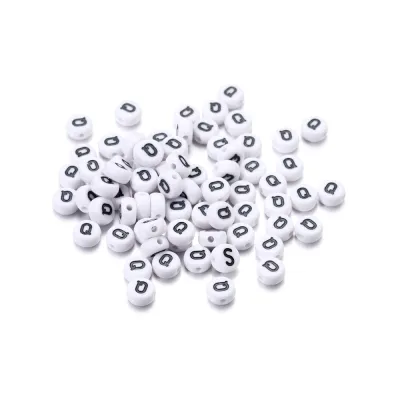
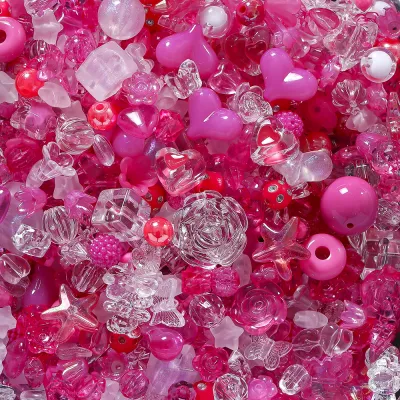
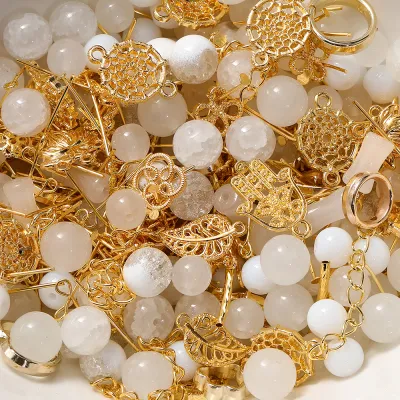
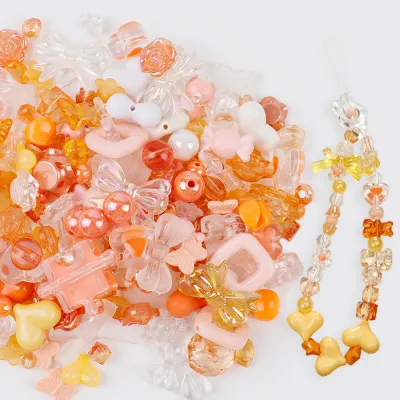
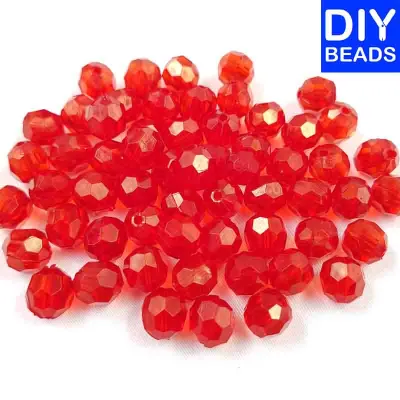
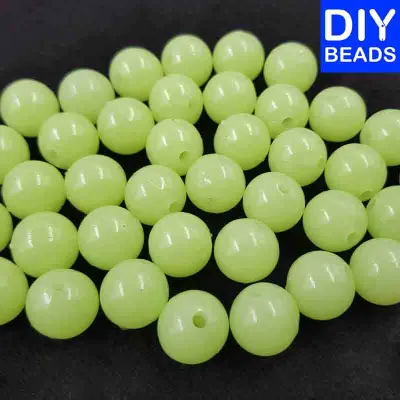
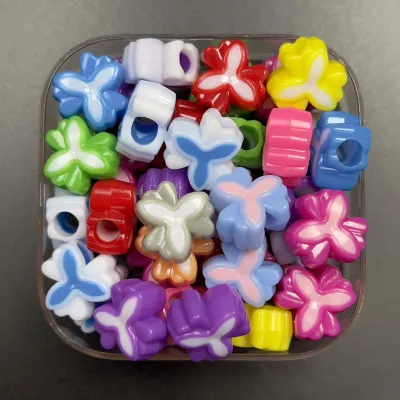
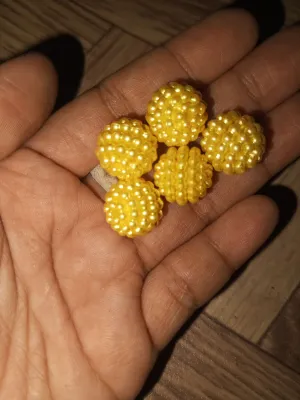
Prices are valid at publication and may change. Please refer to the product page for the latest price.
Glass beads are a wonderful next step when you want to give your DIY jewelry a more polished, premium appearance. They provide a satisfying weight and a glossy finish that catches the light beautifully. However, glass requires slightly more careful handling during the assembly process. Rough handling with metal pliers or dropping them on hard surfaces can cause chipping, so it is best to work over a soft bead mat or a folded towel.
Wood and natural stone beads introduce beautiful, organic textures and earthy tones to your designs. However, because these materials are natural, they often feature irregular shapes or slightly inconsistent hole sizes. When working with wood or stone, you will need to visually inspect each bead before stringing to ensure the cord can pass through smoothly. In humid environments, untreated wood can also absorb moisture, making pre-finished or sealed wood beads a more stable choice.
Metal beads are highly effective when used as structural accents rather than the main body of your jewelry. A solid strand of metal beads can quickly become heavy, rigid, and uncomfortable to wear, especially in warm weather. Using them sparingly as accent points adds a professional touch to your bracelets or necklaces while keeping the finished piece lightweight and comfortable against the skin.
Selecting Forgiving Bead Shapes and Sizes
Uniformity is incredibly helpful when you are learning the ropes of jewelry making. Round beads and simple tube beads are the easiest shapes to align, stack, and string because they do not have complex angles that require specific orientation. They slide onto your thread predictably, allowing you to focus your attention on maintaining even tension and tying secure knots.

When browsing for DIY beads, look for sizes in the 6mm to 8mm range. This size bracket is the ideal sweet spot for beginners because the beads are large enough to hold comfortably between your fingers without dropping them, yet small enough to maintain a flexible, natural drape on a finished bracelet or necklace. Extremely small seed beads (such as 2mm or 3mm sizes) often require specialized needles and intense visual focus, which can quickly tire out a beginner.
It is best to avoid highly irregular, sharp-edged, or heavily textured beads for your first few projects. Star, flower, or faceted geometric shapes can sometimes have sharp edges around their drilled holes. Over time, these sharp edges can rub against and cut through elastic cords or nylon threads. They also make achieving design symmetry much more difficult for a novice crafter.
Matching Your Beads to the Right Stringing Material
Before purchasing your supplies, always verify that the inner hole diameter of your beads matches the thickness of your stringing material. For instance, a standard 0.8mm elastic cord requires beads with a hole diameter of at least 0.9mm or 1.0mm to slide on easily. You can check these measurements in the product specifications or perform a quick visual check by testing a single bead on your cord before stringing an entire strand.
Different bead weights pair best with specific stringing materials to ensure durability. Lightweight acrylic and small glass beads are perfect for flexible elastic cords, which are ideal for simple, clasp-free stretch bracelets. If you are planning to use heavier glass, wood, or natural stone beads, using memory wire or nylon-coated beading wire provides the structural support needed to prevent the jewelry from sagging or stretching out of shape.
Using spacer beads is an excellent way to protect your main beads and improve the overall quality of your project. Small metal spacers or tiny glass seed beads placed between larger focal beads act as protective cushions. They prevent the larger beads from rubbing directly against one another, reducing friction that could chip glass or wear down the stringing thread. They also allow the jewelry to curve naturally and comfortably around the wrist.
Building a Cost-Effective First Bead Collection
To keep your initial budget manageable, resist the temptation to buy every color available. Instead, focus on building a cohesive color palette by selecting a neutral base color—such as cream, clear glass, or soft grey—and pairing it with two or three complementary accent colors. This strategy allows you to limit your initial spending to a few hundred ₱ while ensuring that almost every bead in your starter collection can be mixed and matched seamlessly.
When deciding between assorted kits and individual packs, consider your project goals. Beginner kits offer excellent convenience, providing a wide variety of colors, shapes, and sometimes basic elastic cord in a single organized box. However, buying individual packs of specific materials often yields more consistent quality and larger quantities of the exact sizes you need. A small, curated kit is perfect for discovering what you enjoy, while individual packs are better once you have a specific design in mind.
Once your DIY beads arrive, take a few minutes to inspect them before you begin crafting. Look for blocked holes, sharp edges around the drill sites, and noticeable color inconsistencies. Sorting your beads into a small tray beforehand saves time and prevents the frustration of encountering a defective bead halfway through stringing a pattern.
Frequently Asked Questions (FAQ)
How can I clear a blocked hole in a wooden or stone bead?
If you find a bead with a blocked hole, do not try to force your stringing wire through it, as this can fray or damage the thread. Instead, use a specialized tool like a beading awl or a very thin, sturdy needle. Gently insert the tip into the hole and twist slowly to push out any trapped manufacturing residue, wood shavings, or stone dust. Always work slowly and stop if you feel significant resistance to avoid cracking the bead or slipping and causing a hand injury.
Do I need to seal or treat natural wood beads before stringing?
Whether you need to treat wood beads depends on their finish, so check the packaging or manufacturer instructions to see if they are pre-finished or raw, untreated wood. Raw wood beads can absorb sweat and environmental moisture, which may cause them to swell or transfer natural oils to your skin and clothes over time. If they are untreated, you can apply a light coat of natural beeswax or a specialized wood sealer. Ensure they are completely dry—following the manufacturer’s recommended drying times—before stringing them to prevent staining your elastic or thread.

Community discussion
Share your experience or ask a question. Comments are reviewed before publication.