
Scrap paper in scrapbooking refers to decorative, textured, or weighted paper sheets and offcuts used to build layers, frame photographs, and add visual interest to memory-keeping layouts. Beginners can easily start using these materials by selecting a few coordinating sheets of cardstock and patterned paper, cutting them to size, and arranging them in layers before adhering them to a base page. This creative practice allows you to transform simple paper remnants into beautiful backdrops that preserve your personal stories and milestones. Starting this hobby does not require a massive investment; a modest budget of ₱300 to ₱600 is more than enough to acquire a starter pack of coordinated papers and basic adhesives.
Understanding Scrap Paper and Its Role in Scrapbooking
To understand scrap paper, it is helpful to distinguish it from standard office or printer paper. While standard printer paper is lightweight, typically uncoated, and prone to yellowing over time, dedicated scrap paper is manufactured with specific weights, textures, and chemical properties designed for preservation. Scrap paper encompasses a wide range of materials, from heavy cardstock to delicate translucent sheets, all engineered to withstand the application of adhesives, inks, and embellishments without deteriorating.
In memory keeping, scrap paper serves several essential structural and aesthetic roles. Its primary function is to establish a visual foundation for your layout, acting as the background canvas that holds your photographs and journaling. Beyond the base, smaller pieces of scrap paper are used to create dimensional layers, build decorative borders, and frame photos to make them stand out from the background. By stacking different shapes and sizes, you can guide the viewer’s eye directly to the focal points of your page.
Products mentioned in this guide
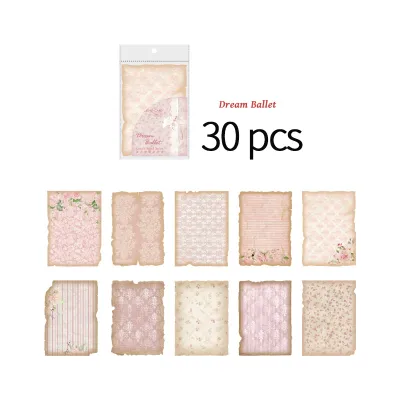
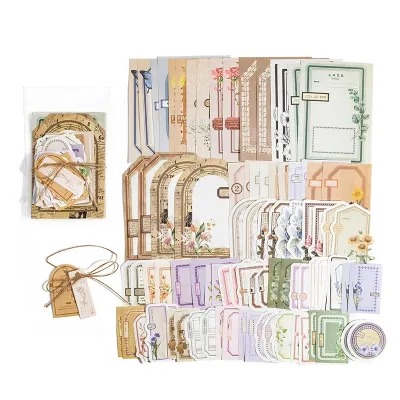
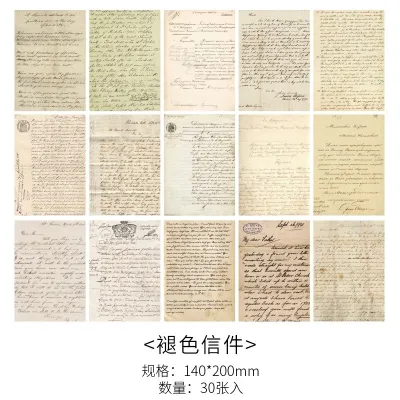
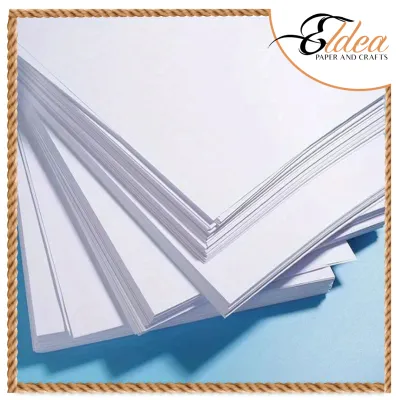
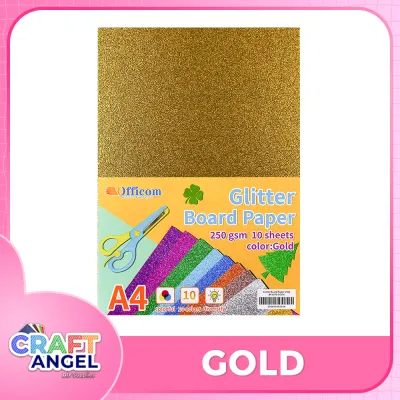
Prices are valid at publication and may change. Please refer to the product page for the latest price.
The finish and texture of the paper you choose will heavily influence the overall aesthetic of your scrapbook page. Matte finishes offer a classic, clean look that keeps the focus on your photographs, while textured papers like linen or canvas-embossed cardstock add tactile depth. Glossy or metallic papers can introduce a modern, high-energy feel, but they require careful handling to avoid fingerprint smudges. Understanding how these different surfaces interact with light and other materials is key to designing a cohesive layout.
Choosing the Right Scrap Paper for Your First Project
When planning your first scrapbooking project, navigating the sheer variety of paper types can feel overwhelming. Cardstock is the workhorse of scrapbooking, providing a sturdy, solid-colored base that supports the weight of photos and heavy embellishments. Patterned paper, which comes in endless designs from subtle florals to bold geometric prints, adds personality and theme to your pages. For delicate accents, vellum offers a translucent, elegant touch that can soften busy backgrounds or create elegant overlays.

The weight of the paper, measured in grams per square meter (GSM), dictates how the material behaves during the crafting process. Lightweight papers (around 80 to 120 GSM) are easy to fold, tear, and layer, but they may warp if you apply too much liquid adhesive. Medium to heavyweight cardstock (160 to 300 GSM) provides the structural integrity needed for page bases and interactive elements like flaps or pockets. Choosing the correct weight ensures your layout remains flat and durable over time.
Paper size and format also play a significant role in your design workflow. The standard scrapbooking size is 12×12 inches (approximately 30.5×30.5 cm), which offers ample space for multi-photo layouts, while 6×6 inch pads are excellent for mini albums or quick cards. Before making your first cut, sketch your layout on a scrap piece of paper to plan your dimensions. This planning helps you maximize the use of each sheet, leaving you with usable offcuts rather than tiny, unusable scraps.
Essential Tools for Preparing and Attaching Scrap Paper
Working with scrap paper requires a few basic, low-risk tools to ensure clean cuts and secure adhesion. A rotary paper trimmer is highly recommended for beginners, as it allows you to make perfectly straight, square cuts safely and quickly. For detailed shapes and intricate borders, a pair of fine-tipped precision scissors is indispensable. Always use a self-healing cutting mat to protect your work surface and keep a metal ruler handy for quick measurements and straight-edge tearing. When using utility knives or paper trimmers, keep fingers clear of the cutting rail and store blades with safety guards engaged.
Adhesive selection is critical to the longevity of your scrapbook, especially when preserving cherished photographs. When shopping for adhesives, always check the product labels for terms like “acid-free,” “lignin-free,” and “photo-safe.” Standard school glues often contain acids that will turn your paper yellow and degrade your photos over time. Double-sided tape runners, adhesive foam squares for added dimension, and acid-free glue pens for small details are excellent, beginner-friendly choices. Keep liquid adhesives away from children and work in a well-ventilated space if using solvent-based glues.
Because different papers react uniquely to various adhesives, always perform a quick test on an offcut before applying glue to your final layout. Apply a small amount of your chosen adhesive to a scrap piece of your paper and let it dry completely. Observe the sample for any signs of warping, bleed-through, or puckering. This simple check prevents unexpected damage to your main project and ensures that your chosen adhesive provides a strong, clean bond. Similarly, test your writing pens on a corner of the scrap paper to check for feathering, drying speed, or bleed-through before writing directly on your layout.
Step-by-Step Process for Building Your First Scrapbook Layout
Building your first scrapbook layout is a structured process that begins with thoughtful planning. Start by selecting one or two focal photos and a coordinating color palette of scrap papers that complement the images. Before reaching for your scissors, arrange your photos and paper sheets on your background page to visualize the composition. Decide where your journaling, title, and embellishments will go, ensuring that the overall design feels balanced and uncluttered.
Once your plan is set, you can begin preparing your paper elements using your chosen techniques. For clean, modern lines, use your paper trimmer to cut precise mats for your photos, leaving a small border of paper showing around the edges. If you prefer a rustic, vintage, or organic look, try tearing the edges of your scrap paper toward you to reveal the white core of the paper. You can also lightly distress the edges of the paper with a dedicated distressing tool or the edge of your scissors to add texture.
Before applying any adhesive, perform a “dry fit” of your entire layout by arranging all the cut and torn elements on the page. This step allows you to adjust the spacing, overlap layers, and fine-tune the composition without the commitment of glue. Take a quick photo of your dry arrangement with your phone so you have a visual reference to guide you during the final assembly process.
When you are satisfied with the layout, begin adhering the pieces systematically, starting from the bottom layer and working your way up. Apply adhesive sparingly to the back of your paper elements, focusing on the corners and edges to prevent lifting. Place each piece down carefully, using a clean cloth or a bone folder to smooth the paper from the center outward. This technique expels trapped air and ensures a flat, secure bond without wrinkling or bubbling.
Common Beginner Mistakes and How to Prevent Them
One of the most common mistakes beginners make is using the wrong type or amount of adhesive, which can lead to warping and long-term damage. In warm, humid tropical climates like the Philippines, liquid glues take longer to dry and can easily cause thin papers to buckle or wrinkle. To prevent this, opt for dry adhesives like double-sided tape runners or adhesive dots, which provide an instant, moisture-free bond. If you must use liquid glue, apply it in thin, even lines or dots using a precision tip.
Another frequent pitfall is overcrowding the layout with too many patterns, colors, and embellishments, which distracts from the photos. To maintain a clear visual hierarchy, remember to incorporate negative space—empty areas on your page that allow the viewer’s eyes to rest. Use busy patterns sparingly as accents rather than full backgrounds, and let your photos remain the undisputed stars of the layout.
Finally, ignoring the grain direction of your paper can lead to frustrating results when folding or scoring. Like wood, paper has a grain direction determined by the alignment of its fibers during manufacturing. Folding against the grain can cause the paper to crack and create unsightly, jagged edges. To find the grain, gently bend a scrap piece of paper in both directions; the direction that offers the least resistance is parallel to the grain, which is the direction you should fold.
Frequently Asked Questions (FAQ)
Can I use regular printer paper instead of dedicated scrap paper?
While regular printer paper is acceptable for practicing your layouts, sketching designs, or testing cutting tools, it is not recommended for finished scrapbook pages. Standard printer paper is typically thin, lacks structural integrity, and is rarely acid-free, meaning it will yellow and degrade your photos over time. For preserving memories, invest in dedicated scrapbooking paper that is certified acid-free and lignin-free to ensure your layouts remain vibrant for years.
How should I store leftover scrap paper to keep it in good condition?
To protect your leftover scrap paper from damage, store it in a cool, dry place away from direct sunlight, which can cause colors to fade. In humid environments like the Philippines, keeping your paper in airtight plastic containers with a few packets of silica gel will prevent moisture absorption, curling, and mold. Organize your offcuts by size, color, or pattern in clear folders or expanding files so you can easily find and reuse them in future crafting sessions.

Community discussion
Share your experience or ask a question. Comments are reviewed before publication.