
Journaling has evolved far beyond simple pen-and-ink entries. Creative planners and memory keepers are constantly searching for ways to add texture, depth, and personality to their pages. One of the most exciting innovations in the stationery community is the 3d sticker puzzle, a dimensional crafting element that transforms a flat, two-dimensional paper surface into a layered, tactile masterpiece. Unlike standard flat stickers, these puzzles invite you to assemble multi-layered scenes directly on your page, creating a miniature shadow box effect.
If you are new to this trend, incorporating these chunky, textured pieces can feel intimidating. This guide will walk you through the essential tools, paper requirements, step-by-step assembly techniques, and design layouts to help you master this craft without ruining your favorite journal.
Essential Tools and Paper Requirements for 3D Stickers
Before peeling your first piece, it is crucial to understand the medium you are working with. A typical 3d sticker puzzle comes in several formats, including foam-backed layered designs, interlocking thick paperboard pieces, or rigid acrylic dimensional elements. Because these pieces carry physical weight and depth, standard notebook paper will not suffice. You must verify your journal’s paper specifications before starting.
Products mentioned in this guide
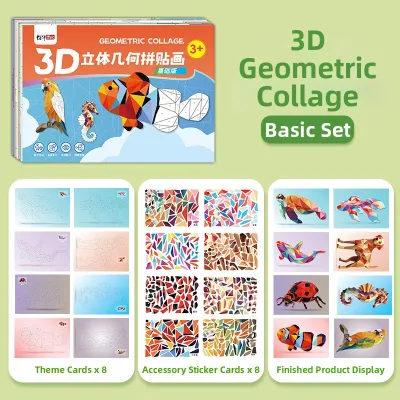
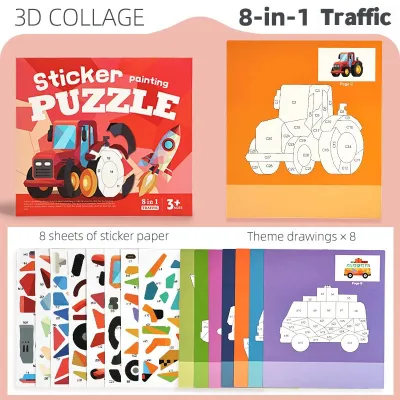
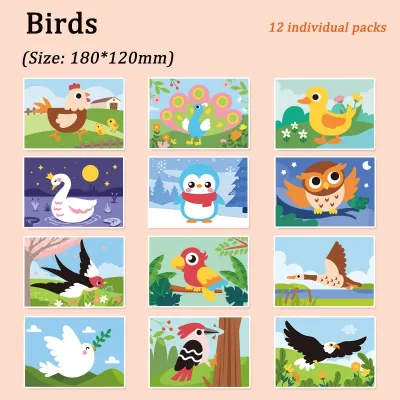
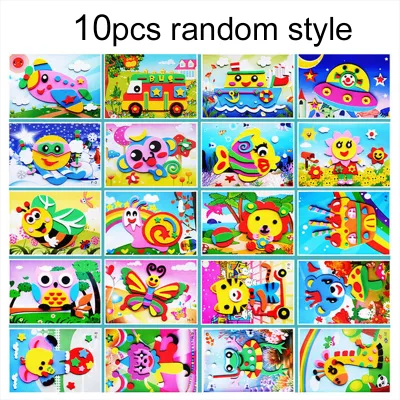
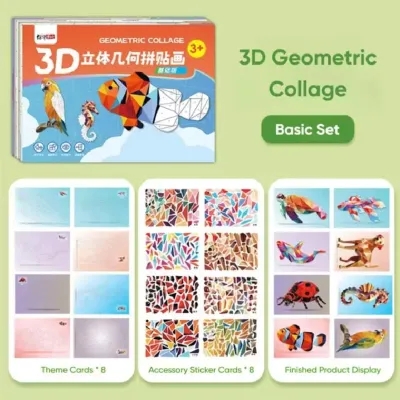
Prices are valid at publication and may change. Please refer to the product page for the latest price.
Look for notebooks featuring paper that is at least 100 GSM (grams per square meter), though 120 GSM to 160 GSM is highly recommended. Thinner papers, such as standard 68 GSM or 80 GSM sheets, lack the structural integrity to support heavy dimensional items, leading to severe page sagging, warping, and eventual tearing. To verify compatibility, test a heavy sticker on a back page or a scrap sheet first to observe how the paper handles the weight.
The choice of adhesive is equally critical. While some puzzle sets come with pre-applied adhesive backings, others require manual pasting. You should strictly avoid liquid white glues or school glues. In warm, humid environments like the Philippines, liquid glues take an exceptionally long time to dry, causing the paper fibers to swell, buckle, and warp permanently. Instead, opt for dry, pressure-sensitive adhesives. Double-sided tape runners, high-tack glue dots, or small squares of acid-free foam tape are ideal. These dry options provide an instant, secure bond without introducing moisture to your paper.
Handling these intricate, miniature puzzle pieces with your fingers can be frustrating and may transfer natural skin oils to the adhesive, reducing its stickiness. To ensure precise placement, equip yourself with a pair of fine-tip craft tweezers. A silicone spatula or a bone folder is also incredibly helpful for pressing down delicate edges without scratching the printed designs.
You do not need an expensive setup; a simple pair of craft tweezers costing around ₱100 to ₱150 and a quality notebook will suffice. If your project requires cutting custom foam tape, always use non-stick Teflon-coated scissors to prevent adhesive buildup on your blades. Keep sharp tools out of reach of children, and handle them with care to avoid accidental cuts.
Step-by-Step Guide to Placing and Layering Your 3D Sticker Puzzle
Assembling a dimensional layout requires a balance of spatial planning and physical assembly. Because these stickers add significant physical bulk to your book, you cannot simply place them at random. Following a structured workflow ensures your layout looks intentional and your journal remains highly functional.

Planning Your Layout and Focal Point
Every successful journal page needs a clear focal point—a central visual element that immediately draws the eye. Your assembled sticker puzzle should serve as this primary anchor. To prevent your page from looking cluttered, choose one main area for your dimensional puzzle and keep the surrounding elements relatively flat.
Before peeling off any adhesive backings, perform a dry-fit of your entire layout. Arrange your puzzle pieces, washi tapes, and writing spaces on the page exactly as you envision them. Take a quick photo with your phone to use as a reference. This step allows you to evaluate the visual balance, check the distribution of negative space, and ensure your colors harmonize.
During this planning phase, pay close attention to your journal’s binding. If you are using a bookbound or thread-bound journal, avoid placing the thickest parts of your puzzle too close to the inner spine or gutter. Placing bulky items near the center binding makes writing on subsequent pages extremely difficult and puts immense leverage on the thread, which can split the spine over time. Keep your thickest dimensional elements toward the outer edges of the page.
Assembling and Layering the Puzzle Pieces
Once you are satisfied with the dry-fit arrangement, it is time to build the puzzle from the ground up. Always start by peeling and placing the base or background layer first. This bottom layer acts as the foundation for the entire scene. Use your craft tweezers to align this piece perfectly with your planned layout grid.
Next, begin building the dimensional illusion by interlocking or overlapping the subsequent layers. If your puzzle consists of interlocking paperboard pieces, slide them together gently to avoid bending the tabs. For layered foam stickers, align the edges precisely with the printed guides on the base layer. If you make a mistake, do not force the pieces apart, as this can tear the paper fibers.
To enhance the depth of your scene, you can selectively add small pieces of double-sided foam tape under the uppermost layers. For example, if your puzzle features a floral scene, placing extra foam tape under the front-most petals will make them pop forward, creating natural shadows that shift beautifully under room lighting.
Securing and Finishing the Layout
With all the layers assembled, you must secure the entire piece to ensure it does not lift over time. Instead of pressing down with your bare thumbs—which can easily crush the delicate foam layers or scratch acrylic surfaces—use a clean silicone spatula or a piece of soft cloth. Apply firm, even pressure vertically downward over the key adhesive points.
After securing the puzzle, test how your journal closes. Gently fold the book shut. If the dimensional puzzle causes the cover to spring open excessively, you may need to adjust your storage methods or accept a chunky journal aesthetic. If the bulk is too severe, consider using fewer layers in your next project.
To make your dimensional puzzle look like a natural part of the page rather than an awkward sticker slapped on top, frame it with flat accents. Bordering the puzzle with thin washi tape or layering it over flat paper scraps helps visually anchor the heavy element, grounding it seamlessly into the surrounding layout.
Common Layout Mistakes and How to Avoid Them
Working with dimensional media comes with a learning curve. Avoiding these common beginner pitfalls will save you from damaged pages and ruined journals.
- Overcrowding the page: It is tempting to use multiple 3D sticker puzzles on a single spread, but this quickly leads to visual chaos. Too many bulky elements compete for the reader's attention and make the journal excessively thick, making it nearly impossible to write on the back of those pages. Limit yourself to one major 3D element per spread.
- Ignoring page thickness buildup: Creating consecutive layouts with thick stickers in the exact same spot will result in a highly lopsided journal. This uneven thickness puts uneven tension on the binding, which can crack the glue or snap the stitching. To prevent this, rotate the placement of your dimensional stickers from page to page—put one on the top right of a spread, the next on the bottom left of the following spread, and so on.
- Using the wrong adhesive: As mentioned, liquid craft glues are the enemy of neat journaling, especially in tropical climates where humidity levels regularly exceed 80 percent. Liquid glues introduce water to the paper, leading to unsightly buckling. Furthermore, certain solvent-based liquid glues can chemically dissolve the delicate foam backings of your stickers. Stick strictly to dry, acid-free adhesives.
- Poor visual contrast: If you place a pastel-colored 3D sticker puzzle onto a matching pastel background, the dimensional effect will be lost. Ensure there is sufficient contrast between your sticker and the journal page. If your page is white, consider backing your puzzle with a dark scrap of kraft paper or a bold washi tape border to make the layers stand out.
Mixing 3D Stickers with Washi Tape and Flat Elements
To elevate your journal pages from simple sticker collages to professional mixed-media layouts, you must master the art of blending textures. Combining highly dimensional 3D stickers with flat stationery items creates a balanced, visually engaging spread.
Washi tape is your best tool for integrating these elements. Use matte, solid-colored washi tapes to create grounding lines beneath your 3D puzzle. For instance, if your puzzle is a vintage typewriter, placing a strip of wood-grain or neutral-toned washi tape directly underneath creates a faux desk surface, giving the floating sticker a logical place to rest. You can also use thin metallic washi tapes to frame the puzzle, turning it into a featured art piece on your page.
When it comes to writing, plan your journaling blocks carefully around the 3D element. Trying to write right next to a thick, raised sticker is incredibly difficult because your hand will bump into the raised edges, resulting in messy, uneven handwriting. Write your journal entries first on a separate piece of flat paper, cut it out, and paste it flat onto the page before assembling your 3D puzzle nearby. Alternatively, use a ruler to draw clean writing lines well away from the dimensional pieces.
Finally, play with contrasting textures. If your 3d sticker puzzle has a high-gloss or glittery finish, pair it with matte, textured elements like torn kraft paper, pressed dried leaves, or uncoated vintage book pages. This contrast prevents the page from looking one-dimensional and highlights the unique tactile quality of your 3D stickers.
Frequently Asked Questions (FAQ)
How do I store a journal with thick 3D sticker puzzles?
To protect your dimensional layouts and maintain your journal’s binding, store your completed journals flat (horizontal) rather than upright (vertical) on a shelf. Storing a bulky journal upright allows gravity to pull down on the heavy, uneven pages, which can warp the cover and strain the spine over time. Additionally, place a physical spacer—such as a thick piece of cardboard, a plastic pencil board, or a flat ruler—on the opposite side of the binding when closing the book. This helps distribute the pressure evenly. In humid tropical climates, store your journals in a cool, dry place alongside a few silica gel packets to prevent the adhesive from softening or attracting moisture.
Can I remove or reposition 3D sticker puzzles if I make a mistake?
Your ability to reposition a piece depends entirely on the adhesive used. If you used temporary, repositionable glue dots, you can easily peel and move the pieces. However, most commercial 3D sticker puzzles utilize high-tack, permanent foam tape that is designed to stay put. Attempting to rip these off will tear your journal paper. To safely remove a permanent piece, do not pull upward. Instead, gently slide a thin metal spatula, a dull craft knife, or a piece of dental floss flat underneath the foam layer. Carefully saw back and forth to slice through the foam core, leaving a thin residue on the page which you can cover with washi tape or flat paper.

Community discussion
Share your experience or ask a question. Comments are reviewed before publication.