
Choosing the right marker pens for art and illustration in the Philippines requires balancing ink chemistry, nib versatility, and local environmental factors like high relative humidity. Whether you are a professional illustrator, a graphic designer, or a hobbyist building your first sketchbook, the ideal marker must deliver consistent ink flow without bleeding excessively through your chosen paper. In our tropical climate, paper fibers naturally absorb ambient moisture, which directly impacts how different inks dry, blend, and layer. Finding the perfect maker pen involves understanding these material interactions so you can invest in tools that elevate your creative work and stand up to daily use.
Key Factors When Selecting Art Markers
Alcohol-based and water-based ink systems behave very differently on paper. Alcohol-based inks dry incredibly fast because the solvent evaporates rapidly. This quick drying time is excellent for creating smooth, streak-free gradients and seamless blends, as the ink remains workable just long enough to fuse with adjacent colors. However, alcohol ink is highly translucent and will bleed through standard copy paper, requiring heavy cardstock or specialized marker paper. Water-based inks, on the other hand, use water or water-and-glycerin mixtures as a carrier. They dry more slowly, which can lead to visible stroke lines if you are coloring large areas. The benefit of water-based markers is that they do not bleed through paper as aggressively as alcohol-based options, and they can often be reactivated with water to create watercolor-like washes. In humid tropical environments, water-based inks may take slightly longer to dry completely, which extends their blending window but also increases the risk of accidental smudging if you work too quickly.
The shape and material of the marker tip, or nib, dictate the types of marks you can make. Brush nibs are highly favored by illustrators because they mimic the flexibility and responsiveness of a traditional paintbrush. A high-quality brush nib, typically made of durable polyurethane or felt, allows you to transition seamlessly from ultra-fine lines to broad strokes simply by varying your hand pressure. Chisel nibs feature a wide, angled flat surface that is ideal for filling in large blocks of color quickly or creating precise, sharp edges in graphic layouts and calligraphy. Fine or bullet nibs are rigid, rounded tips that maintain a consistent line width, making them indispensable for detailed line work, cross-hatching, and technical sketching.
Products mentioned in this guide
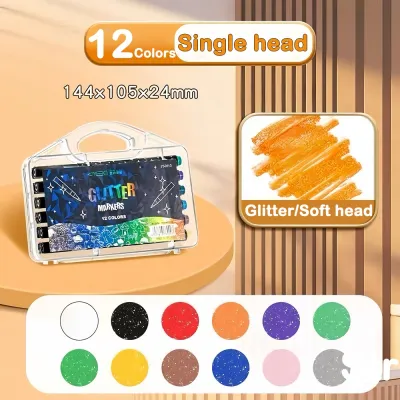
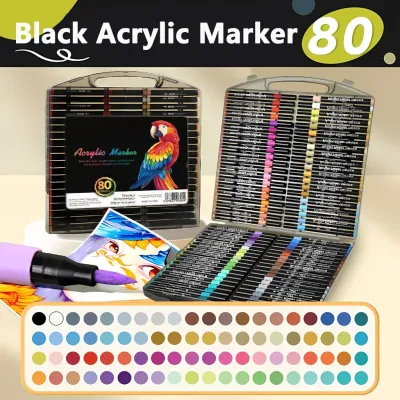
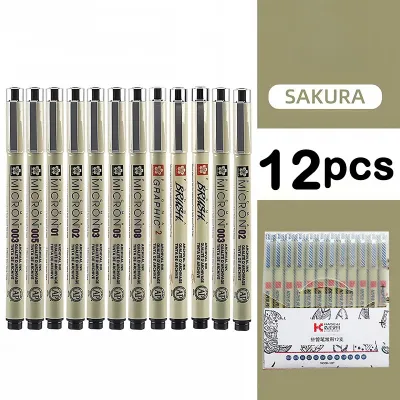
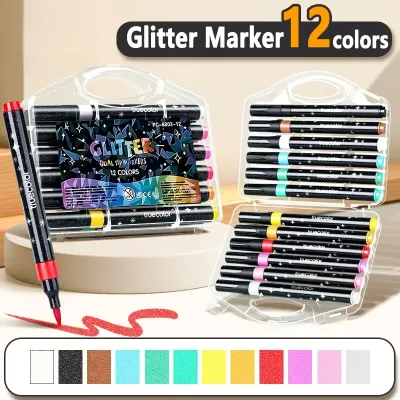
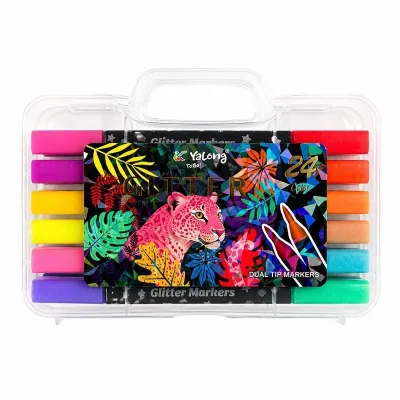
Prices are valid at publication and may change. Please refer to the product page for the latest price.
Professional art markers are often sold in extensive color systems, sometimes spanning hundreds of shades, including highly specific warm, cool, and neutral grays. When evaluating a marker line, check the manufacturer’s color coding system to ensure it is logical and allows for easy identification of blending families. Lightfastness—the resistance of the ink to fading when exposed to light—is another critical factor, especially if you plan to display or sell your physical artwork. Many dye-based markers, particularly alcohol-based ones, are not inherently lightfast and will fade over time if exposed to direct sunlight; archival work often requires pigment-based markers or protective UV-resistant fixative sprays. Finally, consider refillability. High-end marker systems allow you to purchase refill ink bottles and replacement nibs, which significantly reduces long-term costs and environmental waste compared to disposable markers.
Matching Marker Types to Your Art Style
Selecting the right marker is not just about buying the most expensive option; it is about matching the physical capabilities of the pen to your specific artistic discipline. Different techniques demand different ink behaviors and nib responses.

Illustration and Comic Art
For character design, manga, and comic book illustration, the ability to create smooth skin tones, soft shadows, and dynamic line weights is paramount. Illustrators heavily rely on alcohol-based markers equipped with flexible brush nibs. The springiness of a quality brush nib allows for organic line work that breathes life into character outlines. When rendering gradients, the fast-evaporating nature of alcohol ink enables you to layer shades from light to dark without tearing the paper fibers. This is crucial for achieving seamless transitions on skin, clothing, and background elements. For artists who prefer a stylized, high-contrast look, the consistent ink flow of a premium maker pen ensures that cel-shading—where shadows are defined by hard, crisp edges rather than gradients—remains uniform and free of distracting streak marks.
Graphic Design and Lettering
Graphic designers, architects, and hand-lettering artists require absolute precision, bold color saturation, and clean edge control. In these disciplines, the chisel nib is the primary tool of choice. The wide, flat edge of a chisel nib allows you to lay down broad, flat fields of color with minimal strokes, which is essential for architectural renderings and layout mockups. By rotating the marker to use the sharp point of the chisel, you can instantly transition to thin, precise lines for detailing or lettering flourishes. High ink opacity and saturation are vital here; the ink must dry to a vibrant, solid finish that stands out on presentation boards. Because these layouts often require crisp, geometric shapes, the ink must resist feathering—the tendency of ink to spread sideways along paper fibers—ensuring that your design boundaries remain perfectly sharp.
Mixed Media and Sketching
If your creative process involves combining markers with colored pencils, watercolors, or ink liners, water-based markers offer unique advantages. Because water-based inks do not bleed through paper as easily as alcohol inks, they are highly suited for double-sided sketchbooks and journals. You can use a damp brush to blend and soften water-based marker strokes directly on the page, achieving beautiful watercolor-like washes without the mess of a full paint set. However, working with wet mediums requires careful consideration of your paper stock. Standard sketchbook paper will buckle, warp, or pill when exposed to water-based blending. To prevent this, opt for heavy-duty mixed media paper or watercolor paper with a minimum weight of 200 gsm. This ensures the surface can handle multiple layers of wet media without degrading.
How to Evaluate Marker Quality Before Buying
Before investing your hard-earned pesos in a set of art markers, performing a few simple, observable quality checks can save you from the frustration of bringing home dried-out or defective tools. If you are shopping at a physical art supply store in the Philippines, look for tester displays where you can evaluate the markers firsthand.
First, inspect the physical integrity of the nibs. Remove the caps and look closely at the tips. A high-quality nib should be clean, sharply defined, and free of fraying or splaying. If you notice fuzzy fibers splitting away from the main tip, or if the nib looks dry and crusty with dried ink residue, it is a sign of poor cap sealing or heavy wear on the display model. Press the nib gently against a scrap piece of paper; it should feel firm yet responsive, springing back to its original shape immediately without leaving a mushy, distorted tip.
Second, conduct a quick performance test on a scrap piece of the exact paper stock you plan to use for your project. Do not rely solely on the store’s provided test pads, as paper behavior varies wildly. Draw a solid block of color to observe the ink flow. The ink should flow smoothly and consistently from the moment the nib touches the paper, without skipping, pooling, or leaving dry streaks. Watch how the ink behaves as it dries: does it spread rapidly beyond the lines you drew (feathering), or does it hold a sharp edge? Flip the paper over to check the level of bleed-through. While some bleed-through is normal for alcohol markers on thin paper, excessive bleeding that ruins the sheet underneath indicates you may need to upgrade to a heavier paper weight or a different ink formulation.
Third, verify the long-term viability of the marker line by checking the availability of replacement parts. Look at the manufacturer’s packaging or ask the store staff if they regularly stock individual replacement nibs and refill inks for that specific brand. A marker system that seems affordable initially can become expensive if you have to discard the entire pen every time the ink runs out or the nib wears down. Choosing a system with readily available refills and nibs is not only more sustainable but also far more cost-effective over your artistic journey.
Building Your Initial Marker Collection
Starting an art marker collection can feel overwhelming given the sheer volume of colors available. It is tempting to buy a massive, pre-packaged set, but this often results in paying for dozens of highly saturated, bright colors that you may rarely use. A more strategic and budget-friendly approach is to build a versatile, curated palette tailored to your specific subject matter.
Begin by selecting a foundational palette of essential tones. For most illustrators, this includes a balanced selection of primary colors (a warm and cool red, blue, and yellow) and secondary colors (green, orange, and violet). Crucially, you should invest heavily in a range of neutral tones. Grays are the unsung heroes of marker art; they are essential for rendering shadows, depth, and realistic textures. Decide whether your work benefits more from cool grays (ideal for metallic surfaces, technology, and rainy landscapes) or warm grays (perfect for organic subjects, skin tones, wood, and stone). Additionally, always include a colorless blender marker in your initial purchase. This specialized tool contains pure solvent without pigment, allowing you to soften harsh edges, fade colors to white, and blend disparate shades seamlessly on the paper.
When deciding between buying a curated starter set or purchasing individual open-stock markers, weigh your immediate project needs against your budget. Pre-packaged starter sets (often sold in groups of 12, 24, or 36) usually offer a lower price per marker, making them an attractive entry point. However, if you specialize in a specific genre, such as botanical illustration or portraiture, you may find that a standard starter set lacks the subtle earth tones or skin shades you need. In this case, buying individual open-stock markers—even if they cost slightly more per piece (typically ranging from ₱100 to ₱300 or more depending on the grade)—allows you to build a highly customized palette where every single pen is actively used.
Finally, factor the long-term maintenance costs into your initial budget. A premium marker that supports refills and nib replacements might require a higher upfront investment, but it will save you money over time. For example, a single bottle of refill ink can often replenish a marker seven to ten times, costing significantly less than buying ten brand-new disposable markers. By planning your collection around refillable systems from the start, you ensure that your creative toolkit remains sustainable and highly functional for years to come.
Frequently Asked Questions (FAQ)
Can I use regular office highlighters for art and illustration?
While you can technically use any marking tool for creative expression, regular office highlighters are not designed for serious art and illustration. Highlighters utilize highly fluorescent, dye-based inks formulated for maximum visibility on printed text rather than smooth blending or layering. These inks have very low pigment density, which makes it difficult to achieve rich, saturated color blocks without tearing standard paper. Furthermore, highlighter inks have notoriously poor lightfastness; artwork created with them will fade rapidly, sometimes within just a few weeks of exposure to ambient indoor light. The high water content in office highlighters can also cause standard drawing paper to warp, pill, and degrade quickly under multiple layers.
How do I prevent my marker pens from drying out?
Preventing your marker pens from drying out requires proper storage habits and careful handling, especially in warm, tropical climates. Always store dual-tipped markers horizontally. Storing them vertically causes the ink to gravity-drain to one end, leaving the opposite nib dry and prone to clogging. Horizontal storage ensures that ink remains evenly distributed to both the brush and chisel tips, keeping them primed for immediate use. Additionally, always cap your markers immediately after use. Listen for an audible click when pushing the cap back on; this click confirms that the airtight seal has engaged, preventing the volatile solvents in alcohol markers or the moisture in water-based markers from evaporating into the air.

Community discussion
Share your experience or ask a question. Comments are reviewed before publication.