
When embarking on a leather crafting or restoration project, choosing the right paint is the most critical decision you will make. The surface of leather is unique; it is organic, porous, and constantly subjected to bending, stretching, and environmental exposure. While standard craft acrylics are highly accessible and budget-friendly, specialized leather paints, such as Angelus, are engineered specifically to handle the physical demands of flexible leather surfaces.
In tropical climates like the Philippines, environmental factors such as high humidity and heat play a significant role in how paint adheres, dries, and cures. Standard acrylics can become brittle or remain perpetually tacky when exposed to moisture, whereas specialized leather paints are formulated to maintain their integrity under these challenging conditions. Understanding the chemical differences, preparation requirements, and long-term durability of each option will ensure your project looks professional and stands the test of time.
Understanding the Core Differences in Formulation
The primary difference between specialized leather paint and regular acrylic paint lies in the binder. All acrylic paints consist of pigment suspended in an acrylic polymer emulsion. However, the specific polymers used in leather paints are highly elastomeric. These specialized polyurethane-acrylic binders allow the paint film to stretch and flex in tandem with the leather fibers beneath it, preventing the paint from snapping under tension.
Products mentioned in this guide
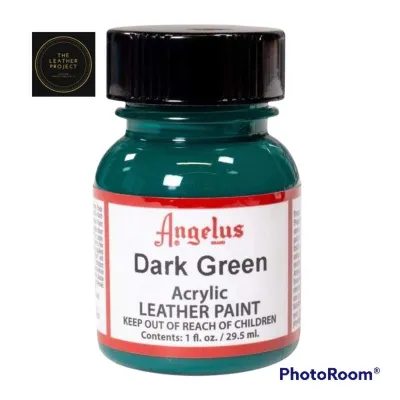
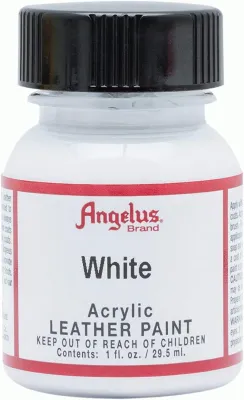
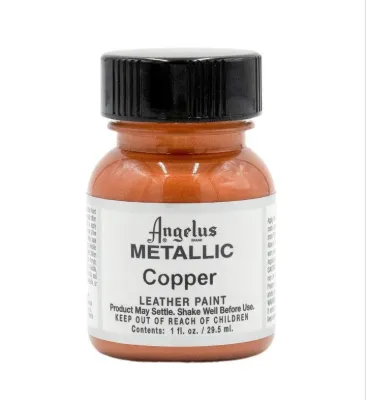
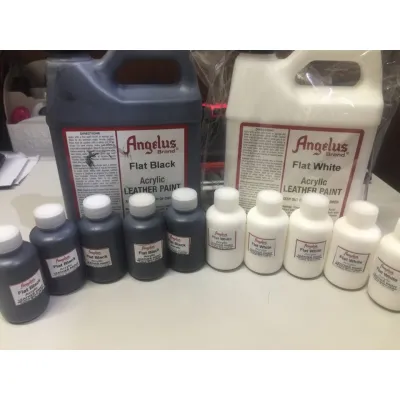
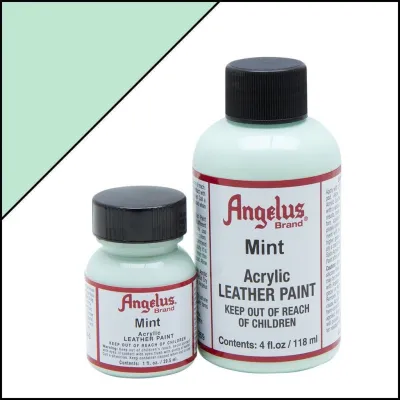
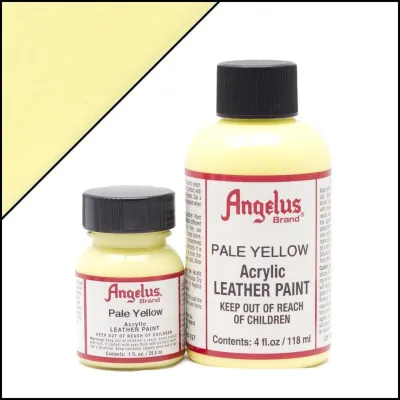
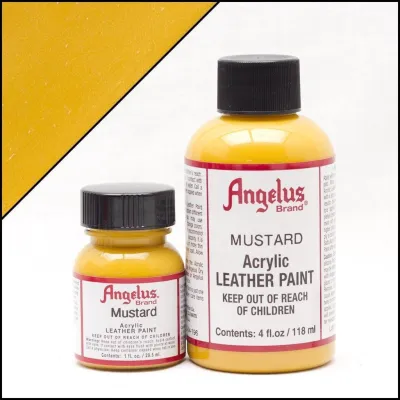
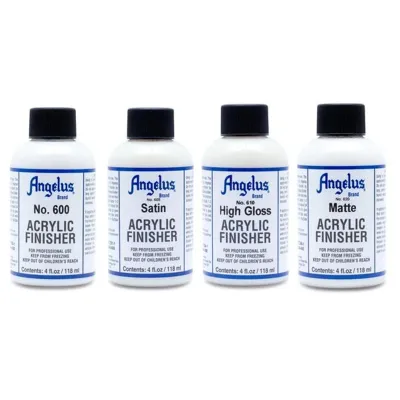
Prices are valid at publication and may change. Please refer to the product page for the latest price.
In contrast, standard craft acrylic paints are formulated for rigid or semi-rigid substrates like canvas, wood, paper, or plaster. The binders in these paints are designed to dry into a hard, protective barrier. While this hardness is excellent for preventing scratches on a wooden box, it is highly detrimental on a flexible leather item. When the leather bends, the rigid acrylic film cannot stretch, resulting in immediate cracking, flaking, and peeling.
Before purchasing any paint for a leather project, it is essential to read the product labels and technical specifications carefully. Look for terms such as “elastomeric,” “highly flexible,” or explicit instructions detailing compatibility with leather surfaces. Avoid generic craft paints that do not mention flexibility, as these will almost certainly require heavy modification with external mediums to achieve even moderate adhesion on flexible items.
Surface Preparation and Application Requirements
Achieving a professional, long-lasting finish on leather requires meticulous surface preparation, regardless of the paint type you choose. Factory leather goods are treated with a protective topcoat—often a silicone, wax, or polyurethane glaze—designed to repel moisture and stains. If you apply paint directly over this factory finish, the paint cannot bond with the leather fibers and will easily peel off.

To prepare the surface, you must use a leather preparer or deglazer, which is typically an acetone-based solvent. Gently wiping the leather with a lint-free cloth soaked in deglazer strips away the factory finish, leaving a clean, matte surface ready for paint adhesion. For regular acrylics, preparation is even more demanding; you must mix the paint with a specialized fabric medium or a flexible acrylic polymer modifier, usually in a one-to-one ratio. This modifier introduces the necessary elasticity to the rigid craft paint, though it also dilutes the pigment concentration, often requiring more coats for full coverage.
Application technique is equally critical, especially in humid environments. You should always apply the paint in multiple paper-thin layers rather than one or two thick coats. Thick layers trap moisture underneath, which slows down the drying process and prevents the polymers from cross-linking correctly. This is a common cause of sticky, tacky finishes that easily peel. Allowing each thin layer to dry completely before applying the next ensures a stable, durable build-up.
Evaluating Durability and Finish on Leather
The true test of any leather paint is how well it withstands daily wear, bending, and environmental exposure. Once your paint has dried, it must undergo a curing phase, which can take anywhere from 24 hours to several days depending on local humidity levels. In warm, humid regions, it is wise to allow extra curing time before subjecting the painted item to physical stress.
To evaluate the durability of your paint job, perform a gentle bend test on an inconspicuous area or a scrap piece of the same leather material. Once the paint is fully cured, slowly flex the leather back and forth. Observe the creased area closely under bright light; specialized leather paint should bend seamlessly without showing any signs of micro-cracking or separation. If you are using regular acrylic mixed with a medium, check if the paint film shows any lifting or chalky residue along the fold.
Water and scuff resistance are also vital performance metrics. Specialized leather paints generally offer superior water resistance once fully cured, making them suitable for shoes and bags exposed to sudden tropical downpours. To protect your design from friction and environmental moisture, always apply a compatible acrylic finisher or sealer. These sealers are available in various finishes—such as matte, satin, or high gloss—allowing you to customize the final sheen while locking in the paint layers.
Cost and Value Considerations for Your Project
When planning your budget, it is important to weigh the upfront cost of the paint against the overall value and longevity of the finished project. Standard craft acrylics are highly economical, with prices typically ranging from ₱50 to ₱150 for a standard bottle in local art supply stores. Specialized leather paints like Angelus are premium products, generally costing between ₱300 and ₱500 for a small 1 oz or 2 oz bottle.
However, looking only at the base price per volume can be misleading. If you choose regular acrylic paint, you must factor in the hidden costs of necessary additives. Purchasing a high-quality fabric medium, a leather deglazer, and a compatible sealer can easily add ₱500 to ₱1,000 to your total expenses. If you do not already own these mediums, the cost gap between the two options narrows significantly.
The scale and nature of your project should ultimately dictate your investment. For high-value items like leather sneakers, designer handbags, or leather jackets, using specialized leather paint is the most cost-effective choice because it minimizes the risk of ruining the item or needing a complete strip-and-redo. For low-flex, decorative, or budget-friendly projects—such as painted leather coasters, picture frames, or book covers—regular acrylic mixed with a suitable medium is a practical and economical alternative.
Decision Framework: Which Paint Should You Choose?
To make the final decision for your specific crafting project, consider the following condition-based guidelines:
- Choose specialized leather paint if:
- The item is highly flexible and experiences constant movement (e.g., shoes, wallets, watch straps, or jackets).
- You require maximum durability, water resistance, and scuff protection.
- You prefer a streamlined, ready-to-use application process without the hassle of mixing paint and mediums.
- Choose regular acrylic paint if:
- The item is rigid or semi-rigid and will not experience bending (e.g., leather boxes, clocks, or framed art).
- You are working on a strict budget and already own a collection of acrylic paints and flexible mediums.
- You are willing to perform extensive test patches and mix custom ratios to achieve the desired flexibility.
Before starting, always verify the compatibility of your specific leather type. Smooth, top-grain, and full-grain leathers are highly receptive to both paint types after proper deglazing. Synthetic leathers, such as polyurethane (PU) or polyvinyl chloride (PVC), can also be painted, but they require gentle deglazing as harsh solvents can damage the synthetic backing. Suede and nubuck are highly porous and have a soft nap; they should never be painted with standard acrylic or heavy leather paint, as these coatings will clog the fibers and ruin the texture. For suede and nubuck, specialized liquid leather dyes are the correct choice.
Frequently Asked Questions (FAQ)
Can you mix specialized leather paint with regular acrylic paint?
Mixing specialized leather paint with regular craft acrylic paint is generally not recommended. Because regular acrylics lack the highly elastic binders found in leather-specific formulas, mixing them dilutes the overall flexibility of the paint. This compromise in the binder ratio makes the final mixture far more susceptible to cracking and peeling when applied to flexible leather surfaces.
If you must mix the two—such as when you need to create a highly specific custom color and only have regular acrylic on hand—keep the proportion of regular acrylic extremely low, ideally under ten percent of the total mixture. Before applying this custom blend to your project, always mix a small batch and test it on a scrap piece of the same leather. Perform a thorough bend test after it cures to verify that the flexibility has not been compromised.
Do you need a sealer for both types of paint on leather?
Yes, applying a protective sealer or finisher is highly recommended for both specialized leather paint and regular acrylic paint. While some high-quality leather paints feature built-in sealants, an additional topcoat provides an essential barrier against moisture, dirt, oils, and physical friction. For regular acrylic paint, a sealer is absolutely mandatory to prevent the paint from absorbing moisture and peeling over time.
When selecting a sealer, choose a compatible acrylic finisher designed specifically for leather or flexible surfaces. These are available in matte, satin, and gloss sheens to match your desired aesthetic. In humid tropical climates, ensure that the paint layers have cured completely before applying the sealer. Applying a topcoat over damp paint can trap moisture underneath, leading to a cloudy appearance, persistent tackiness, or premature peeling of the entire finish.

Community discussion
Share your experience or ask a question. Comments are reviewed before publication.