
Bounce clay is a lightweight, highly elastic modeling compound known for its soft, pillowy texture and its unique ability to bounce when formed into a ball. Unlike traditional dense clays, this material remains remarkably flexible even after it cures, making it an excellent choice for crafting sensory toys, stress-relief items, and lightweight decorative accents. Because it does not require kiln firing or oven baking, it offers an accessible, mess-free crafting experience for hobbyists of all skill levels looking to create playful, resilient designs.
Understanding Bounce Clay: Composition and Key Characteristics
To understand why bounce clay behaves so differently from traditional ceramic or plasticine clays, one must look at its physical structure. This material is typically composed of a lightweight polymer base infused with micro-air bubbles, giving it an airy, marshmallow-like consistency. When you hold a fresh piece, it feels incredibly soft, dry to the touch, and almost weightless. It stretches smoothly when pulled gently, yet it can snap cleanly if yanked with sudden force, demonstrating its unique viscoelastic properties.
The defining characteristic of this medium is its elasticity. When rolled into a solid sphere and dropped onto a hard surface, the cured clay compresses slightly upon impact and rapidly returns to its original shape, propelling itself upward. This bouncing effect is highly satisfying and makes the material a favorite for interactive crafts.
Products mentioned in this guide
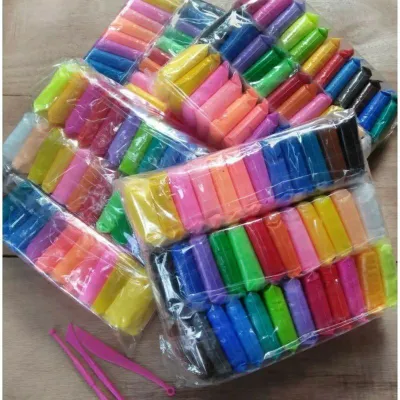
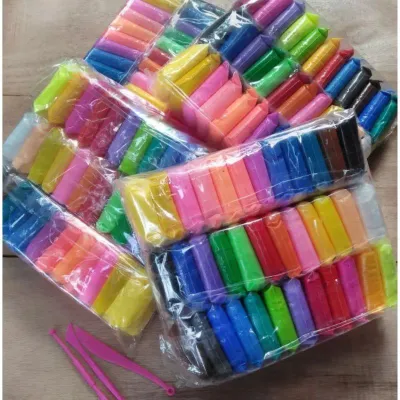
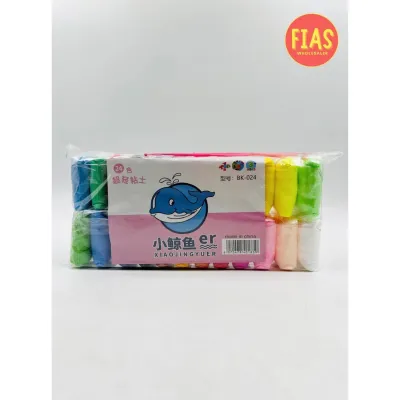
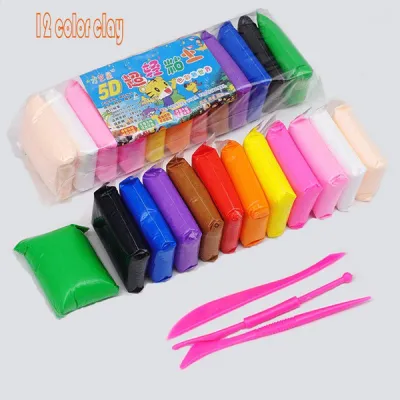
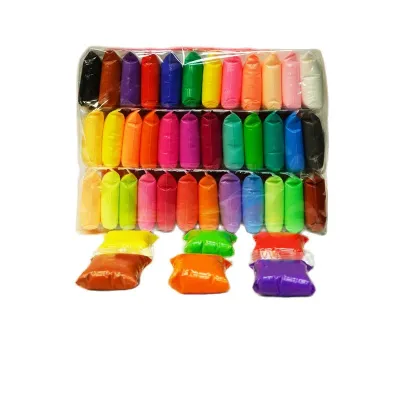
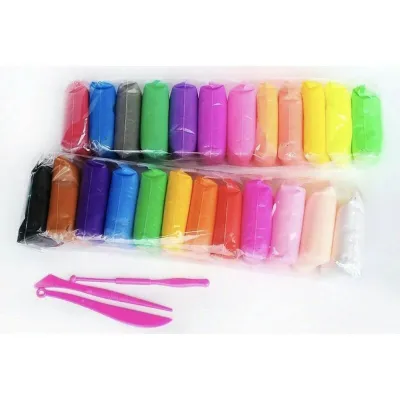
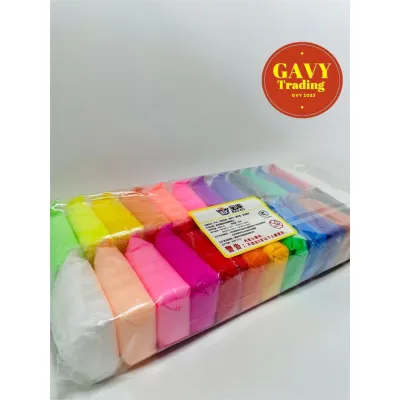
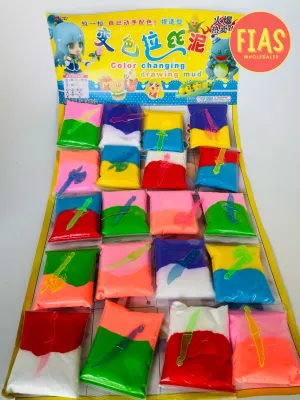
Prices are valid at publication and may change. Please refer to the product page for the latest price.
Curing mechanisms for bounce clay primarily rely on air-drying rather than heat application. As the moisture within the clay evaporates at room temperature, the polymer chains lock into place, leaving behind a velvety, foam-like structure that retains its shape while remaining slightly squishy. However, formulations can vary significantly between manufacturers. Some specialty brands offer non-hardening varieties designed for continuous reuse, while others cure to a firm, rubbery finish.
Before purchasing, it is essential to verify the material composition and safety standards printed on the product packaging. Look for clear labels indicating that the product is non-toxic and conforms to international safety standards. Checking these details ensures the clay is suitable for your household and matches your specific crafting environment. A standard multi-color pack of bounce clay typically ranges from ₱150 to ₱500 in local craft stores, making it an affordable entry point for hobbyists.
Ideal Crafting Projects for Bounce Clay
Because of its unique physical properties, bounce clay is exceptionally well-suited for specific types of creative projects. Its soft, pliable nature makes it the premier choice for sensory toys and stress-relief items. Crafting custom stress balls, squishy figures, or textured fidget items allows makers to take full advantage of the clay’s natural elasticity and soft tactile feedback.

Simple, cartoonish sculptures and decorative charms also benefit greatly from this medium. Because the cured clay is virtually unbreakable when dropped, it is ideal for making lightweight keychains, bag charms, and playful figurines. If you are crafting items that might accidentally fall from a shelf or desk, bounce clay provides a durable, shatterproof alternative to traditional ceramics.
Additionally, the material is excellent for creating flexible craft components. For instance, you can mold delicate flower petals, miniature costume accessories, or decorative trim that needs to bend slightly to fit onto curved surfaces. Its lightweight nature ensures that even larger decorative pieces will not add unnecessary weight to your projects.
However, bounce clay is not a universal substitute for all modeling mediums. It is highly unsuitable for projects requiring high structural rigidity or fine, load-bearing details. Because it remains flexible and slightly soft, it cannot support heavy weight and may sag over time if used for tall, unsupported structures. It also struggles to hold micro-details, such as sharp facial features or intricate textures, which tend to soften as the clay settles and dries.
Furthermore, cured bounce clay is highly sensitive to environmental conditions. It should never be used for projects intended for prolonged outdoor exposure or direct contact with water. In tropical climates with high humidity, such as the Philippines, cured pieces can absorb moisture from the air if left unprotected, leading to a sticky surface or structural softening. Understanding these limitations helps you select the right projects to ensure your creations last.
How to Work with Bounce Clay: Preparation and Shaping
Working successfully with bounce clay requires a few basic preparation steps and handling techniques. Before you begin shaping your design, take time to thoroughly knead and condition the clay. This process warms up the polymer compound, distributes moisture evenly, and eliminates any air pockets, resulting in optimal elasticity and a smoother surface finish.
Managing stickiness is a common challenge, particularly when crafting in warm, humid environments. To prevent the clay from adhering to your hands or work surface, always work on a clean, non-porous area such as a silicone baking mat, parchment paper, or a smooth plastic sheet. If the clay feels overly sticky due to high ambient humidity, let it sit exposed to the air for a few minutes to allow excess surface moisture to evaporate, or lightly dust your fingertips with a tiny amount of cornstarch.
When it comes to curing, always follow the specific manufacturer’s instructions printed on the packaging. Most bounce clays should be left to dry naturally on a flat, clean surface in a well-ventilated room away from direct sunlight. Attempting to speed up the drying process using a hair dryer, oven, or microwave can cause the clay to bubble, warp, or crack, potentially releasing unpleasant fumes.
Once your project is fully cured, you can consider post-curing finishes. The natural surface of dried bounce clay is matte and velvety. If you wish to add color details, verify the paint compatibility on a small test scrap first. Acrylic paints generally adhere well, but because the clay remains flexible, thick layers of standard paint may crack when the item is squeezed. Applying a thin, flexible sealer designed for foam or rubber can help protect your finished piece from dust and moisture without compromising its signature squishiness.
Bounce Clay vs. Other Modeling Clays: Making the Right Choice
Choosing the right modeling medium depends entirely on the goals of your project. Comparing bounce clay to other popular options like polymer clay and standard air-dry clay highlights where each material excels.
Polymer clay is a dense, synthetic material that requires oven baking to cure. Once baked, it becomes completely rigid, highly durable, and water-resistant. It is unmatched in its ability to hold incredibly fine details, sharp edges, and intricate patterns, making it the preferred choice for detailed jewelry, miniatures, and structural sculptures. However, it is heavier than bounce clay and will shatter if dropped from a height.
Standard air-dry clay, often paper- or earth-based, cures at room temperature but dries to a hard, stone-like finish. While it is excellent for pottery-style projects, bowls, and rustic decor, it becomes brittle when dry. It is highly susceptible to cracking if dropped or subjected to stress, and it lacks any of the elasticity or flexibility found in bounce clay.
To help guide your decision, consider the following comparison dimensions:
- Elasticity and Flexibility: Bounce clay remains highly flexible and bouncy; polymer and standard air-dry clays cure completely rigid or brittle.
- Weight: Bounce clay is extremely lightweight and airy; polymer and standard air-dry clays are dense and heavy.
- Detail Retention: Polymer clay offers superior detail retention; standard air-dry clay offers moderate detail; bounce clay is best for simple, rounded shapes.
- Curing Method: Bounce clay and standard air-dry clay require only ambient air; polymer clay requires a dedicated baking oven.
By evaluating these factors against your desired final texture and structural needs, you can confidently select the ideal clay for your next creative endeavor.
Frequently Asked Questions (FAQ)
Is bounce clay safe for young children?
Safety is a primary concern when selecting crafting materials for household use. Most bounce clay products are formulated to be non-toxic, but parents and educators must always check the age grading and safety certifications printed on the product packaging. Because of the bright colors and soft, dough-like texture, young children may mistake the clay for food. Continuous adult supervision is highly recommended during play to prevent accidental ingestion or misuse, and the material should always be kept away from infants and pets.
Can you paint or seal finished bounce clay projects?
Yes, you can paint and seal cured bounce clay, but you must select your materials carefully to preserve the clay’s unique properties. Before applying any paint, consult the manufacturer’s guidelines on the packaging to ensure compatibility. Acrylic paints are generally the most effective option, but they should be applied in thin coats to prevent peeling. To protect the velvety surface from dust, dirt, and ambient humidity, apply a thin layer of a flexible, water-based sealer. Avoid heavy, rigid varnishes, as they will crack when the clay is flexed or squeezed.
How long does bounce clay take to dry or cure?
The drying time for bounce clay is highly variable and depends on several factors, including the thickness of your creation, the specific brand formulation, and local environmental conditions. In general, thin pieces may dry within 24 hours, while thicker sculptures can take 48 hours or longer to cure completely to the core. Because high humidity levels can significantly prolong this process, crafters working in tropical climates should allow extra drying time. Always refer to the product packaging for the manufacturer’s recommended curing timeline.

Community discussion
Share your experience or ask a question. Comments are reviewed before publication.