
Finding high-variety, good-quality journaling supplies on a strict budget can feel like an uphill battle, especially when balancing aesthetic goals with financial limits. Securing a 100-piece sticker set for under ₱150 on e-commerce platforms is entirely achievable, but it requires careful evaluation of product listings, material specifications, and hidden checkout costs. By understanding what to look for in product descriptions and buyer reviews, you can find beautiful, functional stickers that elevate your daily spreads without compromising your budget.
Defining Journaling Needs Within a ₱150 Budget
Before browsing online marketplaces, defining your specific journaling style helps narrow down the overwhelming number of budget options. If your primary activity is daily logging or functional planning, you will likely benefit from small, repetitive icons, color-coding dots, or minimalist border stickers. On the other hand, if you lean toward scrapbooking, junk journaling, or creating elaborate weekly themes, you will need larger focal pieces, vintage ephemera, or illustrative designs that can anchor a page. Knowing your style prevents you from buying a bulk pack where half the designs go unused.
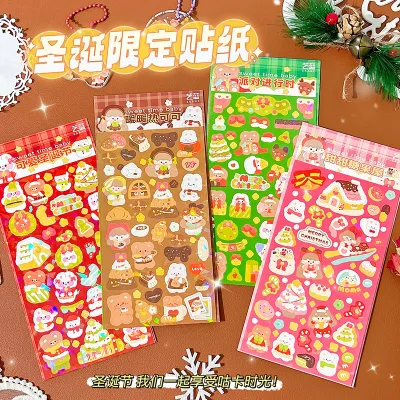
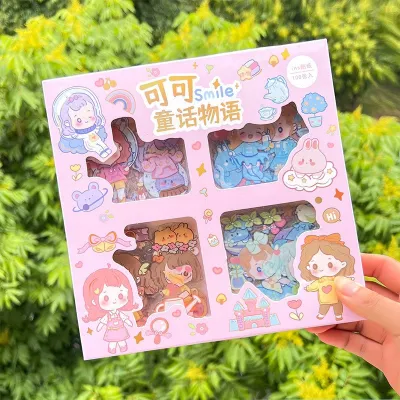
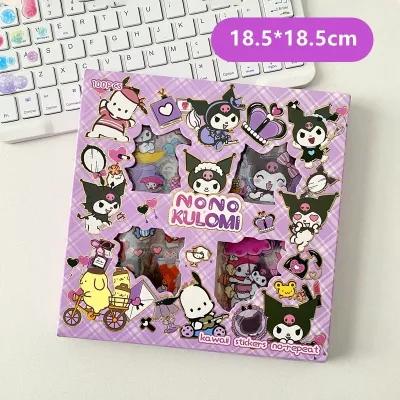
The trade-off between sticker size and the total 100-piece count is a critical factor when shopping under a ₱150 limit. Many budget-friendly listings advertise a “100-piece set,” but this can range from a single box of tiny individual flakes to several large sheets containing multiple kiss-cut designs. If you prefer large, dramatic elements to cover empty space, a set of individual die-cut stickers might be ideal, though they may be smaller than expected. If you prefer a high volume of tiny decorative accents, sheet-based sets often provide more variety and a higher total count of usable elements.
Products mentioned in this guide
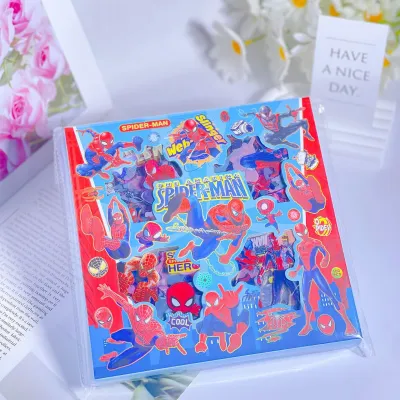
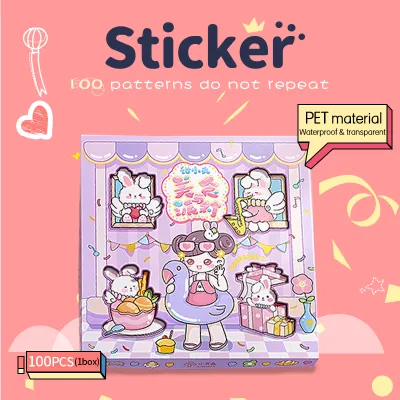
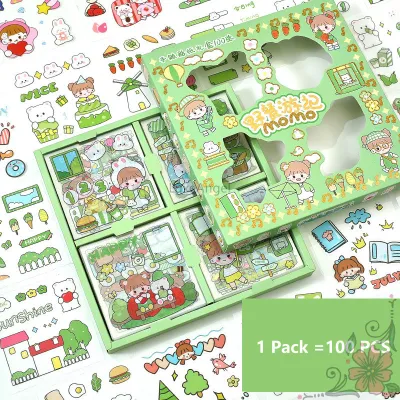
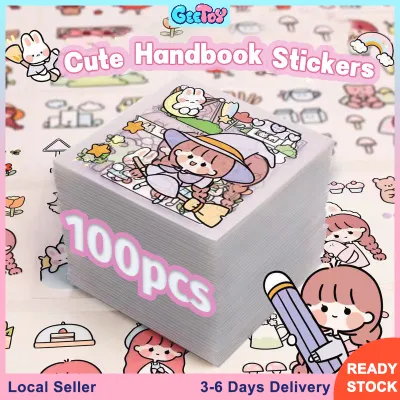
Prices are valid at publication and may change. Please refer to the product page for the latest price.
You must also consider how the sticker material interacts with your journal’s paper and your preferred writing instruments. Paper-based stickers, such as standard matte paper or traditional washi paper, blend seamlessly with journal pages and allow you to write over them with gel pens, ballpoints, or pencils. Synthetic materials, such as polyethylene terephthalate (PET) or polyvinyl chloride (PVC), offer excellent durability and transparency but resist most water-based inks. If you enjoy layering stamps or writing notes directly on top of your stickers, sticking to paper-based options is essential for a smudge-free finish.
Evaluating Quality in Budget Sticker Sets
Evaluating the quality of budget-friendly stickers requires a keen eye before you click the purchase button. Because you cannot handle the physical product beforehand, you must rely on specific visual cues and buyer feedback to gauge whether a set is worth your ₱150. High-quality budget stickers should feature crisp lines, vibrant colors, and precise cuts that do not tear the design when peeled. By analyzing listing details and user-uploaded photos, you can avoid common pitfalls like blurry prints, off-center cuts, or weak adhesives that lift from the page over time.

Material and Adhesive Expectations
When shopping within a strict budget, interpreting material labels accurately is key to managing your expectations. Standard paper stickers are highly affordable and offer a classic, matte look that integrates well with thin journal pages, but they are susceptible to tearing if you try to reposition them. Washi paper stickers provide a beautiful, semi-transparent finish that mimics traditional Japanese masking tape, allowing underlying text or grid lines to show through subtly. Synthetic options like PET or PVC are waterproof and highly durable, making them excellent for covers or outer pages, but they can add bulk to your journal if layered excessively.
Adhesive strength is another variable that depends heavily on the material and manufacturing process. Many budget listings do not explicitly state whether their stickers are repositionable or permanent, which can lead to torn pages if you make a mistake during layout planning. To avoid ruining your hard work, look for terms like “removable adhesive” or “repositionable washi” in the product description. Once your package arrives, always perform a discreet test by applying a small sticker to an inconspicuous area, such as the inside back cover or a scrap piece of the same paper, before committing it to your main spreads.
Print Clarity and Cutting Precision
Print clarity can vary wildly among budget sticker sets, with some featuring sharp, professional illustrations and others showing obvious pixelation or color bleeding. To assess print quality, zoom in closely on the seller’s product images, looking specifically for clean outlines and smooth color gradients. More importantly, scroll down to the customer review section to examine real-life photos uploaded by previous buyers. These user images provide an accurate representation of the actual color saturation and print resolution, which often differ from the highly stylized, brightly lit promotional mockups.
Cutting precision is equally vital for a frustration-free journaling experience. Poorly calibrated cutting machines can result in off-center borders, where the white margin is thick on one side and cuts into the design on the other. You should also understand the practical difference between kiss-cut sheets and individual die-cut pieces. Kiss-cut sheets keep the backing intact, allowing you to peel individual stickers off a larger sheet easily, which is highly convenient for quick planning sessions. Die-cut stickers are cut completely through both the sticker and the backing, offering individual pieces that are fun to sort and arrange but can sometimes be challenging to peel if you do not have long fingernails or a pair of fine tweezers.
Reading E-Commerce Listings to Avoid Disappointments
Navigating online marketplace listings requires a healthy dose of skepticism, especially when prices seem almost too good to be true. One of the most common disappointments for budget shoppers is the actual size of the stickers. Sellers often use digital mockups that superimpose stickers onto journals, laptops, or hands, making the items appear much larger than they are in reality. To avoid this, ignore the visual scale in promotional graphics and search the product description for exact dimensions, usually listed in millimeters or centimeters. If the dimensions are missing, look for buyer photos showing the stickers held in a hand or placed next to a standard ruler or coin to get an accurate sense of scale.
Another common issue with bulk sticker sets is the actual variety and piece count. A listing advertising a “100-piece set” might actually consist of 50 unique designs with two copies of each, or worse, a random assortment with heavy duplication. Carefully read the product description to see if it specifies “no duplicates” or “unique designs.” Once again, the buyer review section is your best tool for verification. Look for reviews where customers have spread out the entire set to display the variety; this will help you confirm if you are getting a diverse selection of designs or just multiple copies of a few patterns.
Finally, take the time to evaluate the seller’s overall rating and specific feedback history before adding the item to your cart. Pay close attention to reviews mentioning missing items, incorrect variants, or damaged packaging. In the Philippines, high humidity and rough transit conditions can sometimes cause paper stickers to warp or stick together if they are not packaged securely. Look for feedback that praises the seller’s packaging, such as the use of sturdy cardboard backings or bubble wrap, to ensure your stickers arrive in pristine, usable condition.
Managing Cart Totals and Shipping to Stay Under Budget
Staying strictly under a ₱150 budget means your total checkout price—not just the item price—must remain below the limit. Shipping fees can easily double the cost of a budget item, pushing a ₱70 sticker set well past your ₱150 ceiling. To manage this, look for sellers located within your region to minimize base shipping rates, and actively collect platform vouchers, such as free shipping discounts or shop-specific coupons. Many e-commerce platforms offer daily shipping promotions or coins cashback that can be applied at checkout to offset delivery costs.
You should also consider whether buying a single 100-piece set is the best strategy, or if combining smaller sets yields better value. For example, purchasing two different 50-piece sets from the same seller might cost the same as one 100-piece set, but it allows you to mix and match two entirely different themes, such as floral and vintage. When buying multiple items from a single shop, you only pay the shipping fee once, making this an excellent way to maximize variety while keeping your total expenditure under ₱150. Just ensure that the combined cost of the items and the single shipping fee does not breach your budget limit.
Before you tap the checkout button, run through a quick final checklist to ensure a successful purchase. First, verify that you have selected the correct style variant from the drop-down menu, as sellers often list multiple themes under a single product page. Second, double-check the final breakdown of the price to confirm that all vouchers have been applied correctly and that no unwanted add-ons or shipping insurance fees have been automatically checked. Lastly, review the estimated delivery window to ensure it aligns with your needs, and confirm that the seller has a solid track record of shipping orders promptly.
Frequently Asked Questions (FAQ)
Are 100-piece sticker sets usually die-cut or kiss-cut?
Budget-friendly 100-piece sticker sets are commonly offered in both formats, but the specific style depends heavily on how they are packaged. Many affordable sets come as individual die-cut flakes packed in a small box or paper envelope, which are highly convenient for sorting and layering. Alternatively, some sets are sold as a collection of kiss-cut sheets, where multiple designs are pre-cut on a single backing sheet. To ensure you get the format that best fits your journaling workflow, always check the listing’s packaging details or look at buyer photos to see if the stickers arrive as loose pieces or on sheets.
How can I test if a budget sticker will damage my journal paper?
To test the adhesive strength of a budget sticker without risking your main journal pages, perform a simple spot test on an inconspicuous area. Apply a small sticker or a piece of the sticker’s waste border to a scrap piece of the same paper, or onto the very last page of your journal. Press it down firmly, leave it in place for a few hours to allow the adhesive to bond, and then slowly peel it back at a sharp angle. If the paper fibers lift, tear, or leave a sticky, greasy residue behind, the adhesive may be too aggressive for delicate paper, and you should use a glue stick or double-sided tape instead, or reserve those stickers for non-paper surfaces.

Community discussion
Share your experience or ask a question. Comments are reviewed before publication.