
Selecting the right craft tool sets for school art classes in the Philippines requires balancing safety, ease of use, and durability. In tropical classrooms where high humidity can affect materials and storage conditions, the ideal tools must be simple enough for students to handle independently while remaining robust enough for repeated use. The best sets are those that minimize preparation time for teachers and maximize hands-on creative time for students.
To establish a reliable baseline for classroom crafting, teachers and parents must first evaluate the physical design of the tools. Ergonomics play a critical role in how successfully a student can complete an assignment. Tools designed with oversized, soft-grip handles allow younger students with developing motor skills to maintain control without hand fatigue. Conversely, tools that are too small or rigid can lead to frustration, slips, and uneven results during delicate tasks.
Safety certifications are another non-negotiable factor when selecting classroom supplies. Before purchasing any craft set, inspect the packaging for clear, verified non-toxic labels. These certifications ensure that adhesives, pigments, and plastics are safe for prolonged skin contact and accidental ingestion. In a busy classroom environment where students frequently share items, having these safety standards clearly printed on the outer packaging provides peace of mind for both educators and parents.
Products mentioned in this guide
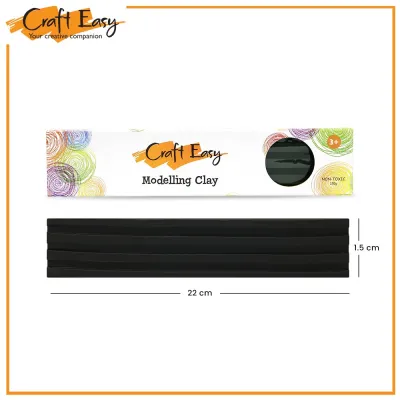
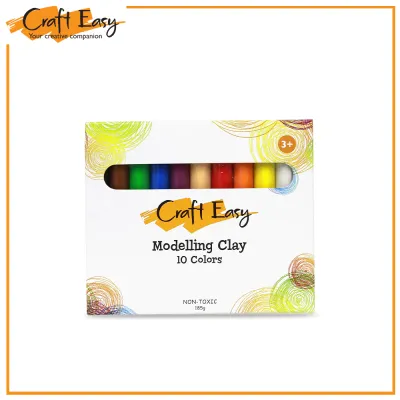
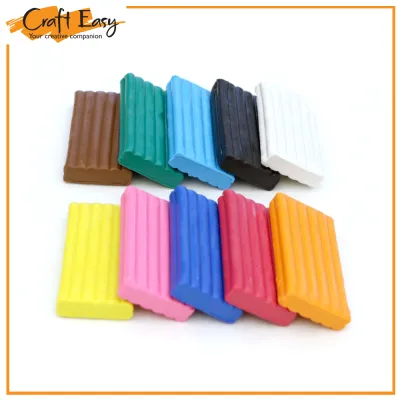
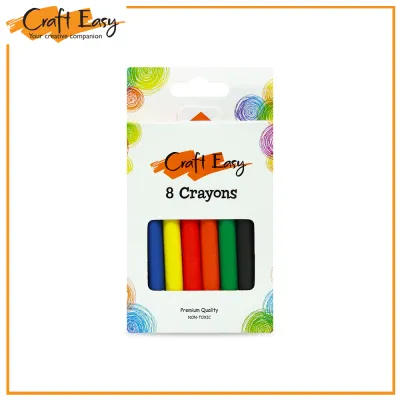
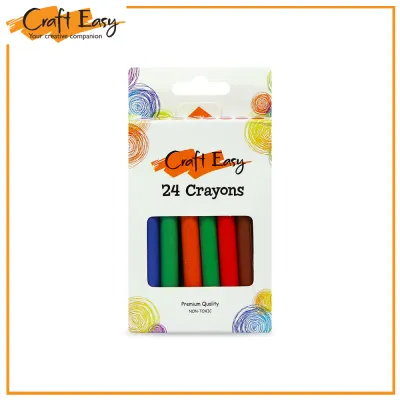
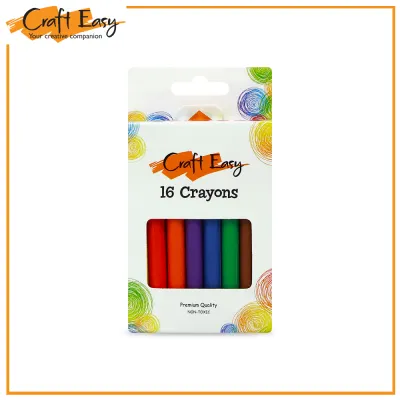
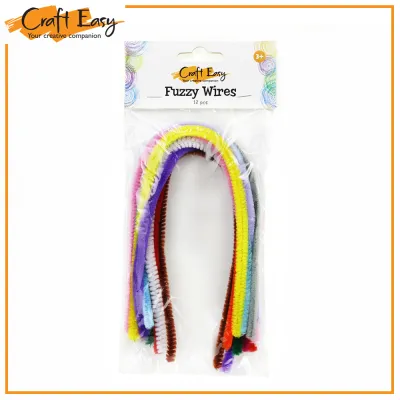
Prices are valid at publication and may change. Please refer to the product page for the latest price.
Finally, the chosen tools must strike a practical balance between simplicity and functional capability. A tool set that is too simplified may limit the scope of the school curriculum, preventing students from executing more advanced techniques like precision folding or detailed sculpting. On the other hand, overly complex tools with multiple moving parts can confuse students and increase the likelihood of mechanical failure. The ideal set offers straightforward, single-purpose tools that perform their primary functions exceptionally well.
Matching Tool Types to Specific Art Activities
Different art projects demand specialized tools, and matching the set to the specific medium is essential for a smooth classroom experience. For paper-based projects, cutting and assembling tools must align with school safety policies while still delivering clean cuts. Blunt-tip scissors with integrated spring-assist mechanisms are excellent for younger students, as they reduce the effort required to cut through thick construction paper. For older students, safety paper cutters with enclosed blades offer a secure way to trim straight lines without exposing sharp edges.
Adhesives used in paper crafts also require careful consideration, especially in warm, humid climates. Standard glue sticks should feature a smooth, non-clumping formula that goes on colored but dries clear, allowing students to see exactly where they have applied the adhesive. Liquid white glues should be housed in easy-squeeze bottles with clog-free tips to prevent the tip from drying shut between weekly art sessions.
When transitioning to drawing and painting activities, the focus shifts to color mixing and cleanup. Paintbrushes with synthetic bristles are highly recommended for classroom use because they retain their shape better than natural hair brushes when left soaking in water. Look for sets that include flat, round, and detail brushes to cover various painting techniques. Palettes should be made of smooth, non-porous plastic that resists staining and allows dried acrylic or poster paint to be peeled off easily.
For modeling and sculpting assignments using clay or dough, specialized accessories are necessary to prevent sticking and mess. Non-stick plastic rolling pins, patterned stampers, and dual-ended sculpting spatulas allow students to shape their mediums without the material clinging to the tools. These tools should be solid molded plastic rather than hollow designs, as hollow tools can trap wet clay inside, leading to mold growth in humid tropical environments.
Evaluating Durability and Classroom Management Features
Classroom tools endure heavy, repetitive use, making durability a primary concern for school budgets. When evaluating craft sets, pay close attention to the build quality of joints, hinges, and moving parts. Scissors with stainless steel blades that extend fully into the plastic handles are far less likely to snap under pressure than those with shallow metal inserts. Storage box latches should be thick and flexible, as brittle plastic hinges tend to crack after a few weeks of daily opening and closing by enthusiastic students.

Effective classroom management relies heavily on how quickly tools can be distributed, organized, and stored. Craft sets that come in integrated storage cases or trays with molded slots for each item make inventory checks incredibly simple at the end of a lesson. Teachers can see at a glance if a pair of scissors or a paint brush is missing before dismissing the class. Color-coded components, where all tools in a specific set share the same color, also help students identify which pieces belong to their designated group station.
Long-term usability also depends on the availability of consumable replacements. A high-quality tool set loses its value if the specialized glue cartridges, paint pods, or cutting mats cannot be easily replaced once exhausted. Prioritize sets that utilize standard-sized refills that are widely available on local online marketplaces or stationery stores. This ensures that the durable outer casings and handles can be reused for multiple school years, reducing overall waste and long-term expenses.
Budgeting and Scaling for Different Class Sizes
Managing school art budgets requires a strategic approach to scaling purchases based on class size and frequency of use. To determine the most cost-effective path, calculate the total cost in ₱ per student for both individual kits and shared classroom stations. Individual kits, where each student has their own dedicated set, encourage personal responsibility and reduce transition times during class. However, for larger class sizes, purchasing bulk shared sets that are stored in central classroom bins is often a much more economical choice.
When comparing costs, factor in the expected lifespan of the physical tools against the recurring cost of consumables. A slightly more expensive set of durable scissors and rulers may save money over several semesters compared to cheaper alternatives that break frequently. Keep a detailed log of how quickly consumables like glue, paint, and paper are depleted to help forecast future budget allocations accurately.
Finally, adjust your purchasing quantities based on the maximum number of simultaneous users rather than the total student enrollment. If multiple classes rotate through the same art room, shared tool stations can be sanitized and reused throughout the day, significantly lowering the initial investment. Ensure that your classroom storage area has sufficient space to keep these shared sets organized, dry, and protected from dust and pests when not in use.
Frequently Asked Questions (FAQ)
How do I clean and maintain shared craft tools between classes?
Maintaining hygiene and tool longevity in a shared classroom environment requires a consistent cleaning routine. After each art session, wipe down non-porous handles and plastic tools with a damp cloth and a mild, classroom-safe disinfectant. Avoid harsh chemical solvents that can degrade soft rubber grips or wash away safety labeling over time.
Adhesive buildup on scissors and sculpting tools should be addressed promptly to prevent mechanical issues. Use a damp sponge or a specialized adhesive remover to clear dried glue or clay from blades and hinges, following the manufacturer’s care instructions. Always dry the tools thoroughly with a clean towel before storing them, as trapped moisture can quickly lead to rust on metal components in humid climates.
Store the cleaned tools in a well-ventilated, dry environment to prevent the growth of mold and mildew. Using open-mesh plastic baskets or storage bins with ventilation holes allows air to circulate freely around the tools. For metal tools, placing silica gel packets inside the storage containers can help absorb excess moisture and protect the blades from corrosion.
What should I do if a tool breaks during a school project?
If a craft tool breaks during an art activity, immediate action is necessary to ensure student safety. Instruct the student to stop using the tool immediately and carefully remove all broken pieces from the workspace to prevent accidental cuts or scrapes. Secure the immediate area and check surrounding students to ensure no fragments have scattered onto their desks.
Once the area is safe, inspect the broken item to determine the cause of the failure. If the breakage is due to a manufacturing defect rather than misuse, consult the manufacturer’s warranty or replacement policy for potential compensation. Avoid attempting temporary fixes with tape or household glue, as these makeshift repairs rarely restore the tool’s structural integrity and can pose safety risks during future use.
To keep lessons running smoothly, always maintain a small reserve of backup tools in your classroom storage. Having a few extra pairs of scissors, glue sticks, and paintbrushes on hand ensures that a student can quickly replace a broken item and continue their assignment without disruption. This practice minimizes downtime and keeps the entire class focused on their creative projects.

Community discussion
Share your experience or ask a question. Comments are reviewed before publication.