
Pairing a premium 4cm satin ribbon with the right wrapping materials requires balancing its distinct physical properties—its smooth, lustrous sheen and substantial width—with complementary textures and structural bases. Because a 4cm ribbon occupies a significant visual footprint, it acts as a primary design element rather than a subtle accent. To achieve an elegant presentation, you must coordinate this ribbon with sturdy base boxes, contrasting paper textures, and carefully scaled secondary trims that highlight its glossy finish without cluttering the overall design.
Choosing the Right Base Materials for 4cm Satin Ribbon
The success of your gift presentation begins with selecting a base that can physically and visually support the weight of a 4cm satin ribbon. Because this ribbon width is relatively substantial, wrapping it around a box that is too small will overwhelm the package, making the gift look cramped. As a general rule, reserve 4cm ribbons for medium to large gift boxes—ideally those with a minimum surface dimension of 15 centimeters on any side. This proportion allows the ribbon to frame the gift elegantly, leaving enough exposed wrapping paper to create a balanced visual composition.
Texture contrast is equally critical when selecting wrapping paper. Satin possesses a high-gloss, light-reflective surface that stands out best when paired with contrasting matte or textured backgrounds. Wrapping a gift in highly glossy paper alongside a glossy satin ribbon often results in a visually flat, overly reflective package where the ribbon loses its definition. Instead, opt for high-quality matte wrapping paper, deeply textured handmade paper, or organic kraft paper. The contrast between the rustic, tactile surface of kraft paper and the liquid-smooth sheen of premium satin immediately elevates the perceived value of the presentation.
Products mentioned in this guide
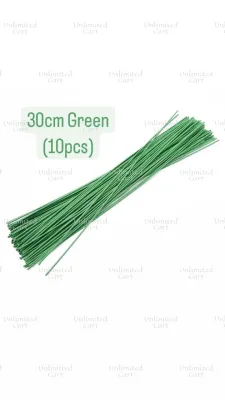
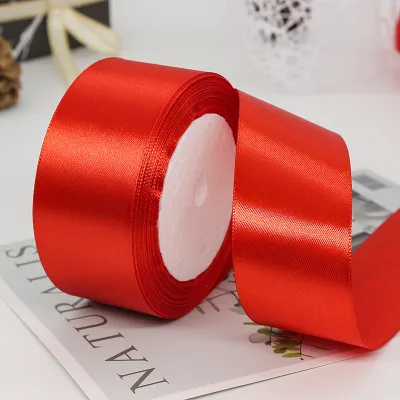
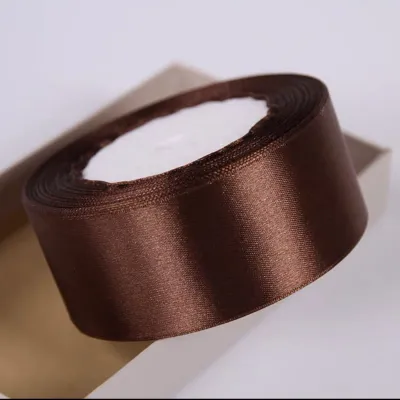
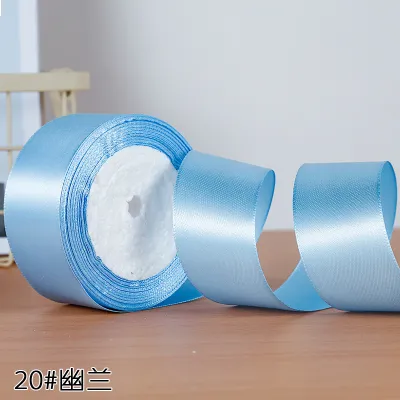
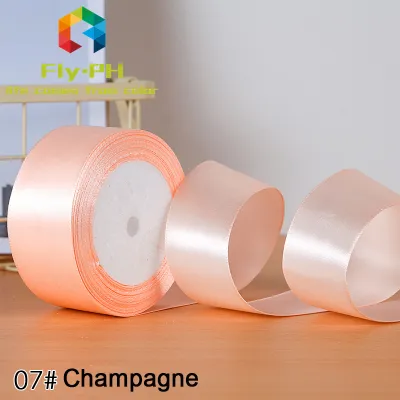
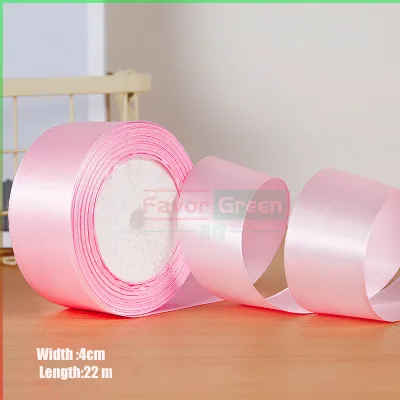
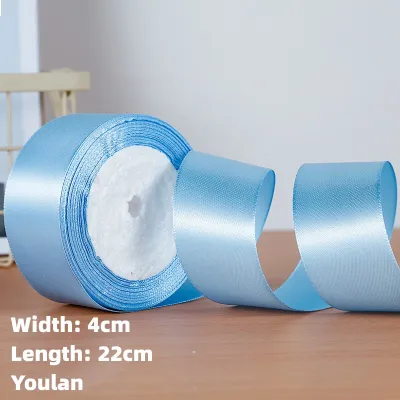
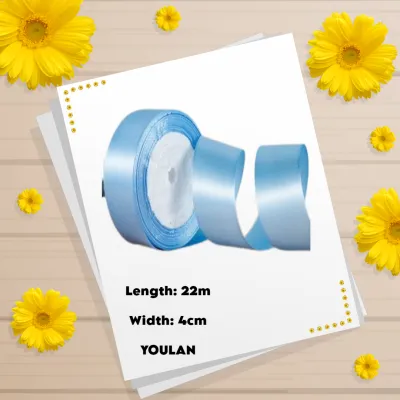
Prices are valid at publication and may change. Please refer to the product page for the latest price.
Additionally, consider the structural integrity of your base materials. Tying a crisp, secure bow with a 4cm ribbon requires a certain amount of tension. If you wrap a flimsy, thin paperboard box or a soft, unstructured package, the tension of the ribbon will warp or crush the edges of the container. In warm, humid tropical environments like the Philippines, paper products can absorb ambient moisture and lose their rigidity over time. To prevent your beautifully tied gift from collapsing or sagging, select rigid, high-density gift boxes or wrap your items in heavy-weight paper (at least 120 gsm) that can withstand the necessary pulling and knotting.
Layering Techniques with Tissue Paper and Fillers
Layering internal and external materials adds depth and anticipation to the unboxing experience, turning a simple gift into a curated presentation. When using tissue paper inside a gift box, the goal is to create clean, intentional lines that complement the exterior ribbon. Avoid stuffing tissue paper haphazardly into the box; instead, fold the sheets neatly so that only a uniform, crisp edge peeks out when the lid is removed. This internal structure mirrors the clean lines of the 4cm satin ribbon on the outside, establishing a sense of order and meticulous craftsmanship from the very first glance.

On the exterior of the package, you can introduce subtle fillers and accents directly beneath the ribbon knot to add dimension. Because a 4cm ribbon is wide enough to act as a secure anchor, it can easily hold flat decorative elements in place without the need for messy adhesives. Consider sliding a single, pressed botanical leaf, a minimalist gift tag, or a flat sprig of dried lavender beneath the central knot. These elements should lie flat against the wrapping paper, ensuring they do not lift the ribbon away from the box surface or disrupt the smooth flow of the satin tails.
When securing the ribbon over these layered elements, placement is key to maintaining a polished look. Position the 4cm ribbon directly over the seams of your wrapping paper or the center of your layered accents to anchor the entire design. The wide band of the ribbon serves to compress and flatten any slight bulkiness from the paper folds beneath it, creating a smooth, flush silhouette. By ensuring the ribbon lies perfectly flat against the box faces, you maintain the clean, architectural lines that define professional gift wrapping.
Stacking 4cm Satin with Secondary Ribbons and Trims
Stacking multiple ribbons is an excellent way to create a custom, multi-dimensional look, provided you maintain a clear hierarchy of widths and textures. When using a 4cm satin ribbon as your primary base, any secondary trim must be significantly narrower to avoid competing for attention. A secondary ribbon or cord measuring between 0.5cm and 1.5cm in width works best. By layering a thin, contrasting trim directly down the center of the 4cm satin band, you create a beautiful striped effect that draws the eye to the center of the package.
Material mixing is the secret to successful ribbon stacking. Since your base ribbon is a smooth, glossy satin, your secondary trim should offer a contrasting texture. Pairing satin with a rustic jute twine, a matte cotton cord, or a delicate, sheer organza ribbon creates a sophisticated interplay of light and shadow. For instance, wrapping a rough, natural twine over the center of a rich, emerald-green satin ribbon grounds the luxury of the satin, making the presentation feel both organic and refined.
To execute this look cleanly, pay close attention to your tying sequence. Begin by wrapping the 4cm satin ribbon around the gift box and securing it with a flat, tight knot. Do not tie the main bow yet. Next, wrap your secondary, narrower trim directly over the center of the satin band, tying it in a knot over the first knot. Once both layers are anchored, you can tie the satin into a classic bow, allowing the narrower trim to either be integrated into the loops or left to drape elegantly alongside the satin tails. This sequence ensures that both ribbons remain perfectly aligned and do not slip or bunch during transit.
Color Coordination for Elegant Gift Presentations
A thoughtful color palette is essential for making your 4cm satin ribbon look intentional and premium. One of the most sophisticated approaches is monochromatic layering, which involves selecting varying shades within the same color family. For example, pairing a deep navy blue gift box with a slate blue wrapping paper and a dusty blue 4cm satin ribbon creates a seamless, modern aesthetic. This subtle gradation of tone emphasizes the rich texture of the satin without relying on loud, distracting color contrasts.
If you prefer a more striking presentation, classic contrasts offer timeless appeal. Neutral bases, such as warm cream, charcoal gray, or natural kraft paper, provide a quiet backdrop that allows rich, jewel-toned ribbons to shine. A vibrant ruby red, deep forest green, or royal blue 4cm satin ribbon wrapped around a minimalist white box immediately commands attention and conveys a sense of luxury. When using high-contrast pairings, keep the wrapping paper pattern-free to ensure the bold color of the ribbon remains the undisputed focal point.
Always adjust your color ratios and accent materials to match the formality of the occasion. For formal events like weddings or corporate milestones, stick to restricted palettes of two or three harmonious colors, perhaps incorporating subtle metallic accents. For more casual or festive gatherings, you can introduce warmer, more playful tones, but always ensure that the primary ribbon color anchors the design. By matching the color story to the event’s tone, your gift presentation will feel deeply personalized and appropriate.
Common Pairing Mistakes and How to Fix Them
Even with high-quality materials, minor execution errors can detract from the elegance of your presentation. One of the most common mistakes is a proportion error, where the bow is tied too large or the tails are cut too long. A massive bow on a medium-sized box looks clumsy and top-heavy. To fix this, ensure the loops of your bow do not extend past the edges of the gift box, and trim the ribbon tails at a clean 45-degree angle or a sharp V-shape, keeping them slightly shorter than the length of the box side.
Another frequent issue is texture clashing, which occurs when too many competing elements are used at once. Wrapping a highly patterned, metallic paper with a glossy satin ribbon and adding a glittery gift tag creates visual chaos. If your wrapping paper features a busy pattern, choose a solid, matte ribbon instead, or keep the paper plain if you are committed to using the glossy 4cm satin.
Finally, avoid overcrowding the design with unnecessary embellishments. A 4cm premium satin ribbon is a statement piece on its own; adding multiple plastic ornaments, oversized tags, and complex stickers will only cheapen the look. Embrace restraint by letting the clean lines and rich sheen of the satin ribbon do the heavy lifting.
Frequently Asked Questions (FAQ)
Can I use 4cm satin ribbon on soft or irregularly shaped gifts?
Yes, but soft or irregularly shaped items require extra preparation to ensure the wide ribbon does not crush them. Before wrapping, evaluate the rigidity of the gift; placing soft items like clothing or plush toys inside a sturdy inner box or using a stiff cardboard backing sheet is highly recommended. When tying the 4cm ribbon, adjust the tension so it is snug enough to stay in place without compressing the package. A slightly looser, elegant knot or a simple band wrap secured with double-sided tape can often look cleaner than a tightly pulled bow on a non-rigid item.
How do I prevent the edges of the 4cm satin ribbon from fraying?
To maintain a polished look, always check the product label or manufacturer instructions for any specific care or cutting guidelines. When cutting your 4cm satin ribbon, use extremely sharp fabric shears to ensure a clean, crisp edge without pulling the delicate threads. Cutting the ribbon at a precise 45-degree angle or a classic swallowtail (V-shape) naturally helps distribute tension across the fabric fibers, reducing the likelihood of fraying. For synthetic satin ribbons, you can carefully inspect the cut edge and use standard fabric fray-check liquid or a very brief, controlled heat-sealing method along the extreme edge to fuse the fibers, ensuring you do not scorch or discolor the material.

Community discussion
Share your experience or ask a question. Comments are reviewed before publication.