
Starting a scrapbook is an exciting way to preserve memories, but walking into a craft store or browsing an online marketplace can quickly feel overwhelming. You do not need a room full of expensive gadgets to create beautiful, lasting layouts. In fact, overcomplicating your toolkit early on often leads to cluttered pages and unused supplies. To begin, you only need a few essential scrapbooking materials: a sturdy album, acid-free paper, a reliable adhesive, a clean cutting tool, and a fade-resistant journaling pen. By focusing on these core items, you can build a high-quality starter kit that protects your photographs for decades without stretching your budget.
The Absolute Basics: Core Scrapbooking Materials for Your First Layout
Selecting the right foundation is the most critical step in scrapbooking, as these materials directly contact and protect your photographs. Standard scrapbook albums typically come in two popular sizes: 12×12 inches, which offers ample space for multi-photo layouts, and 8×8 inches, which is perfect for quick, single-photo pages. When choosing an album, check the binding style and ring capacity. Post-bound albums lay flat when open but have a fixed page capacity unless you buy extension posts, whereas D-ring binders allow you to easily add, remove, or rearrange page protectors. Ensure the page protectors are made of chemically stable plastics like polypropylene or polyester, and avoid vinyl or PVC, which releases harmful gasses that can degrade your photos over time.
Cardstock and patterned paper serve as the canvas for your memories. Cardstock is a heavy, solid-color paper that provides structural support; look for weights between 176 gsm and 216 gsm (65 lb to 80 lb) to ensure the page can support the weight of photos and embellishments without sagging. Patterned paper adds color, texture, and theme to your layouts. When purchasing paper, always verify that the packaging explicitly states “acid-free” and “lignin-free.” Lignin is a natural organic polymer found in wood pulp that turns paper yellow and brittle when exposed to light and heat—a chemical breakdown process that is significantly accelerated by the high humidity and warm temperatures typical of tropical climates.
Products mentioned in this guide
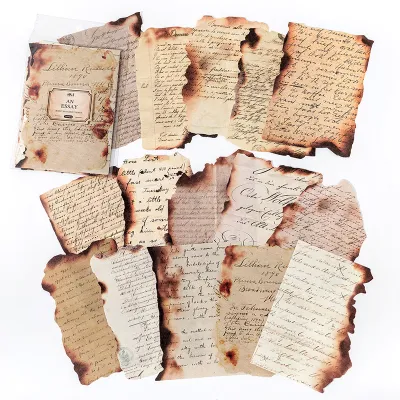
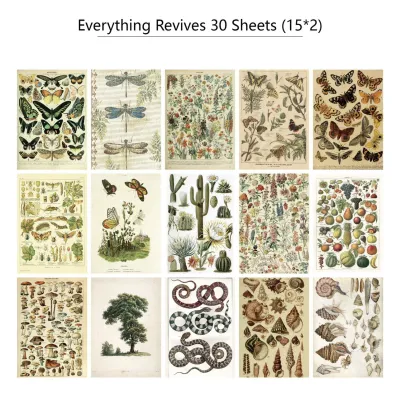
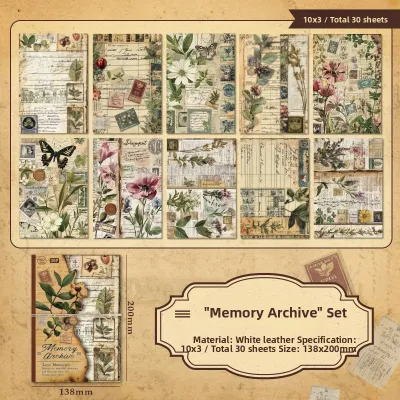
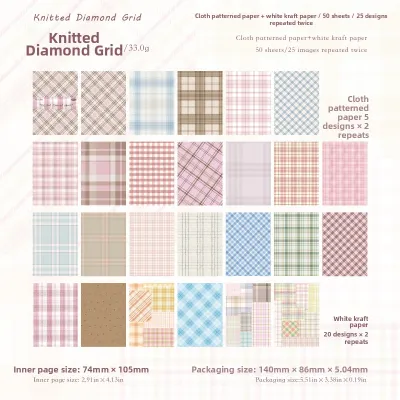

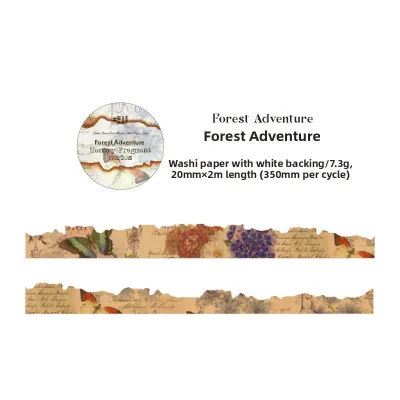
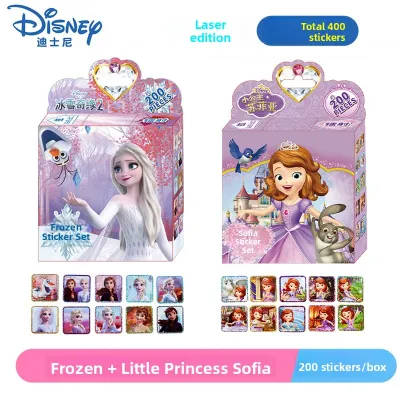
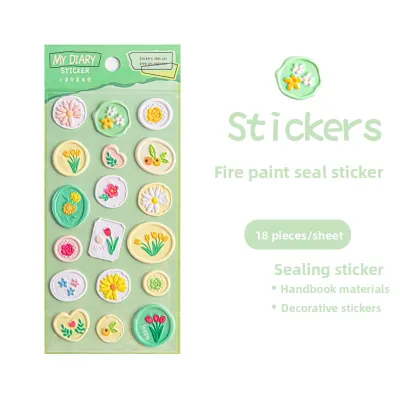
Prices are valid at publication and may change. Please refer to the product page for the latest price.
Choosing the right adhesive prevents your photos from curling or falling off the page years down the road. Double-sided tape runners are the most user-friendly option for beginners because they apply dry, clean lines of adhesive that won’t warp paper. For heavier elements like thick cardstock die-cuts or chipboard, a liquid PVA (polyvinyl acetate) glue is ideal. However, because liquid glue contains water, applying too much can cause thin paper to buckle, especially in humid environments. Always apply liquid glue sparingly using a fine-tip applicator, and avoid standard school glues, rubber cement, or hot glue guns, as they contain acids that will discolor your photos over time.
Your handwritten stories are what make a scrapbook unique, so choosing the right pen is vital for preserving those details. To ensure your writing lasts, use pens with pigment-based, waterproof, and fade-resistant ink, as dye-based inks can bleed or fade when exposed to light or moisture. Tip sizes ranging from 0.3mm to 0.5mm are highly versatile for detailed writing and labeling. Because smoothness, bleed resistance, and drying speed depend entirely on the specific combination of your pen’s ink and your paper’s texture, always perform a quick trial on a scrap piece of cardstock. Write a few words, wait a few seconds, and gently rub the ink to check the drying speed and verify that it does not bleed through to the other side.
Essential Tools for Cutting, Measuring, and Assembling
Clean, straight cuts are the hallmark of a well-assembled scrapbook page, and having the right cutting tools makes the process effortless. A rotary or guillotine paper trimmer is indispensable for making straight, clean cuts on photos and background papers. Look for a trimmer with a built-in grid and an extendable measuring arm to handle 12×12-inch sheets accurately. While a trimmer handles straight lines, a pair of sharp, fine-tipped craft scissors is necessary for “fussy cutting”—the process of carefully cutting out intricate shapes, flowers, or characters from patterned paper. Keep your scissors dedicated to paper and thread; cutting adhesive tape or plastic will quickly dull the blades.

Accurate alignment keeps your layouts looking balanced and professional. A metal ruler, preferably stainless steel with a cork backing, is a crucial tool for measuring and aligning elements. Avoid plastic or wooden rulers, as utility blades can easily shave off their edges, ruining your straight line and potentially causing slips. Pair your ruler with a self-healing cutting mat. These mats feature grid lines and angle guides that make alignment simple, protect your dining table or desk from deep scratches, and keep your blades sharp longer.
Small details require specialized handling to avoid messy mistakes. A bone folder, made of polished bone or smooth plastic, allows you to score and crease paper cleanly without leaving shiny marks or tearing the paper fibers. This is especially useful if you want to create folded pockets or interactive flaps on your pages. Fine-tip tweezers are another inexpensive but vital tool. They allow you to pick up, position, and hold tiny paper cutouts, sequins, or delicate alphabet stickers precisely, keeping your fingers free of sticky adhesive and preventing natural skin oils from transferring to your photos.
What to Skip: Avoiding Unnecessary Scrapbooking Supplies
It is easy to get swept up in social media trends showcasing advanced crafting tools, but beginners should avoid buying unnecessary items that lead to clutter and buyer’s remorse. Electronic cutting machines and manual die-cutters are incredibly versatile, but they carry a high initial cost—often running into thousands of pesos—and require a steep learning curve with specialized software. As a beginner, focus on mastering basic layout design and manual cutting before investing in heavy machinery.
Bulk sticker sheets and massive embellishment kits often seem like a great value, but they frequently lead to unused inventory. You may only use two or three stickers from a sheet of fifty, leaving you with a large pile of unused designs that do not match your future projects. Furthermore, overloading a page with mismatched stickers can visually clutter your layout, drawing attention away from your photographs. Instead, purchase small, coordinated embellishment packs or cut out designs directly from your patterned paper.
Specialized ink pads, embossing powders, and extensive stamping sets are better suited for advanced mixed-media techniques. Stamping requires a steady hand, specific cleaning solvents, and proper storage to prevent ink pads from drying out in warm climates. To keep your initial experience stress-free, rely on your journaling pens and patterned papers to add visual interest, and introduce stamping later once you are comfortable with basic paper layering.
Step-by-Step: Assembling Your Starter Kit and Creating Your First Page
When starting out, set a realistic budget—for example, around ₱1,500 to ₱2,500 is more than enough to gather high-quality essentials. Prioritize your budget on core structural items that protect your memories, such as a sturdy album, acid-free page protectors, and high-quality archival adhesive. It is better to have a simple, well-constructed album with a few beautifully preserved pages than a cheap album filled with low-quality materials that will degrade over time.
To prevent decision fatigue, select a simple theme for your first project, such as a single weekend trip, a birthday celebration, or a pet’s milestone. Limit your color palette to two or three coordinating colors that complement your photographs. For instance, if your photos feature a beach trip, choose soft blues, sandy beiges, and a neutral white. This limitation keeps your design cohesive and makes selecting papers much faster.
One of the most common beginner mistakes is gluing elements down too quickly. Always “dry-fit” your layout first. Arrange your background paper, cropped photos, journaling blocks, and decorative elements on the page without any glue. Take a quick photo of the arrangement with your smartphone. This allows you to experiment with different placements, swap out papers, and ensure your storytelling elements fit perfectly before making any permanent commitments.
Once you are happy with the layout, begin gluing from the bottom layer up. Apply adhesive sparingly, focusing on the corners and edges of your photos and paper layers. If you are using sharp tools like paper trimmers or craft knives, always work on a stable, flat surface, keep your fingers clear of the cutting path, and retract or cover blades immediately after use. Keep liquid glues and solvents out of reach of young children. After assembly, let any liquid adhesive dry completely in a well-ventilated room to prevent moisture from being trapped inside the plastic page protectors. Finally, slide your completed layout into the protector and verify that the pages lie flat without straining the album’s binding.
Frequently Asked Questions (FAQ)
Do I really need acid-free and lignin-free paper for scrapbooking?
Yes, using acid-free and lignin-free paper is essential for long-term preservation. Standard wood-pulp paper contains natural acids and lignin that break down chemically over time. This degradation causes the paper to turn yellow, become brittle, and release acidic gasses. If your photographs are in contact with non-archival paper, these acids will migrate into the photo emulsion, causing permanent fading, yellowing, and dark spots. To protect your memories, always check the manufacturer’s packaging or product specifications to confirm that the paper is certified acid-free and lignin-free.
What is the best way to store basic scrapbooking materials at home?
Proper storage protects your investment and keeps your materials in top condition. Store your cardstock and patterned paper flat in shallow drawers or vertically in specialized plastic storage bins to prevent warping, bending, or creasing. Keep all paper and albums in a cool, dry area away from direct sunlight, which can cause rapid fading. In humid tropical climates, consider placing silica gel packets inside your storage containers to absorb excess moisture and prevent mold growth. Always seal liquid glues, glue pens, and tape runners tightly immediately after use to prevent the adhesive from drying out or clogging.

Community discussion
Share your experience or ask a question. Comments are reviewed before publication.