
Choosing the right A6 planner in the Philippines requires balancing the ultra-portable 105 x 148 mm footprint with your daily writing habits and the local environment. High humidity can soften paper and cause ink to feather, while daily commutes demand a durable cover. To find the ideal setup, you must match your planning style—whether it is structured hourly scheduling, weekly task tracking, or freeform bullet journaling—to the correct binding, paper weight, and layout. This guide breaks down the technical specifications and practical considerations to help you select a system that keeps you organized without adding unnecessary bulk to your daily carry.
By focusing on physical durability, paper quality, and layout efficiency, you can avoid the common cycle of buying planners that end up unused in a drawer. Whether you prefer a structured system that dictates your hourly schedule or a blank canvas that adapts to your daily thoughts, understanding the mechanics of A6 planners ensures your investment supports your productivity.
Comparing A6 Planner Bindings and Formats for Daily Carry
The standard A6 dimensions of 105 x 148 mm make this format roughly the size of a postcard, offering an excellent balance between writing space and portability. It fits easily into a small tote bag, a commuter backpack, or even a deep jacket pocket, making it highly practical for quick notes during transit or while working in a local café. However, how much you can comfortably write and how long the planner lasts depends heavily on the binding mechanism you choose.
Products mentioned in this guide
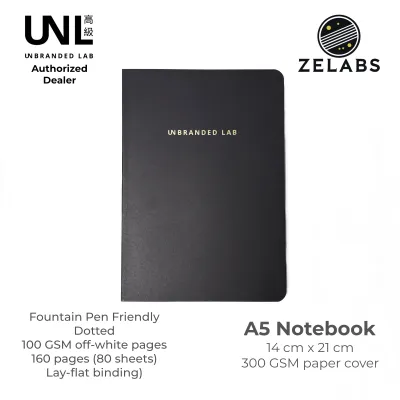
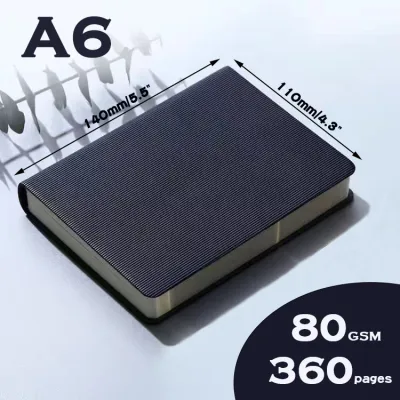
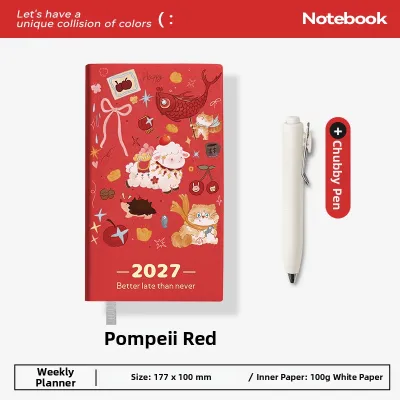
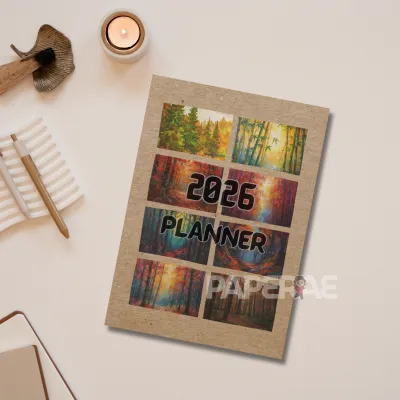
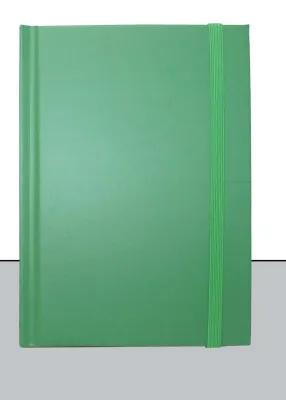
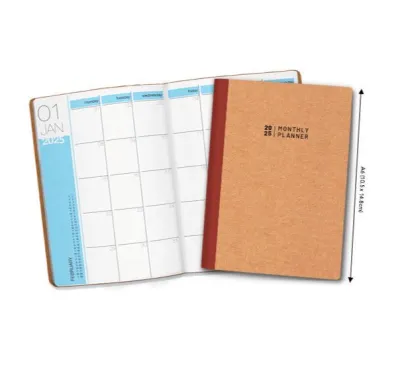
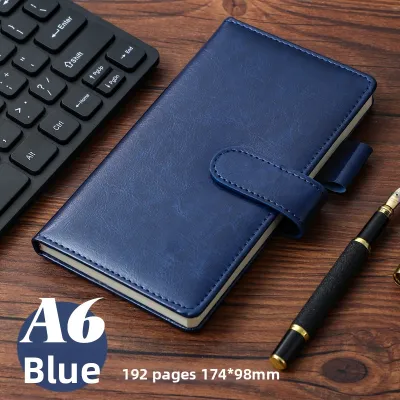
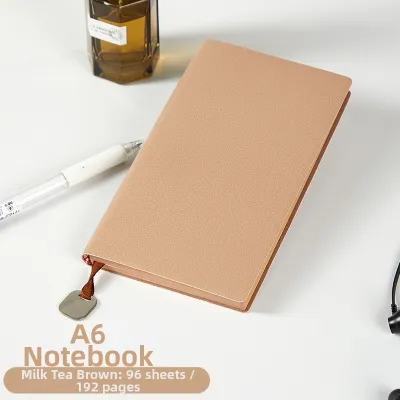
Prices are valid at publication and may change. Please refer to the product page for the latest price.
Bound planners, which use thread-stitched or glued spines, offer a slim and lightweight profile that maximizes writing space. Thread-stitched options are particularly desirable because they allow the book to lay completely flat on a desk, ensuring you can write comfortably near the inner margins. The primary trade-off with bound planners is their lack of flexibility; once the pages are filled or the year ends, you must purchase an entirely new book, which can increase long-term costs and paper waste.
Ring-bound systems, typically utilizing a six-ring mechanism, provide unmatched customization by allowing you to insert, remove, and rearrange pages as your schedule changes. You can mix daily logs, weekly spreads, and blank sketch pages within a single binder. The drawback is physical bulk; the metal ring mechanism adds significant thickness and weight to your bag, and the rings themselves can obstruct your hand when writing on the inner side of the page. Additionally, you must ensure that any refills you purchase match the exact ring spacing of your binder.
Disc-bound systems offer a middle ground, combining the page-rearranging flexibility of rings with a slightly slimmer profile. Pages are held together by individual plastic or metal discs, allowing you to fold the planner back on itself to save desk space. While highly functional, disc-bound systems require a specialized punch if you want to insert your own paper, and finding compatible pre-punched refills in local stationery shops can sometimes be more difficult than finding standard six-ring inserts.
Matching A6 Page Layouts to Your Planning Style
Selecting the right internal layout is critical because the compact A6 canvas leaves little room for wasted space. Your choice should reflect how you naturally process tasks and manage your time throughout the day.

Daily and Hourly Layouts for Detailed Scheduling
Daily layouts dedicate an entire page, or sometimes a two-page spread, to a single day, making them ideal for individuals with packed schedules, detailed habit-tracking routines, or a preference for extensive daily journaling. Many daily pages feature vertical timelines that allow you to block out hourly appointments from morning to night, helping you visualize your time commitments clearly.
However, dedicating a page to every day results in a physically thick planner. A standard 365-day bound planner can easily exceed two centimeters in thickness, which may feel heavy during a daily commute. If you use a ring-bound system, you will likely need to limit the number of daily pages you carry at one time—such as keeping only three months of pages in the binder—to prevent the rings from overstuffing and damaging the paper.
Weekly and Monthly Spreads for Big-Picture Tracking
Weekly layouts consolidate seven days across a two-page spread, providing a clear overview of upcoming deadlines, meetings, and weekly goals. This format is highly suited for project managers, students, and anyone who organizes their life around weekly milestones rather than strict hourly schedules.
When choosing a weekly layout in an A6 size, you must decide between horizontal and vertical formats. Horizontal layouts divide the pages into wide, shallow blocks, which are excellent for writing short sentences and linear lists. Vertical layouts column the days side-by-side, which is perfect for chronological tracking but can feel incredibly narrow on an A6 page, often forcing you to write in tiny print or use abbreviations. To maximize utility, look for weekly layouts that include a dedicated notes section or a blank page on the right side to capture miscellaneous tasks and ideas.
Dot Grid and Blank Pages for Bullet Journaling
For those who find pre-printed layouts too restrictive, dot grid and blank pages offer complete creative freedom. Dot grid pages, typically featuring a subtle 5mm grid pattern, provide just enough structure to help you draw straight lines, align text, and create custom trackers without the visual clutter of harsh graph lines.
This unstructured approach is the foundation of the bullet journal system, allowing you to adapt your planner’s layout from day to day based on your changing workload. Because bullet journaling often involves using a variety of writing instruments—such as fine liners, brush pens, and highlighters—verifying the paper specifications is essential. Thin or low-quality paper will quickly lead to ink bleeding through to the other side, rendering the reverse page unusable and ruining your custom layouts.
Essential Specifications to Verify Before Purchasing
To ensure your A6 planner can withstand daily use and perform well with your favorite writing tools, you must look past aesthetic cover designs and verify several key technical specifications.
Paper weight is measured in grams per square meter (GSM), which indicates the density and thickness of the paper. For basic ballpoint pens, standard 70 to 80 GSM paper is perfectly adequate. However, if you prefer using gel pens, rollerballs, or fountain pens, you should target paper that is at least 100 to 120 GSM to prevent ghosting and bleed-through. Additionally, look for smooth, coated papers; while they may require a few extra seconds of drying time, they prevent ink from spreading along the paper fibers, which is a common issue in humid tropical environments.
Cover materials play a vital role in protecting your plans from daily wear and environmental factors. In a tropical climate characterized by high humidity and sudden rain showers, paper or fabric covers can easily absorb moisture, warp, or become stained. Polyurethane (PU) leather, genuine leather, or thick polypropylene (PP) plastic covers offer excellent water resistance and can be easily wiped clean. Ensure the cover features a secure closure mechanism, such as an elastic band, a snap button, or a zipper, to keep the pages flat and protected inside your bag.
If you opt for a ring-bound planner, you must verify the binding hole spacing to avoid compatibility issues. Standard A6 six-ring inserts typically feature a spacing of 19mm-19mm-38mm-19mm-19mm between the holes. Some proprietary brands use unique spacing configurations designed to force you into buying their specific, often more expensive, refills. Always check the product description or ask the seller for exact millimeter measurements of the ring spacing before purchasing refills.
Building a Condition-Based A6 Planner Shortlist
When shopping on local online marketplaces or visiting specialty stationery hubs, building a systematic shortlist based on your specific needs will save you time and money. Start by filtering listings using precise search terms that target your preferred binding and layout, such as “A6 six-ring binder” or “A6 thread-bound weekly planner,” rather than browsing broad categories.
Once you have a list of potential options, carefully scrutinize the seller’s product descriptions. Avoid listings that rely on vague marketing terms like “premium paper” without providing concrete specifications. Look for explicit details regarding the paper’s GSM, the total page count, and the cover material. Read through authentic user reviews, paying close attention to photos uploaded by other buyers. These photos often reveal how the paper handles ink under real-world conditions and whether the binding holds up to regular opening and closing.
Budgeting for your planner system requires evaluating both the initial purchase price and the ongoing maintenance costs. A basic bound planner might cost between ₱150 and ₱400, representing a low upfront investment, but you must replace the entire book annually. A high-quality refillable binder can range from ₱800 to ₱2,500, but standard paper refills can be purchased for as little as ₱100 to ₱300 per pack. If you plan to use the same planning system for several years, investing in a durable, water-resistant cover and budget-friendly standard refills is often the most economical and sustainable choice.
Frequently Asked Questions (FAQ)
Can I use fountain pens in standard A6 planners?
Yes, you can use fountain pens in A6 planners, but you must select your paper with care. Standard planners often use 80 GSM paper, which is highly susceptible to feathering and ghosting when paired with wet fountain pen inks. For a smooth writing experience, look for planners that explicitly feature fountain-pen-friendly paper or choose inserts with a weight of 100 GSM or higher.
To prevent ruining your planner, always perform a pen test on the very last page or an inconspicuous corner before writing your main entries. Additionally, using a protective blotter sheet—a simple piece of absorbent paper placed under your hand—prevents skin oils from transferring to the page, which can cause ink resistance, and helps absorb excess ink before you close the planner.
How do I transition my current planner to an A6 size?
Transitioning to a smaller A6 canvas requires simplifying your writing style and layout complexity. Start by condensing your weekly spreads; instead of writing full sentences, use concise bullet points, standard abbreviations, and color-coded symbols to represent different tasks and events. Migrate only active projects and immediate daily tasks to your physical planner, leaving long-term brainstorming and historical archives in a larger notebook at home or in a digital backup system.
You can also use your smartphone to take photos of completed pages before removing them from a ring-bound system. This allows you to maintain a digital archive of your past schedules while keeping your physical A6 planner lightweight, clutter-free, and focused entirely on your current daily priorities.

Community discussion
Share your experience or ask a question. Comments are reviewed before publication.