
To add genuine dimension to your journal spreads using 3D sticker puzzles, you must treat these multi-layered, interlocking elements as structural focal points rather than flat embellishments. By strategically planning their placement, dry-fitting the pieces, and securing them with humidity-resistant adhesives, you can transform flat pages into tactile, multi-dimensional layouts. This technique relies on balancing the physical thickness of the stickers with negative space and flat elements so your notebook remains functional and easy to close.
Journaling has evolved from a purely visual medium into a rich, sensory experience. In creative communities, stationery enthusiasts are constantly looking for ways to break the barrier of the flat page. The 3D sticker puzzle offers an engaging way to achieve this, combining the joy of assembly with the visual impact of dimensional art. By understanding how to apply these puzzles effectively, you can elevate your weekly layouts, monthly covers, and memory-keeping spreads into miniature works of paper engineering.
Understanding 3D Sticker Puzzles and Visual Depth
A 3D sticker puzzle is a multi-layered adhesive design composed of pre-cut, interlocking pieces. Unlike conventional flat stickers, these puzzles utilize materials like high-density foam, thick cardstock, or textured plastics to create physical elevation. Each piece is designed to fit precisely with its neighbors, building a layered scene that stands several millimeters off the page.
Products mentioned in this guide
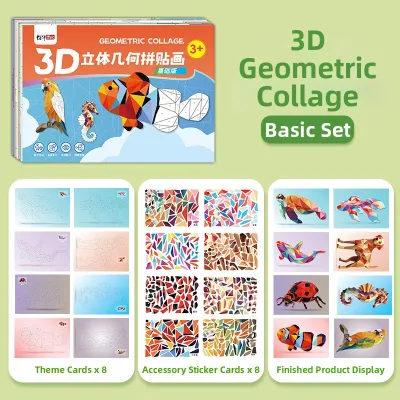
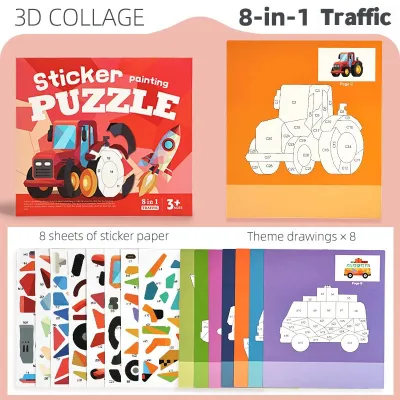
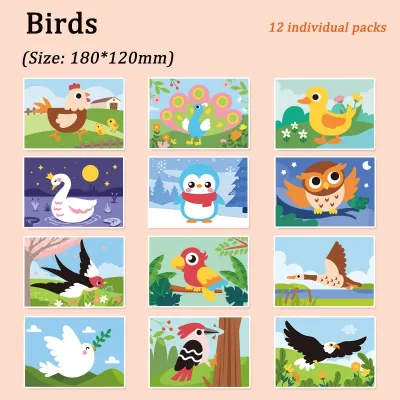
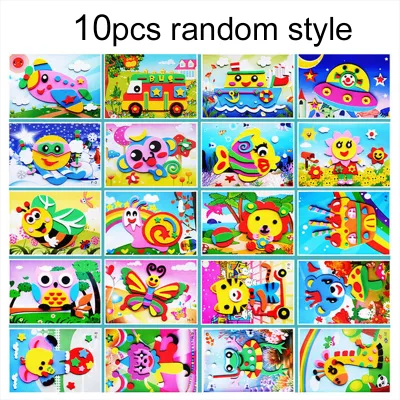
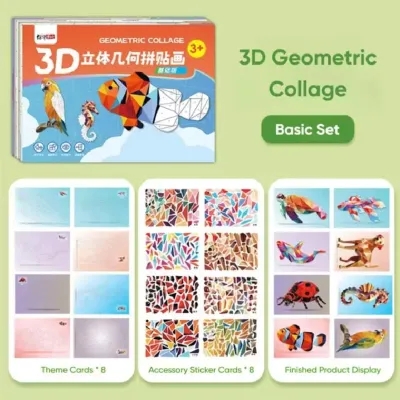
Prices are valid at publication and may change. Please refer to the product page for the latest price.
The magic of these stickers lies in the play of light and shadow. In a flat journal spread, depth is simulated through drawing techniques like shading or perspective lines. With a 3D sticker puzzle, the depth is physical. Natural ambient light casts soft drop shadows underneath the raised edges, instantly drawing the eye. This physical thickness creates a tactile contrast that makes the page feel alive and interactive.
Using these stickers requires a shift in your spatial planning. With flat stickers, you only need to consider horizontal and vertical placement. With 3D elements, you must think in three dimensions. You must evaluate how the height of the sticker will affect your ability to write on subsequent pages, how it will interact with the opposite page when the journal is closed, and where the physical shadows will fall across your layout.
Essential Tools and Materials for 3D Application
Working with thick, textured, and multi-piece stickers requires a slightly different toolkit than standard scrapbooking. Having the right supplies on hand ensures a clean application and prevents damage to both the stickers and your journal.

Using your fingers to position small, interlocking pieces can block your line of sight and transfer natural oils to the adhesive backing. In warm, humid climates, these finger oils combined with ambient moisture can degrade the sticker’s adhesive, causing the edges to peel over time. Fine-tipped precision tweezers allow for exact placement without compromising the glue.
While most 3D sticker puzzles come with an adhesive backing, high humidity can sometimes weaken standard sticker glue over time. To ensure your dimensional layouts remain secure for years, keep high-quality auxiliary adhesives nearby. Double-sided tape runners provide a thin, strong bond for flat bases, while acid-free glue dots are excellent for securing stubborn corners.
The physical weight and bulk of 3D stickers demand a sturdy foundation. Standard notebook paper will sag, wrinkle, or even tear under the weight of heavy dimensional elements. Opt for a journal with a paper weight of at least 120gsm or 160gsm. Thicker paper fibers provide the structural integrity needed to support the bulk. Additionally, thread-bound journals that lay completely flat are far more accommodating to uneven page thicknesses than tightly glued perfect-bound notebooks.
Step-by-Step Guide to Applying 3D Sticker Puzzles
Planning the Layout and Focal Points
Because 3D sticker puzzles are highly detailed and physically raised, they naturally dominate the visual landscape of your journal. To prevent your spread from looking chaotic, identify your primary focal point before peeling off any backing. A large 3D puzzle works beautifully as a header ornament, a central illustration for a monthly cover page, or a decorative anchor in the corner of a weekly layout.
Achieving visual harmony requires balancing these heavy elements with negative space. If your 3D puzzle is highly detailed and colorful, keep the surrounding areas minimalist. Use clean, simple handwriting, light pastel washes, or thin, flat washi tape to frame the layout. This contrast ensures that the 3D puzzle stands out as an intentional design choice rather than contributing to clutter.
Layering and Assembling the Puzzle Pieces
Never rush into sticking the pieces down. Instead, perform a dry fit by arranging the interlocking puzzle pieces on a scrap piece of paper or directly on your journal page with their protective backings still attached. This step allows you to verify the puzzle’s final dimensions, understand how the pieces interlock, and adjust their placement relative to your headers and writing blocks.
To maximize the dimensional effect, pay close attention to the layering order. Some puzzles are designed to be assembled sequentially, with base layers providing a foundation for smaller, raised details. You can enhance this depth by slightly overlapping the edges of certain pieces. If you want to create a dramatic drop-shadow effect, place a tiny piece of additional foam tape under the top-most puzzle pieces to elevate them slightly higher than the base layers.
Securing the 3D Elements to the Page
Once you are satisfied with the dry-fit arrangement, begin the final application process. Start with the base pieces that sit directly on the journal page. Carefully peel the backing and, if you are working in a humid environment, apply a small swipe of your tape runner or a tiny glue dot to the corners for extra security.
When placing each piece, press down firmly but gently along the flat outer edges. Avoid pressing directly in the center of raised or textured areas, as excessive pressure can permanently crush the delicate foam backing or crease the embossed details. Use a clean, dry finger or the flat edge of your tweezers to seal the adhesive bonds, working systematically from the bottom layer to the top.
Common Mistakes to Avoid with 3D Journaling
One of the most common pitfalls is placing thick 3D stickers too close to the center binding, also known as the gutter. When a bulky element is positioned near the spine, it acts as a wedge when the journal is closed. This uneven pressure forces the outer edges of the pages to flare open, strains the binding threads, and can eventually crack the spine of your notebook. Always maintain a safety margin of at least 1.5 to 2 centimeters away from the center gutter.
Another critical mistake is relying on wet liquid glues, such as standard PVA school glue or heavy liquid craft adhesives, to secure your 3D elements. Liquid glues introduce a high volume of water to the paper fibers, leading to severe warping, wrinkling, and long drying times. In tropical climates, this excess moisture can easily become trapped beneath the dense foam backing of the sticker, creating a breeding ground for mold or causing the paper to degrade. Stick to dry, pressure-sensitive adhesives like tape runners, glue dots, or double-sided tissue tape.
Additionally, avoid overloading a single page or a single corner of your notebook with too many raised elements. This creates an unbalanced physical weight, making the journal uncomfortable to handle and write in. If you plan to write on the reverse side of a page featuring a 3D puzzle, always complete your writing first. Trying to write on a page that sits on top of a bumpy, uneven 3D sticker on the previous page is incredibly difficult and will result in messy handwriting.
Finishing Touches and Spread Verification
Once your 3D sticker puzzle is fully assembled and secured, conduct a quick functionality check. Gently close your journal and observe how the pages rest. If you notice significant flaring or uneven pressure, consider using a soft elastic band or a decorative brass clip to keep the notebook closed. Over time, the natural weight of the journal will help compress the foam slightly, allowing it to sit more naturally.
To make your 3D puzzle look like an integrated part of your artwork rather than a sticker slapped onto a page, use grounding techniques. Apply a strip of flat, coordinating washi tape along the bottom edge of the puzzle to act as a physical floor or anchor. Use a fine-liner pen or a light grey colored pencil to draw subtle drop shadows on the paper directly beneath the raised edges of the sticker; this simple trick amplifies the physical 3D illusion. Finally, weave your handwritten notes or decorative borders around the contours of the puzzle to create a cohesive, professional-looking layout.
Frequently Asked Questions (FAQ)
How do I prevent my journal from bulking up when using multiple 3D stickers?
Managing the physical thickness of your notebook is essential for its long-term durability. To prevent your journal from bulging unevenly, distribute your 3D sticker puzzles strategically across both pages of a two-page spread rather than stacking them all on one side. Furthermore, practice page rotation. If you design a highly dimensional, textured spread on one set of pages, dedicate the next few pages to flat elements, such as standard stickers, washi tape, and simple calligraphy. This alternating pattern allows the journal to compress evenly, preserving the structural integrity of the binding and keeping your notebook looking neat and balanced.

Community discussion
Share your experience or ask a question. Comments are reviewed before publication.