
Elevating a simple party favor into a memorable token of appreciation relies heavily on presentation. Learning how to tie and attach ribbons to lootbags transforms basic packaging into a polished, professional-looking gift. The secret lies in selecting a ribbon that complements the bag’s structural strength, using clean attachment techniques that prevent slipping, and mastering symmetrical knots that hold their shape. Whether you are preparing for a grand wedding, a child’s birthday party, or a local community gathering, a beautifully secured ribbon shows your guests that every detail was handled with care.
Choosing the Right Ribbon and Tools for Your Lootbags
To achieve a flawless finish, you must first match your ribbon material to the structural integrity of your lootbag. In warm, humid tropical climates, paper bags can absorb moisture from the air and soften, while certain ribbons might slip or lose their crispness. Selecting the right material ensures your decorations remain intact throughout the event.
- Satin Ribbons: Known for their luxurious, glossy sheen, double-sided satin ribbons are excellent for formal events. However, their smooth texture makes them prone to slipping. They work best when threaded through punched holes or secured with a hidden adhesive anchor.
- Grosgrain Ribbons: Featuring a distinct ribbed texture, grosgrain is highly durable and holds knots exceptionally well. It is ideal for heavier paper bags or fabric pouches because it resists slipping and maintains its shape even in high humidity.
- Organza Ribbons: Lightweight and sheer, organza adds a delicate, airy touch. It is perfect for small cellophane bags containing light treats, though it lacks the structural strength to support heavy bag handles.
- Burlap and Jute Ribbons: These rustic options provide excellent grip and a charming, textured look. They pair beautifully with canvas, linen, or brown kraft paper bags.
Before you begin assembly, gather a dedicated set of tools to keep your workspace efficient and your cuts clean. Standard household scissors often chew through ribbon fibers, leaving frayed, messy edges. Dedicated fabric shears ensure a crisp, clean cut every time.
Products mentioned in this guide
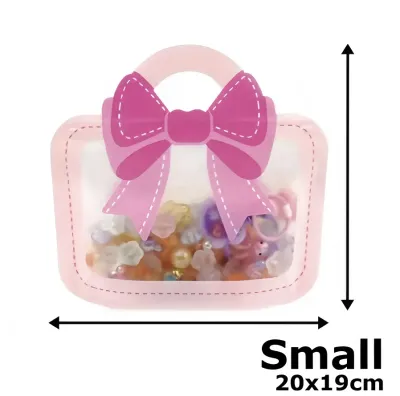
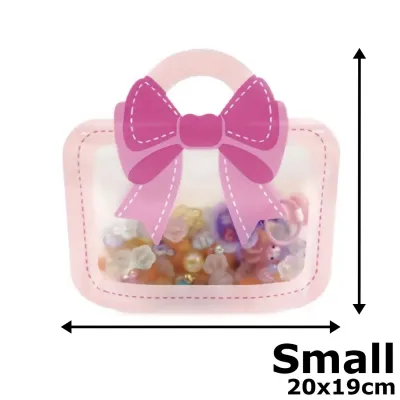
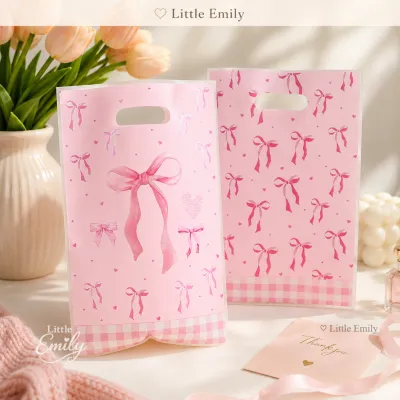
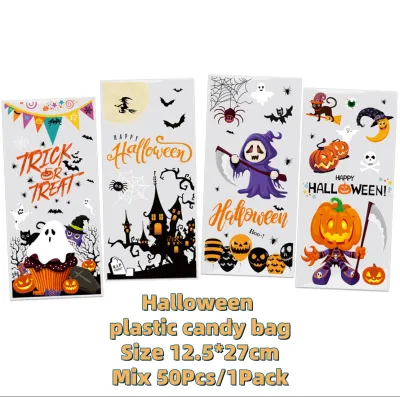
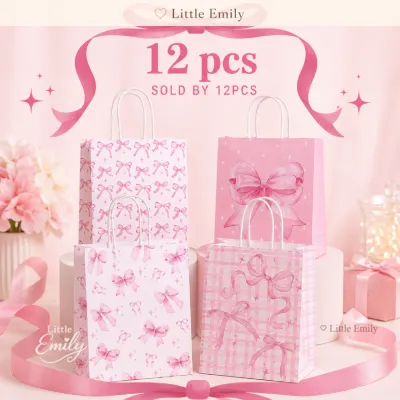
Prices are valid at publication and may change. Please refer to the product page for the latest price.
For paper bags, a standard single-hole punch allows you to thread ribbons directly through the collar. Adding metal or plastic eyelets prevents the paper from tearing under the tension of the ribbon. When working with adhesives, choose high-tack double-sided crafting tape or glue dots. In humid environments, moisture-resistant adhesives are essential to prevent the ribbon from peeling away over time.
Always inspect your lootbags before applying any tension. Check the handles, side gussets, and pre-punched holes. If a paper bag feels thin or brittle, reinforce the inner rim with a thin strip of cardstock before punching holes or pulling a ribbon tight.
Step-by-Step Methods to Attach Ribbons to Different Bag Materials
Different lootbag materials require specific handling to ensure the ribbon stays securely attached without damaging the packaging.

Paper and Cardboard Bags
Paper bags offer a sturdy canvas but can tear easily if tension is applied incorrectly. To attach a ribbon professionally, follow these steps:
- Mark two symmetrical points near the top collar of the bag, keeping them at least two centimeters away from the top edge to prevent tearing.
- Use a hole punch to create clean openings at these marks.
- If the bag is holding heavier favors, insert a metal eyelet into each hole and crimp it in place using an eyelet tool. This distributes the weight and protects the paper.
- Thread the ribbon from the inside of the bag outward, leaving equal lengths on both sides, then tie your chosen knot on the exterior.
If you prefer a clean look without visible holes, apply a strip of high-tack double-sided tape along the inside collar of the bag, press the ribbon flat against the adhesive, and fold the collar over to lock the ribbon in place.
Plastic, Cellophane, and Mylar Bags
These materials are highly slippery and prone to tearing once punctured, so you should avoid punching holes in them. Instead, focus on gathering and wrapping the material:
- Fill the bag, leaving at least three to four inches of empty space at the top.
- Gather the plastic tightly just above the contents, twisting it slightly to create a neck.
- Secure the gathered neck temporarily with a small, clear elastic band or a vinyl twist-tie. This holds the bag shut and provides a stable base.
- Wrap your decorative ribbon directly over the elastic band, tying a tight knot to conceal the temporary tie completely.
For flat Mylar or cellophane pouches, you can fold the top edge down twice and use a thin strip of clear double-sided tape to secure the fold. Then, wrap the ribbon horizontally around the entire pouch, securing it at the back with a small glue dot before tying a bow at the front.
Fabric, Canvas, and Jute Bags
Fabric bags are highly forgiving and reusable, making them excellent for premium favors. If the bag has built-in drawstrings, you can tie your decorative ribbon directly to the drawstring knots.
If the bag has no built-in closure, fold the top rim inward to create a clean hem. Use fabric-safe glue or a quick running stitch with a needle and thread to attach a ribbon loop to the back collar of the bag. This ensures the ribbon remains permanently attached to the favor bag even after the guest opens it. Bring the loose ends of the ribbon around to the front and tie them into a neat bow.
Classic and Decorative Knots for a Professional Finish
The way you tie your ribbon defines the overall aesthetic of your party favors. A sloppy knot can make even expensive packaging look rushed, while a precise, symmetrical bow elevates simple materials.
The Standard Shoelace Bow
This is the most common and versatile knot, perfect for securing paper bags with handles:
- Cross the left ribbon end over the right end, tuck it under, and pull it tight to create a flat base knot.
- Fold the left end into a neat loop.
- Wrap the right ribbon end around the base of the loop.
- Push the middle of the right ribbon through the small opening created at the base to form the second loop.
- Pull both loops outward simultaneously. To keep the bow symmetrical, ensure the shiny side of the ribbon faces forward on both loops and tails. Adjust the loop sizes until they are perfectly balanced.
The Classic Florist Bow
For rigid gift boxes or premium lootbags, a multi-loop florist bow adds a dramatic, high-end touch:
- Keep the ribbon on the roll and make a small central loop, holding it between your thumb and forefinger.
- Twist the ribbon and make a larger loop to the left of your thumb.
- Twist the ribbon again and make a matching loop to the right.
- Repeat this process, creating three to four loops on each side, keeping them held tightly in the center.
- Secure the center of the gathered loops with a thin piece of floral wire or a metallic twist-tie.
- Cut the bow from the roll, leaving two long tails.
- Attach the wired bow directly to the lootbag handle or a pre-punched hole, then gently fluff and separate the loops to create a full, rounded dome.
The Slip Knot and Gathered Tie
For cellophane cone bags or small organza pouches, a simple slip knot provides a clean, minimalist closure:
- Wrap the ribbon once around the gathered neck of the bag.
- Cross the ends, loop one end under, and pull tight.
- Instead of making loops, tie a second simple knot directly over the first to lock it in place.
- Let the two tails hang down gracefully along the side of the bag.
Finishing the Ribbon Ends
No matter which knot you choose, the way you finish the ribbon ends makes a significant difference. You can use an angled cut, slicing the ribbon ends at a clean 45-degree angle to prevent fraying and guide the eye downward. Alternatively, try a V-notch by folding the ribbon tail in half vertically, then cutting upward at an angle from the open edges toward the fold.
Synthetic ribbons like polyester satin and grosgrain can be heat-sealed to prevent fraying permanently. Gently pass the flame of a lighter near the freshly cut edge of the ribbon. The heat will melt the synthetic fibers slightly, sealing them into a clean, solid edge.
Safety Warning: Never touch the flame directly to the ribbon, as it can burn or discolor the fabric. Perform this step in a well-ventilated area away from flammable materials, and do not attempt this on natural fibers like cotton, jute, or silk, which will burn rather than melt.
Troubleshooting Common Ribbon and Lootbag Issues
Even with careful preparation, assembly line wrapping can present unexpected challenges. Here is how to resolve common issues quickly:
Preventing Slippage on Glossy Surfaces
High-gloss paper bags, laminated cardboard, and smooth plastic pouches offer very little friction, causing ribbons to slide down or untie. To fix this, apply a small, clear glue dot or a tiny piece of double-sided tape directly to the bag where the ribbon will rest. Tie the knot directly over this adhesive anchor. The tape will hold the ribbon in place without being visible to your guests.
Reinforcing Damaged Handles or Holes
If you pull a knot too tight and notice the paper around a punched hole beginning to tear, do not discard the bag. Cut a small square of heavy cardstock or clear packing tape and adhere it to the inside of the bag directly behind the damaged hole. Re-punch the hole through the reinforcement layer. This adds structural support and prevents the tear from spreading when the bag is lifted.
Fixing Asymmetrical or Twisted Bows
If your bows consistently turn sideways or look uneven, the issue usually lies in the initial knot. When tying the first step of a standard bow, ensure the ribbon lies completely flat against the bag. If a loop twists, gently insert your finger into the loop, twist it in the opposite direction, and pull the tails tight to lock the twist out of sight. If a ribbon is badly creased from storage, do not try to pull it tighter to hide the wrinkles; instead, smooth it out before tying.
Frequently Asked Questions (FAQ)
How long should the ribbon be for a standard lootbag bow?
For a standard single-loop bow on a medium-sized lootbag, a good rule of thumb is to cut a length of ribbon that is roughly four times the width of the bag. For example, if your bag is 15 centimeters wide, aim for approximately 60 centimeters of ribbon. This provides enough length to wrap around the bag, tie a comfortable knot, form two balanced loops, and leave elegant hanging tails. If you are planning an elaborate multi-loop florist bow, you will need significantly more material—typically between 1.5 to 2 meters of ribbon per bag. Always test one bag first to find the perfect measurement before cutting your entire roll of ribbon.
Can I reuse ribbons from previous events for new lootbags?
Yes, reusing ribbon is an excellent, eco-friendly practice, provided the material is still in good condition. Inspect the saved ribbon for permanent stains, deep fraying along the edges, or a loss of its original sheen. If the ribbon is simply wrinkled or creased from a previous knot, you can refresh it easily. For synthetic ribbons like polyester satin or grosgrain, set a household iron to its lowest heat setting with no steam, place a thin cotton cloth over the ribbon to protect it, and gently glide the iron over the surface. Alternatively, you can pull the ribbon slowly across the steam nozzle of a garment steamer. Avoid high heat, as synthetic fibers can melt easily.
What is the best way to attach ribbons if the bag has no handles?
If your lootbag is a flat pouch, a rigid box, or a handle-less paper sack, you can still achieve a beautiful ribbon presentation. For open-top paper sacks, fold the top edge down by two centimeters, punch two holes through the folded layers, and thread your ribbon through both holes from back to front, tying a bow to seal the bag shut. For flat pouches or rigid boxes, wrap the ribbon completely around the center of the package like a classic gift box. Secure the ribbon on the bottom or back of the package with a small piece of double-sided crafting tape to prevent it from sliding off, then tie a neat bow on the top or front face. This keeps the packaging secure while showcasing the decorative ribbon.

Community discussion
Share your experience or ask a question. Comments are reviewed before publication.