
Elevating the presentation of birthday gift bags with beautifully styled ribbons and bows is one of the simplest ways to make a gift feel truly personal and high-end. Whether you are preparing a simple paper bag or a custom-designed parcel, a securely attached bow ensures your gift looks polished from the moment you hand it over to the recipient. The key to achieving a professional finish lies in selecting the right materials, mastering a few basic tying techniques, and using the correct securing methods so that your decorations do not slip, droop, or damage the bag during transport.
In tropical climates like the Philippines, high humidity can soften paper bags and weaken cheap adhesives, making proper attachment techniques even more critical. By learning how to thread, stick, and shape your ribbons correctly, you can create a beautiful presentation that holds its structure and looks pristine.
Essential Tools and Materials for a Clean Finish
To achieve a flawless, retail-quality look, you must start with the right tools and materials. Using the wrong ribbon or dull tools can lead to frayed edges, sagging loops, and torn paper.
Products mentioned in this guide
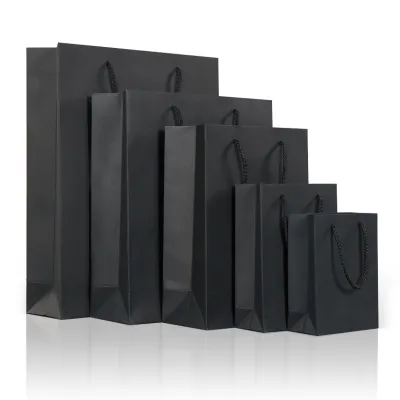
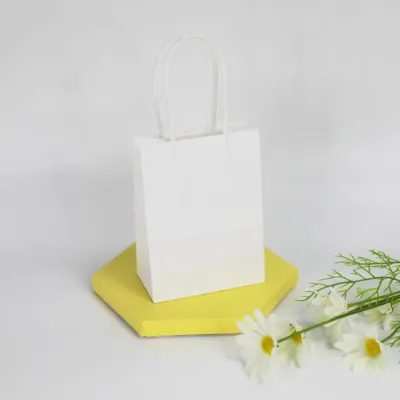
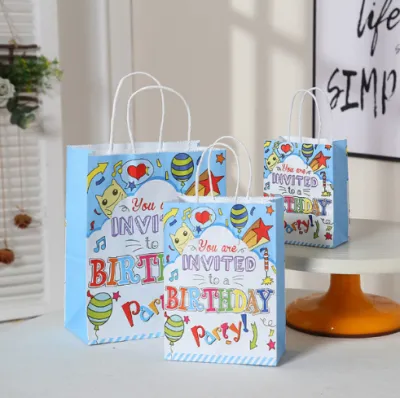

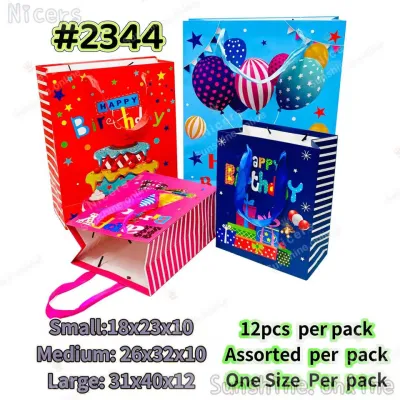

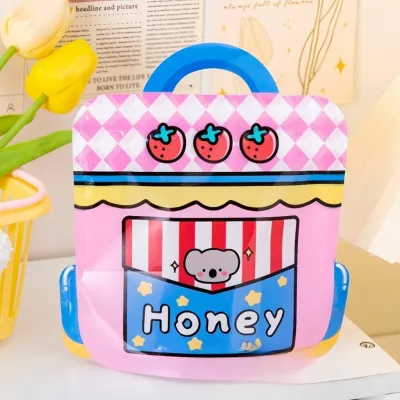
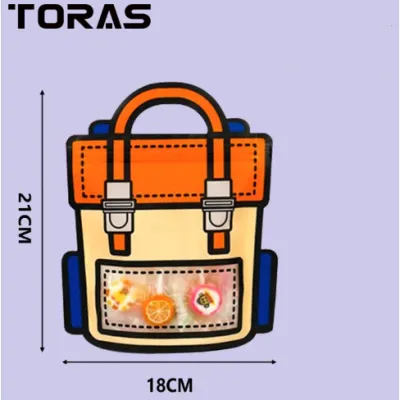
Prices are valid at publication and may change. Please refer to the product page for the latest price.
Selecting the Right Ribbon Type
The texture and weight of your ribbon dictate how well your bow will hold its shape.
- Grosgrain Ribbon: This ribbon features a ribbed texture that provides excellent structure and durability. It is highly resistant to slipping, making it ideal for creating crisp, upright bows that hold up well in humid conditions.
- Satin Ribbon: Known for its classic, glossy shine, satin ribbon offers an elegant, luxurious drape. However, its smooth surface makes it slippery, requiring tighter knots and secure fastening.
- Organza Ribbon: This sheer, lightweight fabric ribbon adds a delicate, airy touch. It works beautifully when layered over solid ribbons or used on smaller, lightweight birthday gift bags.
Cutting and Preparation Tools
- Sharp Fabric Scissors: Always use dedicated fabric shears rather than general household scissors. Dull blades chew through ribbon fibers, leaving messy, frayed edges that ruin the polished look.
- Single-Hole Punch: A standard metal hole punch is essential if you need to add custom threading points to flat-top bags.
- Lighter or Clear Nail Polish: For synthetic ribbons like polyester or nylon, a quick pass of a flame or a dab of clear polish seals the cut ends and prevents fraying.
Safe Adhesives for Secure Placement
When working with bags that lack pre-existing holes, select adhesives that grip firmly without warping the paper.
- Double-Sided Tape: Excellent for securing flat ribbon bands around the body of the bag.
- Glue Dots: These pressure-sensitive adhesive dots provide a strong, instant bond that is perfect for mounting pre-made bows.
- Low-Temperature Hot Glue: Ideal for heavy-duty paper or cardboard bags. Safety Warning: Always check the bag's material before applying hot glue. Do not use hot glue on thin paper, plastic, or metallic bags, as the heat can melt the material, warp the bag, or cause painful skin burns.
Threading and Tying Ribbons on Standard Birthday Gift Bags
Most standard birthday gift bags come with pre-punched holes, typically designed for rope handles. You can easily utilize these holes to thread and tie decorative ribbons that secure the bag closed while adding a beautiful decorative element.

Measuring and Cutting the Ribbon
Before cutting, measure the bag’s width and height. To ensure you have enough ribbon to thread through the holes, tie a full bow, and leave elegant hanging tails, multiply the bag’s width by three. If you plan to wrap the ribbon entirely around the bag, multiply the total perimeter by two and add an extra 30 centimeters for the bow loops.
The Threading Process
For a classic look, thread a single long piece of ribbon through the front two holes of the bag, starting from the inside and pulling the ends out to the front. Repeat this step for the back two holes using a separate piece of ribbon if you want two independent bows, or loop a single ribbon through all four holes to cinch the top of the bag shut. If the bag has rope handles, you can thread the ribbon directly alongside the ropes to blend them together.
Tying a Secure Slip-Proof Knot
Because smooth ribbons like satin tend to unravel easily, a standard single knot is rarely enough. Instead, use a square knot (right over left, then left over right) or a surgeon’s knot, which involves adding an extra twist inside the first loop before pulling it tight. This extra friction prevents the ribbon from slipping loose when the bag is carried.
Hiding Knots and Trimming Tails
To keep the exterior looking clean, pull the knot ends toward the inside of the bag’s rim, leaving only the elegant bow visible on the outside. For the visible tails, fold the ribbon end in half vertically and cut upward at a 45-degree angle toward the outer edge. This creates a classic, symmetrical V-shape (swallowtail) that looks highly professional and helps prevent the fabric from unraveling.
Attaching Ribbons to Birthday Gift Bags Without Pre-Punched Holes
If you are using a flat-top paper bag, a custom-made gift sack, or a bag with solid handles where threading is not an option, you can still attach ribbons securely using alternative mounting methods.
Applying Adhesives Without Damaging the Paper
For a clean, seamless finish on paper bags, use high-quality double-sided tape or heavy-duty glue dots. Apply the adhesive directly to the bag’s surface where you want the center of the bow to sit. Press the bow firmly onto the adhesive for at least ten seconds to ensure a strong bond. To prevent the weight of the bow from tearing the outer layer of paper, avoid pulling or adjusting the bow once it has been pressed down.
Creating Custom Holes Safely
You can transform a flat-top bag by punching your own holes. Before punching, verify the thickness of the paper. If the bag is made of thin paper, reinforce the inner rim by sticking a strip of clear packing tape or cardstock on the inside before punching. Use a standard single-hole punch to create two aligned holes about two centimeters below the top rim. If you want a highly polished, durable finish, insert metal or plastic eyelets into the punched holes using an eyelet setting tool. This prevents thick ribbons from tearing the paper when the bag is lifted.
The Ribbon Band Method
For a sophisticated retail look, wrap a continuous band of ribbon horizontally or vertically around the entire bag. Secure the band at the back or bottom of the bag using double-sided tape. This band acts as a structural anchor. You can then tie or glue your decorative bow directly onto the front intersection of the ribbon band, distributing the weight of the bow evenly across the bag and preventing the paper from sagging.
Shaping and Securing Bows for a Professional Look
A beautiful ribbon can still look messy if the bow itself is flat, lopsided, or drooping. Mastering the way you tie and shape the bow is critical to achieving that coveted boutique finish.
Tying Methods: Bunny Ears vs. Loop and Swoop
The “bunny ears” method involves making two loops and tying them in a simple knot. While easy, this method often results in a crooked bow where the tails point in awkward directions. For a more tailored, symmetrical look, use the “loop and swoop” method. Create a single loop with one hand, wrap the other end of the ribbon around the base of that loop, and push it through the center space to form the second loop. This keeps the loops level and ensures the tails naturally drape downward.
Securing the Center for Maximum Volume
If you are working with thick or stiff ribbons, tying a bow directly can create a bulky, messy center knot. Instead, create a pre-tied bow by folding your ribbon into loops and securing the exact center with a thin piece of florist wire, a twist tie, or a pipe cleaner. Once the center is cinched tightly, wrap a smaller, contrasting piece of ribbon over the wire to hide it, securing it at the back with a drop of glue. This technique pinches the center tightly, forcing the loops to puff outward with maximum volume.
Fluffing and Styling the Loops
Once your bow is tied or wired, spend a moment shaping it. Gently insert your fingers into the loops and pull them outward to round them out. If you are using wire-edged ribbon, you can sculpt the loops into perfect circles that resist crushing. For curling ribbons, run the dull edge of a pair of scissors firmly along the underside of the ribbon tails to create bouncy, spiral curls.
Mounting Pre-Tied Bows
To attach a pre-tied bow so that it sits upright and does not flop forward, use a combination of a glue dot and a small tie. Secure the back of the bow’s center knot directly to the bag’s handle or surface with a glue dot, then use the wire tails or a small piece of ribbon to tie it securely in place. This dual-attachment method keeps the bow perfectly aligned even when the bag is in motion.
Final Touches and Troubleshooting Common Issues
Before presenting your gift, take a few moments to inspect your work and fix any minor imperfections.
The Final Presentation Checklist
- Check Knot Security: Give the ribbon loops a gentle tug to ensure the knots are tight and will not slip.
- Inspect for Residue: Wipe away any stray hot glue strings or visible double-sided tape edges.
- Verify Handle Usability: Ensure the ribbon placement does not block the handles or make the bag uncomfortable to carry.
- Check for Balance: Look at the bag from the front to make sure the bow is centered and symmetrical.
Quick Troubleshooting Fixes
- Fixing a Crushed Bow: If your ribbon loops got flattened during storage, hold them over gentle steam (such as a garment steamer or a freshly run hot shower) for a few seconds, then reshape them by hand.
- Stopping Slippery Knots: If your satin ribbon knot keeps sliding open, apply a tiny dot of clear craft glue or clear nail polish directly into the center of the knot and let it dry.
- Sealing Frayed Edges: For synthetic ribbons, hold the cut edge about one centimeter away from a lighter flame for a split second. The heat will melt the plastic fibers into a clean, sealed bead. Safety Warning: Always perform this step in a well-ventilated area, away from the paper bag, and never touch the hot, melted plastic edge with your bare fingers to avoid burns.

Community discussion
Share your experience or ask a question. Comments are reviewed before publication.