
Elevating a simple paper bag into an elegant gift presentation relies on choosing the right ribbon attachment method. By matching your ribbon material and adhesive to the specific texture of your paper bag, you can create a secure, professional-looking finish that withstands handling. Whether you are preparing a gift that costs ₱500 or a luxury item for a special occasion, understanding how these materials interact ensures your wrapping remains intact and beautiful from the moment it is assembled until it is opened.
Because different paper surfaces and ribbon fibers react uniquely to adhesives, achieving a clean look requires a systematic approach. High humidity, common in tropical climates like the Philippines, can also affect how glues cure and hold over time. By selecting compatible tools and following precise wrapping techniques, you can easily transform standard retail packaging into a custom, high-end gift bag.
Preparing Your Paper Bag and Materials
Before beginning your project, assess the surface texture and weight of your paper bag. Uncoated kraft paper bags are highly porous and absorb liquid adhesives quickly, which can lead to paper warping or unsightly oil-like stains. Conversely, glossy coated bags feature a slick, laminated barrier that resists water-based glues, requiring pressure-sensitive or high-tack dry adhesives to establish a secure bond.
Products mentioned in this guide
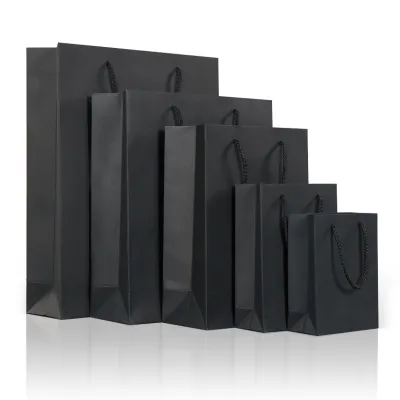
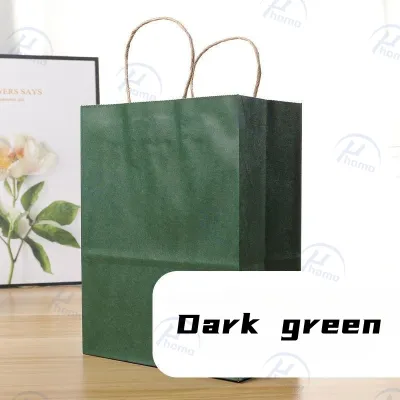
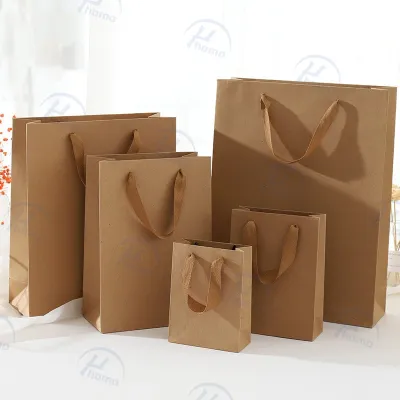
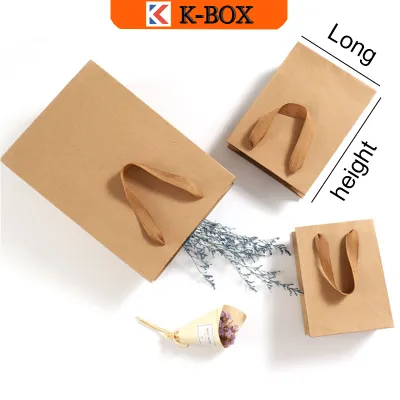

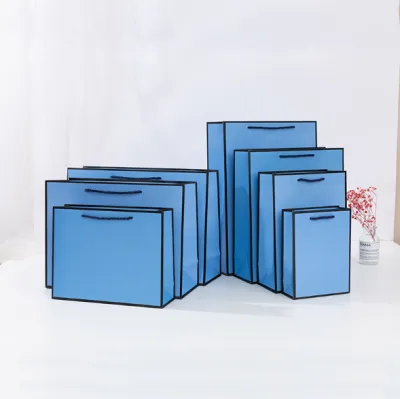
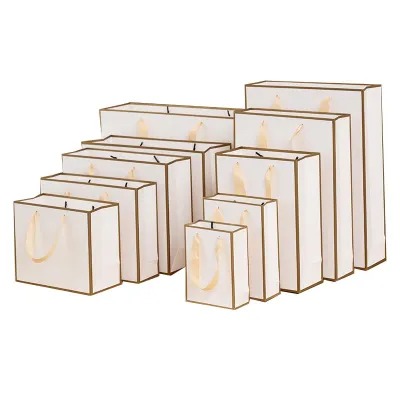
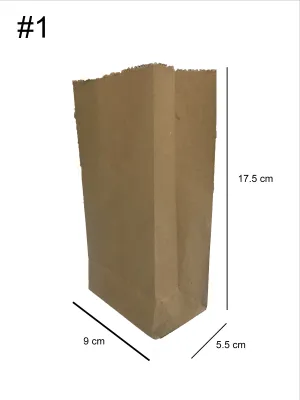
Prices are valid at publication and may change. Please refer to the product page for the latest price.
Your choice of ribbon should complement both the bag’s structural capacity and your desired aesthetic. Double-faced satin ribbons offer a smooth, luxurious sheen but can be slippery and heavy, making them best suited for medium-to-large bags with sturdy handles. Grosgrain ribbons feature a distinct ribbed texture that provides excellent grip and structural stability, making them highly reliable for holding tight knots. For a rustic or minimalist look on uncoated kraft paper, natural twine or jute cord offers a charming, textured alternative.
Selecting the correct adhesive is critical to preventing wrinkles, puckering, or bleeding. Double-sided tape, particularly high-tack tissue tape, provides a perfectly flat, instant bond that is ideal for securing flat ribbon bands. Glue dots offer a mess-free, flexible hold that works exceptionally well for positioning pre-made bows. Low-temperature hot glue is excellent for securing thick ribbons to heavy paper, but you must verify the manufacturer’s instructions to ensure the heat will not melt synthetic ribbon fibers or scorch delicate paper surfaces.
Because bleed resistance, drying speed, and adhesive strength depend entirely on the exact combination of paper, ribbon, and glue, always perform a quick trial. Test a small scrap of ribbon and adhesive on an inconspicuous area, such as the inside bottom fold of the bag, before applying it to the exterior. When working with sharp scissors or low-temperature glue guns, always work on a stable, flat surface and keep hot nozzles away from direct skin contact to prevent minor burns.
Step-by-Step Guide to Attaching Ribbons
To begin, measure and cut your ribbon to the appropriate length. To determine the required size, wrap the ribbon loosely around the bag along your intended path and add an extra 15 to 20 centimeters to allow for securing tabs or tying. Always cut your ribbon at a sharp 45-degree angle using dedicated fabric shears; a clean, angled cut reduces the surface area of exposed fibers, which naturally minimizes fraying.

If you want to wrap ribbon around existing paper handles, start by securing the ribbon’s end inside the bag’s collar. Apply a small strip of high-tack double-sided tape to the inner fold of the bag, press the ribbon end firmly onto the tape, and then wrap the ribbon tightly and evenly around the handle. Overlap each turn slightly to cover the underlying paper handle completely, and finish by securing the opposite end inside the bag with another piece of tape.
For a clean horizontal or cross-body ribbon band, use a ruler to mark light pencil guide points on the side creases of the bag to ensure perfect alignment. Apply a continuous strip of double-sided tape directly to the paper bag along your guide marks, or apply it directly to the underside of the ribbon. Press the ribbon firmly onto the bag, working from the center outward to smooth out any air bubbles or puckers.
To hide the raw cut edges of a horizontal band, fold the ribbon ends over the side creases of the bag. Secure these ends inside the side gussets or on the back of the bag using small, discreet pieces of double-sided tape. This technique keeps the front face of your gift bag looking seamless and professional, with no visible adhesive or frayed edges exposed to the recipient.
Adding Decorative Bows for a Professional Finish
Adding a pre-made or hand-tied bow introduces visual depth and a sense of luxury to your gift wrap. If you are using a pre-made bow, it may arrive slightly flattened from storage. Gently insert your fingers or a clean pen into the loops to restore their rounded shape, and flatten the central backing tab so it sits flush against the paper bag.
In warm, humid climates, the pre-applied adhesive on commercial bows can dry out or lose its grip. To ensure the bow does not fall off during transit, reinforce the backing by applying a fresh, high-bond glue dot or a small dab of low-temperature hot glue directly to the central knot. Press the bow firmly onto your chosen spot on the bag and hold it in place for ten seconds to allow the bond to set.
For optimal visual balance, place your bow at a natural focal point on the bag. Positioning a large bow directly at the center base of the handles creates a classic, symmetrical look. If you prefer a modern, asymmetrical aesthetic, place a smaller bow on the upper right or lower left corner of the bag, ensuring the scale of the bow matches the overall dimensions of the packaging.
If you are tying a bow directly from a running ribbon band, pull the central knot firmly to lock the tension. To prevent a hand-tied bow from slipping or unraveling when the bag is carried, slide a mini glue dot directly underneath the central knot. Pressing the knot down onto this hidden adhesive anchors the bow securely to the underlying ribbon or paper surface.
Troubleshooting Common Wrapping Issues
If you are working with a highly glossy or laminated paper bag, standard double-sided tape may lift or slide off the slick surface. To resolve this, switch to a high-tack acrylic tape or a low-temperature glue gun. Always perform a quick spot check on the inside fold of the bag first to ensure the hot glue does not melt the glossy plastic lamination or cause the paper to discolor.
Frayed ribbon edges can quickly ruin the polished look of your gift. For synthetic ribbons like polyester satin or grosgrain, you can seal the cut edges by carefully passing them near a small flame for a fraction of a second to melt the fibers together. For natural fibers like cotton, linen, or twine, apply a tiny drop of clear craft sealant or clear nail polish to the very tip of the cut edge and let it dry completely.
If you accidentally misalign a ribbon or need to reposition a bow, do not pull it off quickly, as this will tear the paper fibers of the bag. Instead, gently warm the adhesive with a hairdryer on a low, warm setting for a few seconds to soften the bond. Slowly peel the ribbon back at a flat, 180-degree angle, and use a clean rubber adhesive eraser or your fingertip to gently roll away any remaining sticky residue.
Frequently Asked Questions (FAQ)
Can I use regular liquid glue for attaching ribbons to paper bags?
Using regular liquid white glue or school glue is not recommended for attaching ribbons to paper bags. These water-based formulas introduce significant moisture to both the paper and the ribbon fabric. As the paper absorbs the water, it swells and warps, resulting in a wrinkled, puckered appearance once dry. Additionally, liquid glue can easily bleed through thin satin or organza ribbons, leaving stiff, dark, or shiny stains that ruin the polished look. Instead, opt for dry or low-moisture alternatives such as double-sided tape, glue dots, or low-temperature hot glue, which provide an instant, flat bond without warping the paper.
How do I keep the ribbon handles from tearing the paper bag?
To prevent ribbon handles or heavy decorative ribbons from tearing your paper bag, you must distribute the weight and tension evenly. First, inspect the bag’s construction; flat die-cut handles are more prone to tearing under tension than reinforced twisted paper handles. If you are wrapping ribbon tightly around the handles or carrying a heavier gift, reinforce the inside of the bag. Cut a small strip of thick cardstock or cardboard and adhere it directly inside the top fold of the bag, running parallel to the handle attachments. This hidden reinforcement tab absorbs the pulling force of the ribbon, protecting the thinner bag paper from tearing when lifted.

Community discussion
Share your experience or ask a question. Comments are reviewed before publication.