
Selecting the ideal glitter marker set requires balancing ink chemistry, tip design, and surface compatibility to ensure your creative projects shine without messy smudges or faded colors. Whether you are personalizing a bullet journal, designing festive holiday cards, or decorating non-porous surfaces like plastic and glass, the right markers must deliver consistent ink flow and vibrant shimmer. In tropical climates like the Philippines, where high humidity can significantly influence ink drying times and paper warping, understanding these technical specifications is essential before making a purchase.
To find a set that matches your crafting needs, you should evaluate the physical characteristics of the marker tips, the formulation of the ink base, the size of the glitter particles, and how the ink behaves on different paper weights. By focusing on observable product specifications and verifying manufacturer labels, you can avoid common pitfalls such as bleed-through, clogged tips, or flaking glitter. This guide outlines the key decision-making criteria to help you choose a high-quality glitter marker set tailored to your specific artistic goals.
Match the Tip Size and Shape to Your Project
The tip, or nib, of a glitter marker determines both the precision of your lines and the ease with which you can fill larger areas. Marker tips are typically made of felt, fiber, or plastic, and each material interacts differently with paper textures. When browsing for a glitter marker set, matching the tip shape to your primary crafting activity prevents premature wear on the nibs and ensures clean, professional results.
Products mentioned in this guide
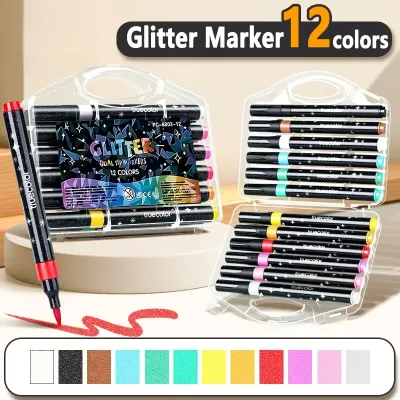
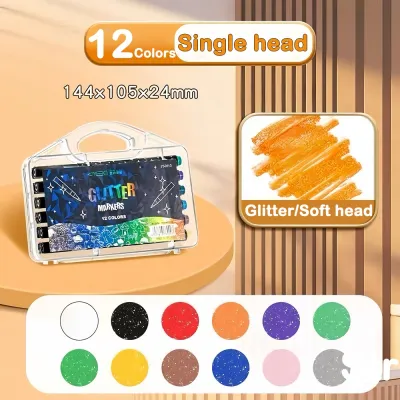
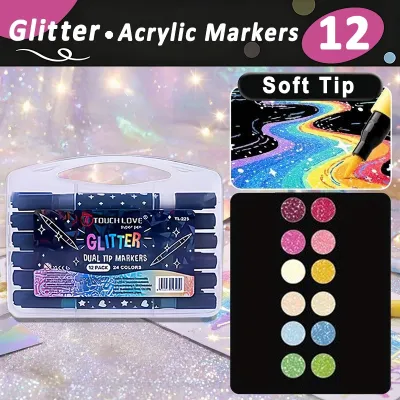
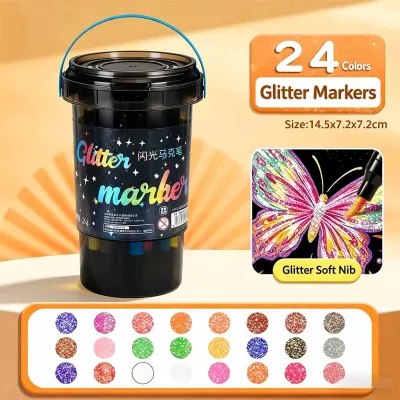
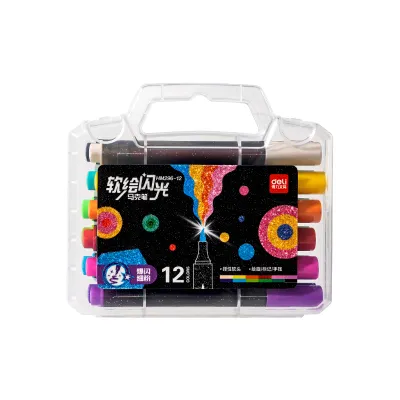
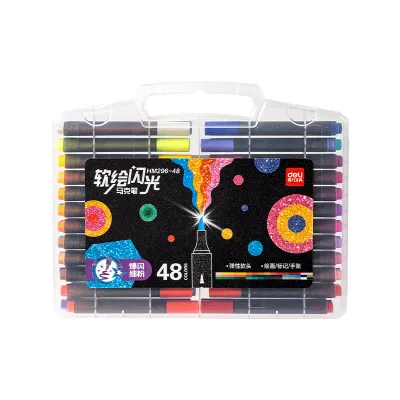
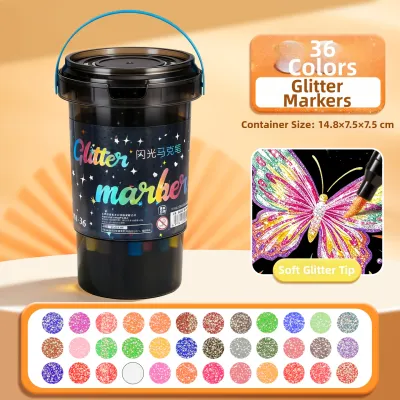
Prices are valid at publication and may change. Please refer to the product page for the latest price.
Fine or bullet tips, usually ranging from 0.5mm to 2.0mm in width, are the standard choice for detailed work. These tips provide a controlled, consistent line that is ideal for writing, outlining drawings, and adding delicate highlights to illustrations. Because glitter particles must pass through the nib, fine-tip markers often use highly processed, micro-fine shimmer to prevent clogging. If your projects involve intricate hand lettering, planner decorating, or detailed adult coloring books, prioritizing a fine bullet tip ensures your lines remain crisp without pooling ink.
Brush or chisel tips offer greater flexibility for expressive strokes and broad coverage. Brush tips, which can be made of flexible felt or individual synthetic fibers, mimic the behavior of a paintbrush, allowing you to transition from thin lines to thick strokes by varying your hand pressure. Chisel tips, on the other hand, feature a slanted edge that is excellent for bold calligraphy and filling in large shapes quickly. These broader tips are highly effective for distributing larger glitter particles, creating a more dramatic, high-impact sparkle on posters and large-scale crafts.
Dual-tip glitter markers combine the best of both worlds by featuring a different nib on each end of a single barrel. Typically, these sets offer a fine bullet tip on one side for detailing and a flexible brush or chisel tip on the other for coloring. This configuration is highly versatile for mixed-media artists who want to minimize the number of pens they carry. When choosing dual-tip options, verify that the ink reservoir is designed to feed both ends evenly, and always store them horizontally to prevent one tip from drying out while the other becomes oversaturated.
Evaluate Ink Formulation and Glitter Particle Size
The chemistry of the ink and the physical size of the glitter suspended within it dictate how the marker behaves on your chosen medium. Understanding these factors helps you predict drying times, bleed-through risks, and the overall visual effect of the shimmer.

Water-based inks are the most common formulation found in glitter marker sets. These inks are generally low-odor, acid-free, and less likely to bleed through standard paper, making them highly suitable for journaling and scrapbooking. However, water-based formulas rely on evaporation to dry. In humid environments, such as during the rainy season in the Philippines, water-based inks can take significantly longer to dry, increasing the risk of accidental smudging. Additionally, heavy application of water-based ink can saturate and warp thin paper fibers, so pairing these markers with high-GSM (grams per square meter) paper is recommended.
Alcohol-based glitter markers dry almost instantly because alcohol evaporates much faster than water, making them highly resistant to smudging even in humid conditions. They are excellent for blending colors and achieving smooth, streak-free coverage on non-porous surfaces. The trade-off is that alcohol-based ink has a stronger odor and easily bleeds through standard notebook paper, requiring thick cardstock or a protective backing sheet. When evaluating alcohol-based options, check the manufacturer’s label for bleed-through warnings and ensure your workspace is well-ventilated.
Glitter particle size directly influences the texture and intensity of the shimmer. Fine shimmer particles are suspended evenly in the ink, creating a subtle, metallic sheen that catches the light elegantly without feeling rough to the touch. This type of marker flows smoothly and is less prone to clogging. In contrast, chunky glitter markers contain larger, reflective flakes that create a high-impact, textured finish. These markers often utilize a valve-action mechanism, requiring you to shake the pen and press the tip down to prime the ink flow. While visually striking, chunky glitter can sometimes flake off once dry if the ink base lacks sufficient binder.
Opacity is another critical factor, especially if you plan to write on dark or colored paper. Transparent glitter inks merely add a sparkly topcoat to the underlying surface, which can disappear on black cardstock. Highly opaque glitter markers, often formulated with pigment-based or acrylic-infused inks, lay down a solid layer of color that completely masks the paper underneath. To verify opacity before buying, look for product descriptions that explicitly mention “high coverage on dark paper” or check user-uploaded swatch photos to see how the colors perform on black backgrounds.
Check Color Variety and Surface Compatibility
A glitter marker set should not only offer a pleasing color palette but also adhere reliably to the specific materials you intend to decorate.
When assessing color variety, consider whether you need a basic utility set or an expansive palette. Basic sets of 8 to 12 markers usually feature primary colors along with classic gold and silver, which are perfect for general holiday crafting and card making. Larger sets of 24 or more colors introduce pastel shades, metallic undertones, and dual-color shifting inks that change hue depending on the angle of the light. If you are working on a themed project, such as a wedding invitation suite or a specific holiday display, look for curated color families rather than a massive, generic assortment.
Surface compatibility is where many crafters encounter unexpected challenges. While almost all glitter markers work well on standard paper and cardstock, their performance on non-porous or textured surfaces varies widely. If you plan to decorate wood, terracotta, plastic, glass, metal, or fabric, you must verify the manufacturer’s compatibility guidelines. For instance, standard water-based glitter markers will easily wash off glass or plastic, whereas multi-surface acrylic-based glitter paint pens are designed to cure and remain permanent on those materials.
To prevent ruined projects, always perform an adhesion and flaking test on a scrap piece of your target material. Apply a small swatch of the glitter ink, allow it to dry completely according to the package instructions, and then gently rub your finger over the surface. If the glitter rubs off easily or leaves a dusty residue, the ink base may not be compatible with that specific material. For non-porous surfaces like glazed ceramics or plastics, you may need to apply a clear acrylic sealant over the dried ink to lock the glitter in place.
Build Your Shortlist Based on Crafting Scenarios
Narrowing down your choices is easier when you align the marker specifications with your specific crafting habits. Different activities demand different ink behaviors and tip styles.
For journaling, scrapbooking, and planner organization, your primary concerns are bleed-through and archival quality. Look for glitter marker sets that explicitly claim to be “acid-free” and “photo-safe” to ensure the ink will not yellow or degrade your paper and photographs over time. Prioritize fine bullet tips (1.0mm or smaller) that allow you to write legibly within narrow grid lines. Opt for water-based, quick-drying formulas that won’t bleed through to the reverse side of your journal pages, keeping your layouts clean and readable.
If you are creating posters, event signage, or large school projects, visibility from a distance is paramount. For these scenarios, look for sets featuring broad chisel or brush tips that can lay down thick, opaque lines. Choose markers with high pigment density and chunky glitter particles that catch the light dramatically. Since these projects often use thick poster board or cardboard, you can safely use heavier water-based or acrylic-based glitter markers without worrying about paper warping.
For mixed-media art and handmade card making, versatility and layering capability are key. Seek out dual-tip sets that offer both a fine detail nib and a flexible brush tip, allowing you to outline and color with the same exact shade. Ensure the ink is compatible with other mediums you use, such as watercolors, colored pencils, or acrylic paints. In these layered projects, a water-resistant or waterproof formula is highly beneficial, as it prevents the glitter ink from smudging or bleeding if you apply a wet medium over or near it.
Pre-Purchase Checks: Reading Labels and Packaging
Before finalizing your purchase on an e-commerce platform or at a local stationery store, taking a few moments to carefully read the product packaging and online listings can save you from disappointing results.
First, look for indicators of ink capacity and shelf life. Valve-action markers, which seal the ink reservoir until the tip is depressed, generally have a longer shelf life and are less prone to drying out during transit or storage than capillary-action markers. If shopping online, read customer reviews to see if users frequently complain about receiving dried-out pens. While shelf-life dates are rarely printed on stationery, buying from reputable sellers with high inventory turnover reduces the risk of purchasing old stock.
Safety certifications are another crucial check, particularly if the markers will be used in a household with children or in unventilated spaces. Look for recognized safety seals such as the “AP Non-Toxic” label or compliance with international standards like ASTM D-4236. These certifications verify that the art materials have been evaluated by a toxicologist and contain no materials in sufficient quantities to be toxic or injurious to humans, giving you peace of mind during long crafting sessions.
Finally, leverage the power of community feedback on online marketplaces. Because product renders can sometimes exaggerate the intensity of the glitter, look for user-uploaded photos and videos of actual swatches. Pay close attention to how the ink looks on both white and black paper, and check if reviewers mention issues like uneven ink flow, excessive pooling, or tips that fray easily. Reviewing the seller’s return and replacement policies is also wise, ensuring you can easily swap the set if a marker arrives damaged or dry.
Frequently Asked Questions (FAQ)
How do I prevent glitter markers from drying out?
To maximize the lifespan of your glitter marker set, always store the pens horizontally. Storing them vertically can cause the heavy glitter particles to settle either at the very bottom of the barrel (clogging the valve) or right at the nib (causing it to dry out and block ink flow). Ensure that you press the caps on tightly until you hear a distinct click, which confirms an airtight seal. If a water-based glitter marker tip begins to dry out, check the manufacturer’s instructions; some brands allow you to gently dip the very tip of the nib in warm water for a few seconds to reactivate the dried ink.
Can I use glitter markers over regular ink or paint?
Yes, you can layer glitter markers over other mediums, but success depends on drying times and chemical compatibility. Always ensure that your base layer—whether it is watercolor, acrylic paint, or standard pen ink—is completely dry before applying the glitter marker. If you use an alcohol-based glitter marker over a water-based base, or vice versa, the solvents may reactivate the bottom layer, causing smudging or muddy colors. To avoid ruining a finished piece, always test your specific combination of base medium and glitter marker on a scrap piece of the same paper or material first.

Community discussion
Share your experience or ask a question. Comments are reviewed before publication.