
Acrylic water-based paint is celebrated for its versatility, quick drying time, and easy cleanup. However, applying the same tube of paint to a stretched canvas, a wooden crate, and a cotton t-shirt without adjusting your approach often leads to peeling, cracking, or faded colors. Achieving a professional, long-lasting finish requires matching the paint’s formulation and preparation steps to the specific physical characteristics of your chosen surface.
Understanding how different materials interact with water-based mediums is the first step toward successful crafting and painting. By selecting the right viscosity, preparing the substrate correctly, and applying the appropriate sealers, you can ensure your artwork remains vibrant and intact for years to come.
Understanding How Surface Properties Dictate Paint Choice
Porosity and absorption govern how water-based acrylics adhere to a surface. Highly porous materials, such as raw wood or unprimed canvas, rapidly drink up the water content from the paint emulsion. This rapid absorption can pull moisture away from the acrylic binder too quickly, leading to uneven drying and a dull, patchy finish.
Products mentioned in this guide
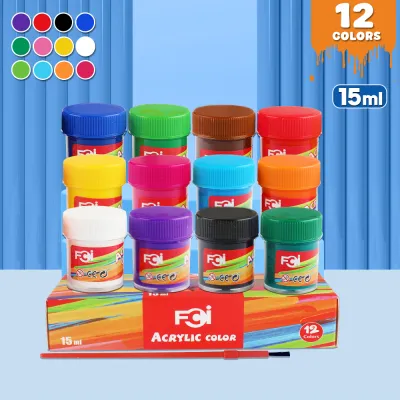
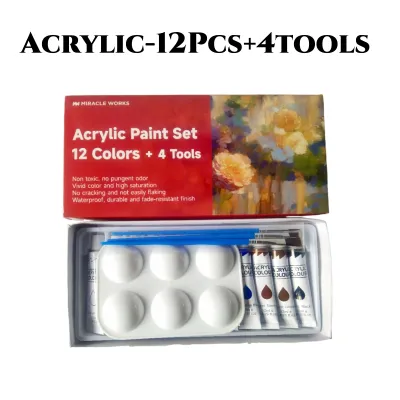
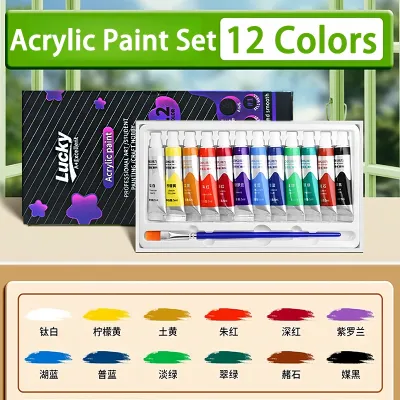
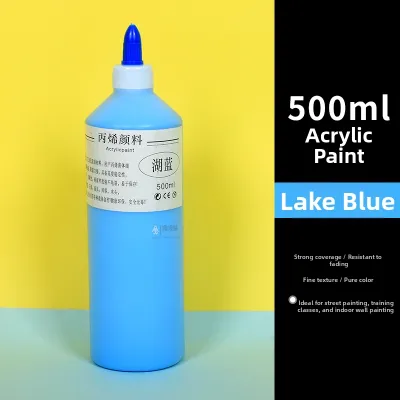
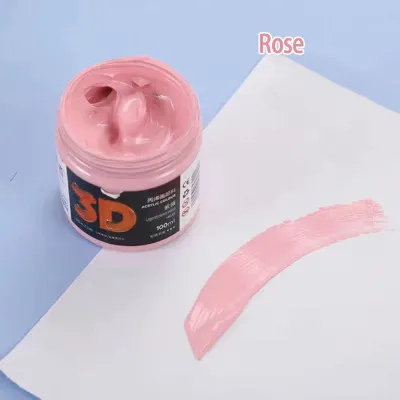
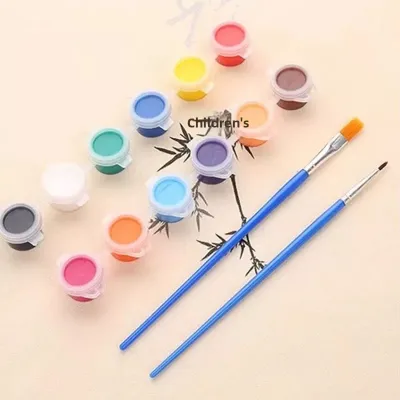
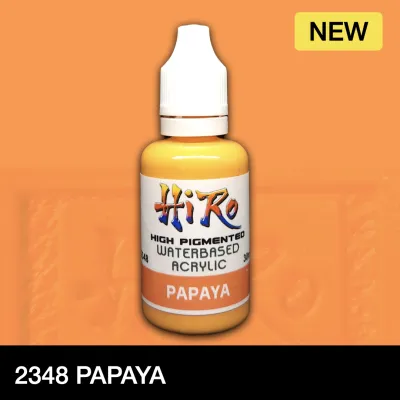
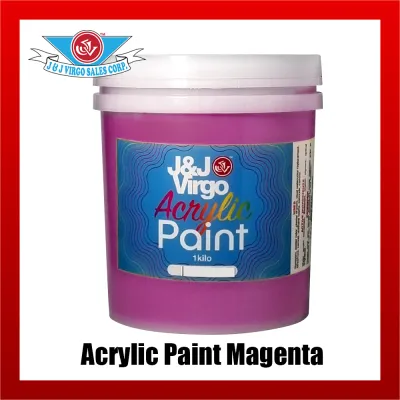
Prices are valid at publication and may change. Please refer to the product page for the latest price.
Conversely, completely non-porous surfaces like glass and metals offer no physical “tooth” or texture for the paint to grip. Without proper preparation, the dried acrylic layer remains a delicate film sitting on top of the material, making it highly susceptible to scratching or peeling.
Flexibility is another critical consideration for items that move or bend. Canvas, paper, and textiles require a paint film that retains elasticity after curing. Applying a rigid, brittle paint formulation to these flexible supports causes the paint layer to crack and flake as the material bends.
To bridge the gap between incompatible surfaces and water-based acrylics, artists rely on primers, sealers, and mediums. Primers like gesso seal porous materials to regulate absorption, while sealers create a barrier against chemical bleed-through. Mixing specialized mediums directly into your paint can alter its viscosity and flexibility, transforming a standard acrylic into a custom formulation.
Selecting the Right Acrylics for Canvas and Paper
Stretched canvas and heavy paper are the traditional homes of acrylic painting, but even these classic surfaces require careful product selection. Acrylic paints are available in various viscosities, primarily categorized as heavy body and fluid. Heavy body acrylics have a thick, buttery consistency that holds brushstrokes and palette knife marks, making them excellent for textured canvases where you want to build physical dimension.

Fluid acrylics offer a smooth, flowing consistency similar to heavy cream. They are ideal for detailed work, smooth color washes, and delicate paper surfaces where visible brush textures would detract from the piece. Choosing the right viscosity ensures the paint behaves predictably on the specific texture and weave of your support.
Sizing and priming are essential steps to protect both your paint film and your support. Raw canvas fibers contain natural impurities that can seep into the paint layer as it dries, causing support-induced discoloration. Applying a high-quality acrylic gesso seals the fibers, prevents support degradation, and provides a consistent, receptive texture that enhances paint adhesion.
When selecting paints for fine art, check the product labels for lightfastness ratings and pigment load indicators. Lightfastness measures a pigment’s resistance to fading under light exposure, with top-tier paints carrying standardized ratings like ASTM I. Professional-grade paints feature a higher pigment load and fewer fillers than student-grade options, delivering richer color mixing and superior coverage.
Choosing Acrylics for Wood and Rigid Surfaces
Painting on wood or other rigid craft surfaces offers excellent durability, but it requires systematic preparation to prevent peeling and grain raising. Wood is highly organic and porous, meaning it reacts dynamically to moisture. When water-based paint is applied directly to raw wood, the wood fibers swell, resulting in a rough, uneven texture known as raised grain.
To achieve a professional finish, begin by sanding the wood surface with a medium-grit sandpaper, gradually working up to a fine grit. Thoroughly remove all residual sawdust using a tack cloth or a slightly damp microfiber cloth. Applying a dedicated wood sealer or primer is a crucial next step; this barrier prevents natural wood tannins from bleeding through your paint layers and causing yellow stains.
The binder characteristics of your chosen paint must also match the rigid nature of the substrate. While wood does not bend like fabric, it does expand and contract slightly with changes in ambient temperature and humidity. The acrylic binder must be robust enough to maintain a firm grip on the semi-porous surface and withstand minor physical impacts without chipping.
Finally, protecting your finished wood project requires a durable topcoat or varnish. Applying a clear acrylic varnish—available in matte, satin, or gloss finishes—shields the painted surface from moisture, handling, and UV exposure. Ensure the paint has fully cured over several days before applying the varnish to avoid trapping moisture beneath the protective seal.
Adapting Acrylic Paint for Fabric and Textiles
Transforming wearable textiles and home fabrics with acrylic paint requires a formulation that moves with the fabric. Standard craft acrylics dry to a stiff, plastic-like finish. If painted directly onto a cotton t-shirt or canvas bag, the design will feel rough to the touch and will quickly crack, flake, and peel after a few cycles in the washing machine.
Dedicated fabric paints are formulated with highly flexible acrylic polymers that penetrate deep into the textile fibers rather than sitting on top of them. This chemical makeup allows the fabric to retain its soft hand or natural drape while ensuring the design remains vibrant and intact through repeated washings.
If you prefer to use your existing collection of standard acrylic paints, you can easily adapt them by mixing in a specialized textile medium. This liquid additive thins the paint’s viscosity, improves its penetration into the fabric weave, and imparts the necessary elasticity to prevent cracking. Follow the manufacturer’s recommended mixing ratios, typically one part medium to two parts paint, to achieve the best results.
To ensure long-term washability, almost all fabric-painted items must be heat-set after the paint has fully cured. Once the paint is completely dry to the touch—usually after 24 hours—apply dry heat using an iron on the reverse side of the fabric, or use a pressing cloth over the design. Always verify the specific heat-setting times and care instructions on your product labels before washing your finished textile projects.
Evaluating Multi-Surface Compatibility and Preparation
Many modern paint lines are marketed as multi-surface acrylics, promising excellent adhesion to everything from wood and glass to plastic and metal. While these paints are highly convenient for mixed-media projects and quick crafts, they involve certain trade-offs. Multi-surface formulas often sacrifice the high pigment load, specific blending capabilities, and archival longevity of specialized artist-grade paints.
Before committing your time and materials to a major project, execute a simple step-by-step checklist on scrap material to verify adhesion, flexibility, and color shift:
- Clean the scrap surface thoroughly to remove all oils, dust, and residues.
- Apply your chosen paint, primer, or medium combination exactly as planned for the final piece.
- Allow the test patch to dry and cure completely for at least 24 to 48 hours.
- Perform a scratch test by firmly scraping the edge of the dried paint with a fingernail or a plastic card to check for peeling.
- For flexible materials, bend and twist the scrap repeatedly to observe if any cracking or flaking occurs.
Establish clear stopping conditions during your testing phase. If the paint easily scrapes away, bubbles, or cracks under stress, do not proceed to your final project. This failure indicates that the paint cannot form a secure bond with the substrate. You must adjust your preparation by sanding the surface more thoroughly, applying a specialized primer, or switching to a paint formulation engineered specifically for that material.
Frequently Asked Questions (FAQ)
Can I use standard acrylic water-based paint on outdoor surfaces?
Standard interior acrylic paints are highly vulnerable to outdoor weathering. Prolonged exposure to intense sunlight, rain, and humidity cycles will rapidly break down the acrylic binders, leading to chalking, fading, and peeling. For outdoor projects, you must use paints specifically formulated for exterior durability, or seal your completed work with a high-quality, UV-blocking exterior varnish to protect the pigments and binder from environmental degradation.
How do I fix acrylic paint that is peeling off a non-porous surface?
Peeling on non-porous surfaces like glass, glazed ceramics, or smooth plastics is typically caused by a lack of mechanical tooth or improper surface cleaning. To fix this, scrape away all of the failed, peeling paint and clean the surface thoroughly with rubbing alcohol to remove grease and oils. Before repainting, lightly scuff the surface with fine sandpaper if the material allows, or apply a dedicated gloss-surface primer designed to chemically bond with non-porous substrates.

Community discussion
Share your experience or ask a question. Comments are reviewed before publication.