
Selecting the right Arcilyc marker variant is the key to turning a creative concept into a durable, vibrant piece of art. Whether you are transforming smooth beach pebbles into painted keepsakes, decorating glass jars for home decor, or adding colorful illustrations to your personal journal, the marker you choose must match your specific surface and working environment. Because these markers use acrylic paint rather than standard dye-based ink, factors like tip size, paint flow mechanics, and drying behavior play a critical role in your final results.
In the warm and humid climate of the Philippines, working with paint-based mediums requires a bit of extra planning. High humidity levels can slow down the drying process of water-based acrylics, while porous local materials like unglazed terracotta pots or native driftwood absorb paint differently than synthetic canvases. By understanding how different Arcilyc marker variants behave under these conditions, you can avoid common pitfalls like clogged tips, bleeding colors, or peeling paint, ensuring your artwork remains vibrant and intact over time.
Understanding Arcilyc Marker Basics and Ink Properties
Before diving into specific tip sizes or color palettes, it is essential to understand what makes an Arcilyc marker unique. Unlike standard felt-tip markers that use liquid dyes, these paint markers contain actual acrylic pigment suspended in a liquid binder. This formulation allows the paint to sit on top of the surface rather than soaking completely through it, providing the characteristic opacity and rich color depth associated with acrylic painting.
Products mentioned in this guide
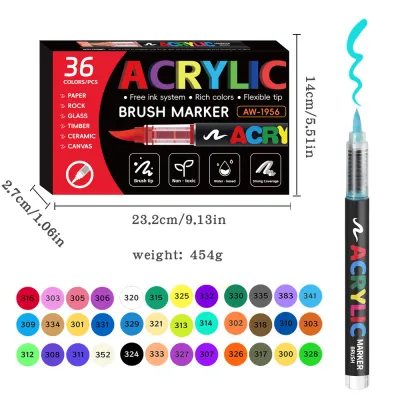
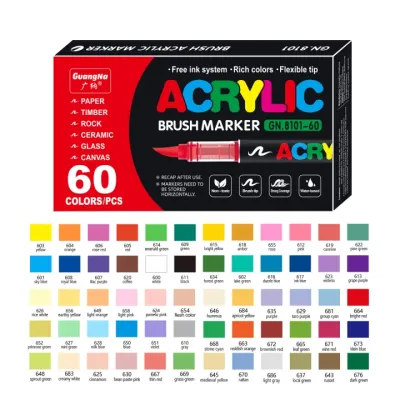
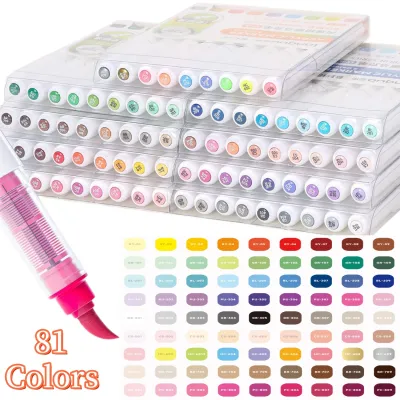
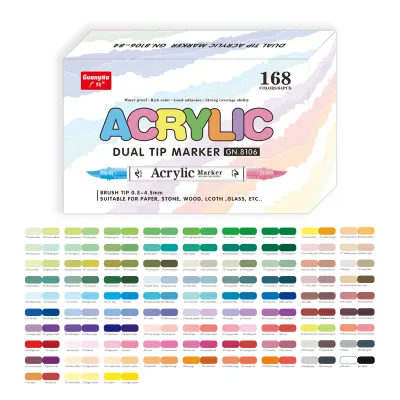
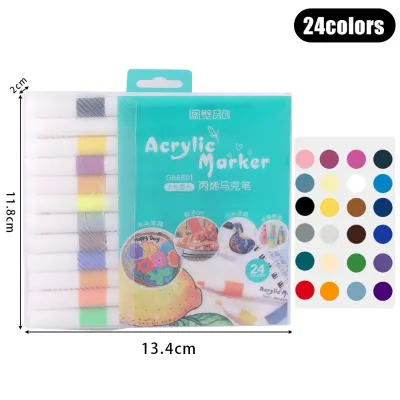
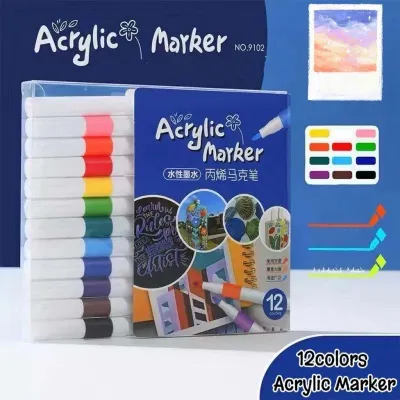
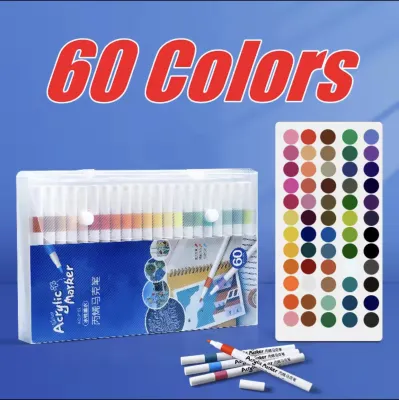
Prices are valid at publication and may change. Please refer to the product page for the latest price.
When evaluating different variants, your first step should be checking the product label to identify the ink base. Most hobbyist paint markers are water-based, which makes them low-odor, easy to clean up while wet, and highly suitable for indoor crafting or journaling. Solvent-based acrylic markers are also available; these offer enhanced durability and water resistance but carry a stronger odor and require excellent ventilation during use. For most indoor projects, water-based formulas provide a safer and more comfortable working experience.
Another critical distinction lies in how the paint is delivered to the tip. Many premium Arcilyc markers utilize a valve-action system. These markers contain an internal mixing ball that you can hear rattling when you shake the pen. Shaking redistributes the settled pigment into the binder, while pressing the nib down onto a scrap surface opens an internal valve to prime the tip with fresh paint. In contrast, capillary-action markers function like traditional markers, delivering a continuous but often thinner flow of paint. Valve-action markers generally offer superior opacity and control, though they require active priming to keep the paint flowing smoothly.
Drying times and waterproof capabilities are highly dependent on the specific formulation and your local environment. In high-humidity areas, water-based acrylic paint takes longer to cure fully. While the surface may feel dry to the touch within a few minutes, the underlying paint layer can remain soft for several hours. Always verify the manufacturer’s specifications regarding water resistance, and perform a simple scratch test on a scrap piece of your material before exposing your finished project to moisture or handling.
Matching Tip Sizes to Your Creative Application
Selecting the correct nib size and shape is crucial for achieving the desired level of detail and coverage in your artwork. Because terms like “fine” or “medium” can vary significantly between different brands, you should always look for the exact millimeter (mm) measurements printed on the packaging or product specifications.

Fine and extra-fine tips, typically ranging from 0.7mm to 1.0mm, are designed for precision. These needle-like or fine bullet tips are highly suitable for intricate line art, detailed mandalas on small stones, outlining larger shapes, and writing in bullet journals. Because they release a controlled, minimal amount of paint, they dry relatively quickly and are less likely to pool or cause paper warping. However, attempting to fill in large areas with an extra-fine tip can wear down the nib prematurely and result in streaky, uneven coverage.
Medium bullet tips, usually measuring between 2.0mm and 3.0mm, serve as the versatile workhorse of the paint marker world. This size strikes a practical balance between detail and coverage. It is wide enough to fill in medium-sized shapes, color block small illustrations, and create bold hand lettering, yet precise enough to maintain clean edges. If you are painting medium-sized river stones, customizing phone cases, or decorating wooden signs, a medium bullet tip is often the most practical starting point.
Broad and chisel tips, which can range from 4.0mm to 8.0mm or wider, are engineered for large-scale projects. Chisel tips feature a slanted edge that allows you to create both broad strokes and thin lines depending on the angle at which you hold the marker. These are ideal for filling in large background areas, creating bold window displays, or working on large wooden panels. Using a broad tip ensures a consistent, wet edge across large surfaces, which helps minimize visible brush strokes and overlap lines.
Brush tips offer a flexible, nylon nib that mimics the behavior of a traditional paintbrush. By varying the pressure you apply to the marker, you can transition seamlessly from hairline details to thick, sweeping strokes. This flexibility makes brush-tip Arcilyc markers highly popular for modern calligraphy, organic floral illustrations, and blending colors directly on non-porous surfaces. Keep in mind that flexible brush tips require a gentle touch and are best used on smooth surfaces to prevent the delicate fibers of the nib from fraying.
Selecting the Right Finish and Color Range for Your Medium
The visual impact of your project depends heavily on the paint finish and the color palette you select. Acrylic paint markers generally dry to either a matte or a gloss finish, and each behaves differently depending on the texture of your working surface.
Matte finishes dry with a flat, non-reflective surface that absorbs light. This finish is highly effective on porous materials like raw wood, unglazed terracotta, and heavy watercolor paper, as it complements the natural, organic texture of the medium. Gloss finishes, on the other hand, dry with a shiny, reflective sheen. Gloss paint markers are particularly well-suited for non-porous surfaces like glass, glazed ceramics, and smooth plastics, as the shiny finish mimics the reflective quality of the substrate and provides a sleek, professional appearance.
If you plan to work on dark backgrounds, such as black cardstock, dark river rocks, or painted canvases, pay close attention to the opacity of metallic and neon variants. High-quality metallic markers (such as gold, silver, and bronze) utilize dense metallic pigments that sit on top of dark surfaces, providing excellent coverage and a bright, reflective sheen. Neon or fluorescent colors, while incredibly vibrant, are often more translucent by nature. To achieve maximum vibrancy with neon markers on dark surfaces, you may need to apply a solid white base coat first, allowing it to dry completely before layering the neon color on top.
When deciding on a color range, consider whether a pre-packaged multi-color set or individual open-stock markers will better serve your project. Multi-color sets (typically containing 12, 24, or 36 colors) offer a broad palette for general crafting and are highly cost-effective for beginners. However, if you are working on a specific themed project—such as a wedding welcome sign that requires only white, gold, and black—investing in individual, high-quality markers in those specific shades is more practical. This approach ensures you do not pay for colors you will not use, and allows you to purchase duplicates of high-use colors like white and black.
For artwork that will be displayed in areas exposed to direct sunlight, such as outdoor garden markers or window decorations, check the product specifications for lightfastness ratings. Lightfastness refers to a pigment’s resistance to fading under UV light. Markers formulated with high-grade, lightfast pigments will retain their original color depth for years, whereas standard craft-grade pigments may begin to fade or shift color within a few months of sun exposure.
Surface Compatibility and Preparation Checklist
To ensure your Arcilyc markers adhere properly and do not peel, crack, or smudge, you must prepare your surface correctly. Different materials interact with acrylic paint in unique ways, requiring specific preparation and finishing steps.
Porous Surfaces (Rocks, Wood, Terracotta, Canvas)
- Clean thoroughly: Wash rocks and terracotta pots in warm, soapy water to remove dirt, algae, and oil. Allow them to dry completely in the sun before painting.
- Sand rough spots: Gently sand wooden surfaces to remove splinters and rough grain that could snag or damage your marker tips.
- Apply a primer: Porous materials absorb liquid rapidly, which can cause your paint colors to look dull or sink into the grain. Applying a thin layer of clear or white acrylic gesso seals the pores, ensuring your marker colors dry vibrant and even.
- Seal the finished piece: Once your artwork is completely dry, apply a clear, weather-resistant acrylic spray sealer to protect the paint from moisture, dust, and handling.
Non-Porous Surfaces (Glass, Ceramics, Smooth Plastics)
- Degrease the surface: Wipe the entire surface with rubbing alcohol and a lint-free cloth to remove fingerprints, oils, and dust. Avoid touching the painting area with bare hands after cleaning.
- Check curing requirements: Some acrylic markers formulated for glass and ceramics require heat setting in a home oven to cure the paint fully. Verify the manufacturer's instructions for specific baking temperatures and cooling times.
- Apply a protective topcoat: Because paint does not sink into non-porous surfaces, it remains susceptible to scratching. A clear varnish or specialized glass sealant can help prevent peeling and chipping over time.
Paper and Journals
- Verify paper weight: Acrylic paint contains water and binders that can easily warp thin paper. Ensure your journal or sketchbook uses heavy paper, ideally 120 GSM (grams per square meter) or higher, to support the paint.
- Perform a bleed test: Before starting your main illustration, test the marker on an inconspicuous back page. Check for bleed-through (paint soaking through to the next page) and ghosting (shadows visible on the reverse side of the sheet).
- Allow drying time between layers: To prevent the paper fibers from pilling or tearing, let each layer of paint dry completely before applying a second coat or outlining with a fine-tip marker.
Safety Warning: Always consult the manufacturer’s guidelines if you plan to decorate items that will come into contact with food or drink, such as mugs, plates, or serving platters. Standard craft acrylic markers are generally not food-safe or dishwasher-safe. Keep your painted designs on the outside of vessels, well away from the rim where lips or food would make direct contact.
Building Your Starter Set: A Decision Matrix
To help you finalize your purchase, use this decision matrix to map your primary creative project to the most logical starting configuration. This approach ensures you invest your budget in the tools that will yield the most satisfying results.
| Primary Project | Recommended Tip Size | Recommended Finish & Colors | Key Feature to Verify |
|---|---|---|---|
| Bullet Journaling & Lettering | Extra-Fine (0.7mm) or Brush Tip | Matte finish; pastel, muted, or earth-tone palettes | Quick-drying formula to prevent smudging on paper |
| Rock Painting & Outdoor Crafts | Medium Bullet (2.0mm) & Fine (1.0mm) | High-opacity matte or gloss; vibrant primary colors | Weather-resistance and compatibility with acrylic sealers |
| Glass, Ceramics & Holiday Decor | Medium Bullet (3.0mm) or Chisel Tip | Glossy or metallic finishes; high-contrast colors | Heat-setting instructions and scratch resistance |
When budgeting for your starter set, compare the cost-effectiveness of pre-packaged sets against individual open-stock markers. In the local market, a basic multi-color set of entry-level paint markers can range from ₱300 to ₱1,200 depending on the brand and the number of pens included. This option provides a low cost per marker, making it excellent for general experimentation.
However, if you have a highly specific project in mind, investing in three or four premium, individual markers at ₱100 to ₱150 each is often a smarter financial decision. This allows you to select the exact tip sizes and high-opacity colors you need, ensuring every peso spent goes directly toward tools you will use to their full potential.
Frequently Asked Questions (FAQ)
How do you revive a dried-out acrylic paint marker?
To revive a dried-out valve-action acrylic marker, start by capping the pen tightly and shaking it vigorously for thirty seconds to redistribute the settled pigments. Next, gently press the tip down vertically onto a scrap piece of cardboard or paper several times to pump the internal valve and encourage fresh paint to flow into the nib. If the nib itself has become stiff and clogged with dried, cured paint, check if the nib is removable. Many markers feature reversible or replaceable nibs; you can gently pull the nib out with tweezers and soak it in warm water for a few minutes to dissolve the dried paint. Dry the nib thoroughly with a paper towel before reinserting it and re-priming the marker. If the paint inside the main barrel has completely hardened and cured, the marker cannot be revived and must be replaced.
Can you use acrylic markers on skin or fabric?
Standard craft-grade acrylic markers are not formulated for cosmetic use and should never be applied to the skin, as the binders and pigments can cause irritation and are difficult to wash off safely. For fabric projects, standard acrylic paint tends to dry stiff, which can cause the design to crack or peel when the fabric bends, and it may wash out over time. If you wish to customize clothing, tote bags, or canvas shoes, check the marker packaging to verify if the manufacturer explicitly states the ink is suitable for textiles. If the label permits fabric use, you will typically need to heat-set the finished design using a dry household iron on a medium setting, placing a protective cloth or parchment paper between the iron and your painted design, to ensure the pigment bonds with the fabric fibers and resists washing.

Community discussion
Share your experience or ask a question. Comments are reviewed before publication.