
Selecting the right acrylic marker set depends entirely on matching the tip mechanism, ink formulation, and color count to your specific surface and project scope. While acrylic markers are highly versatile for DIY and art projects, using the wrong variant can lead to poor adhesion, ink pooling, or rapid tip degradation. By understanding how different marker specifications interact with your target materials, you can ensure vibrant colors and long-lasting results on almost any project.
In the tropical climate of the Philippines, environmental factors such as high humidity and ambient temperature play a significant role in how acrylic ink behaves. High humidity can prolong drying times, while intense heat might cause some ink formulations to dry prematurely inside the tip if left uncapped. Understanding these physical dynamics helps you select a set that not only fits your artistic vision but also stands up to local environmental conditions.
Key Specifications to Check Before Buying
Before purchasing a Deli acrylic marker set, it is essential to understand the physical and chemical specifications that define how each marker performs. These specifications dictate how the ink flows, how opaque the colors appear, and how comfortable the markers are to use during extended crafting sessions.
Products mentioned in this guide
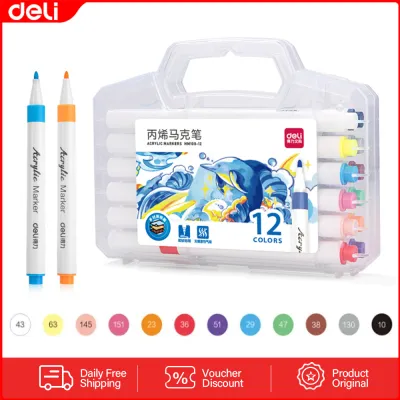
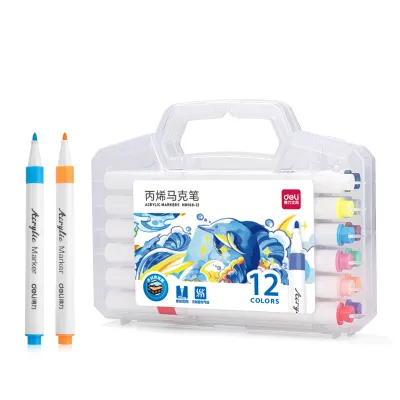
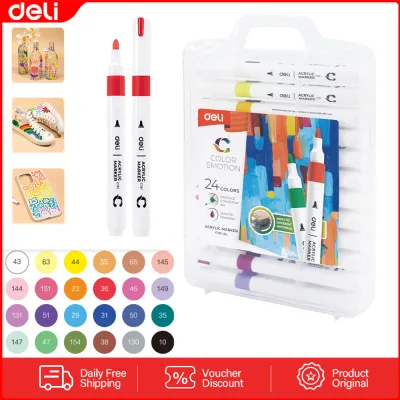
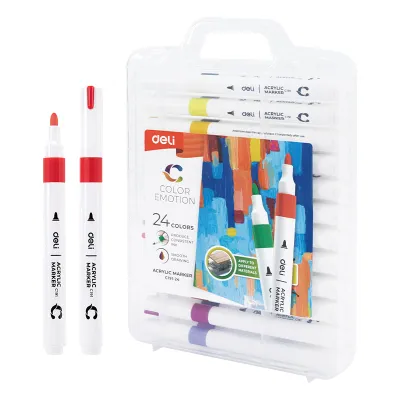
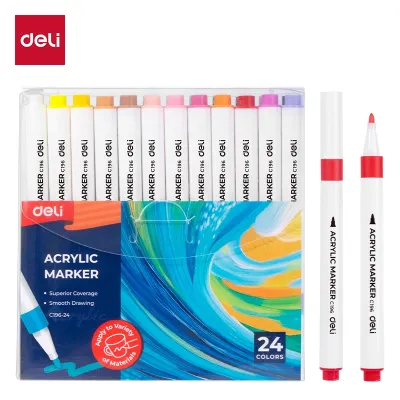
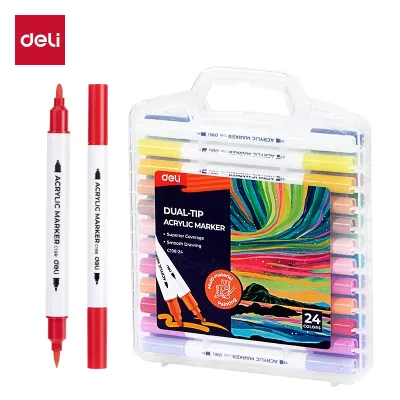
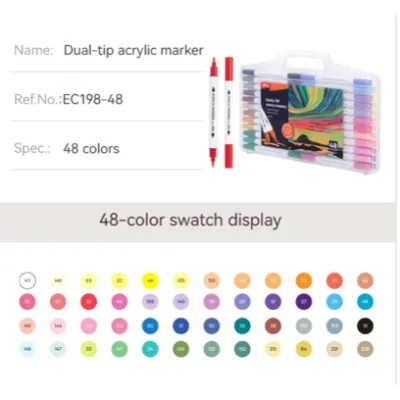
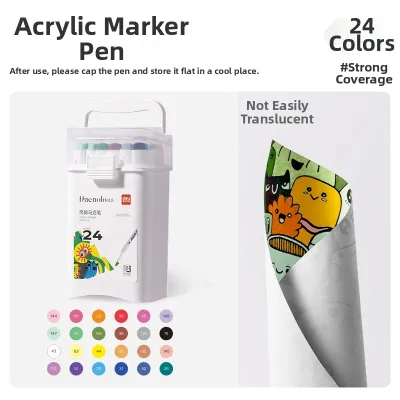
Prices are valid at publication and may change. Please refer to the product page for the latest price.
Acrylic markers generally utilize one of two primary ink delivery systems: direct-flow felt tips or valve-action pump tips. Direct-flow markers feature a fiber or felt nib that is constantly saturated with ink from an internal reservoir. These are user-friendly because they require no priming and are ready to write immediately, making them excellent for quick sketches, paper crafts, and fine detailing. They are available in various shapes, including ultra-fine tips for intricate line work, medium bullet tips for general coloring, and flexible brush tips that allow for variable line widths depending on the pressure applied.
In contrast, valve-action pump markers require you to shake the barrel and depress the tip against a hard surface to open an internal valve, allowing ink to saturate the nib. This mechanism is highly effective for delivering a thick, rich, and highly opaque layer of pigment. It is particularly useful for covering dark or non-porous surfaces where a thin layer of ink would look translucent or streaky. However, valve-action tips require careful handling, as excessive pumping can cause ink to pool and ruin your artwork.
The chemical composition of the ink determines its opacity, drying speed, and final appearance. Most standard acrylic markers use a water-based acrylic formula, which is low-odor, non-toxic, and easy to clean up with water while still wet. Once dry, these inks typically cure to a water-resistant finish. When browsing sets, check the product specifications for opacity levels; highly opaque inks are necessary if you plan to layer light colors over dark backgrounds.
The final finish of the ink is another critical consideration. Standard sets usually dry to a clean, velvety matte finish, which is excellent for illustrations and general crafts. If you want to add a touch of elegance or high-contrast highlights, look for specialty sets that offer metallic, glossy, or neon finishes. Metallic markers contain fine reflective pigments that stand out beautifully on dark paper or smooth plastics, while glossy finishes provide a sleek, paint-like sheen without requiring an additional clear topcoat.
The physical construction of the marker barrel affects both ergonomics and project planning. Slimmer barrels are lightweight and mimic the feel of a standard pen, offering excellent control for detailed lettering and fine illustrations. However, they hold a smaller volume of ink, meaning they may run out quickly during large-scale projects. Larger, marker-style barrels hold a significantly higher volume of ink and are more comfortable for filling in broad areas, though they can feel bulky during prolonged use. Some advanced designs feature a clear ink window or a translucent barrel, allowing you to monitor the remaining ink level so you are never caught off guard in the middle of a project.
Matching Marker Variants to Project Surfaces
Different materials react uniquely to acrylic ink, meaning a marker set that performs beautifully on paper might fail on glass or fabric. To ensure your designs remain vibrant and durable, you must match the marker’s characteristics to the physical properties of your target surface.

Decorating non-porous surfaces like glass bottles, ceramic mugs, or plastic phone cases requires highly opaque ink that can cling to smooth, non-absorbent materials. For these projects, valve-action pump markers are highly recommended because they lay down a dense layer of pigment that resists sliding or separating on the slick surface. Because these materials do not absorb ink, drying times will be noticeably longer, especially in humid tropical environments.
When working on smooth plastics or glazed ceramics, it is crucial to check the manufacturer’s instructions regarding curing and durability. Many acrylic inks require a baking process in a standard home oven to fully cure and bond with ceramic or glass surfaces. Without proper curing or the application of a compatible clear sealant, the dried paint remains susceptible to scratching, peeling, or washing off during cleaning.
Porous materials naturally absorb liquid, which affects both ink consumption and tip wear. When painting on raw wood, terracotta pots, or textured river stones, the surface will drink up the ink rapidly, requiring multiple layers to achieve a solid, vibrant color. For these rough textures, durable felt or fiber tips are preferred over delicate brush tips, as rough surfaces can quickly fray soft brush fibers.
To prevent excessive ink absorption and ensure smooth color application, consider priming porous surfaces with a clear or white gesso before you begin painting. This creates a smooth, semi-porous barrier that prevents the ink from bleeding into the wood grain or paper fibers. If you are working on heavy watercolor paper or canvas, direct-flow markers are excellent for layering colors without warping the medium, provided you allow each layer to dry completely before applying the next.
Customizing flexible items like canvas sneakers, tote bags, or denim jackets requires an ink formulation that can bend and stretch without cracking or flaking. Standard acrylic paint can become stiff and brittle when dry, leading to premature cracking on wearable items. When selecting a Deli set for fabric projects, verify that the product specifications explicitly state suitability for textiles or flexible surfaces.
Fabric-compatible acrylic markers typically dry to a more flexible finish that integrates with the woven fibers. To ensure the design survives regular wear and washing, most manufacturers recommend a heat-setting process. This is usually done by letting the ink dry completely for 24 hours, then running a warm iron over the reverse side of the fabric or using a hairdryer on a high-heat setting to lock the pigments into the fibers.
Choosing the Right Color Count and Set Configuration
Deli offers acrylic marker sets in various sizes and color configurations, and selecting the right one depends on your budget, project complexity, and color-mixing preferences. Because acrylic marker ink dries relatively quickly on the tip, mixing custom shades manually on a palette is less practical than it is with traditional bottled paints, making your choice of set configuration highly important.
Small sets are highly focused and typically include essential primary colors along with black and white. These minimalist configurations are ideal for beginners who want to test the medium before investing in a larger set, or for crafters who only need markers for basic outlining, simple lettering, and minor touch-ups. They are also highly portable, making them convenient to carry in a pencil case for quick on-the-go journaling or sketching.
A medium-sized set is the sweet spot for most hobbyists, students, and general crafters. These configurations provide a balanced spectrum of primary and secondary colors, along with a few neutral shades like brown, grey, black, and white. With 12 to 24 colors, you have enough variety to complete diverse illustrations, rock painting projects, and holiday decorations without feeling limited. This range allows you to create pleasing color gradients and high-contrast designs without the need for complex layering or blending.
For detailed artwork, professional illustrations, or complex DIY projects, a large set containing 30 or more colors is highly beneficial. These expansive sets offer subtle shade variations, including multiple tones of blues, greens, and skin tones, allowing for realistic shading and smooth transitions. Large sets also frequently include specialty colors like pastels, neons, or metallics, which can add unique visual highlights to your work. Investing in a larger set saves time and effort, as you have immediate access to pre-mixed, consistent shades for large-scale or recurring projects.
Pre-Purchase Verification and First-Use Preparation
To ensure a smooth crafting experience, it is important to verify the authenticity of your marker set before buying and to prepare the markers correctly before their first use. Taking these preparatory steps prevents common issues like receiving counterfeit goods or damaging your markers during the initial setup.
When shopping on online marketplaces or e-commerce platforms in the Philippines, always verify the seller’s credentials to ensure you are purchasing genuine Deli products. Look for official brand store badges, high seller ratings, and positive customer reviews that include real photos of the packaging and markers. Be cautious of listings with prices that seem unusually low compared to typical market rates, as extremely cheap sets may be low-quality counterfeits with dry tips or poor-quality ink. Genuine sets will feature clear, well-printed branding, safety certifications, and accurate product codes on the packaging.
If your chosen set features valve-action pump tips, you must prime them correctly before your first drawing session. Shaking the marker vigorously with the cap securely on is the first step; this mixes the settled pigments with the liquid binder inside the barrel. Next, place the marker vertically on a scrap piece of paper and gently press the tip down until it retracts slightly into the barrel, then release it. Repeat this pumping motion slowly and steadily—never press down with excessive force, as this can bend the tip or damage the internal valve. Watch closely as the ink slowly travels down the fiber nib; once the tip is fully saturated with color, stop pumping immediately to prevent a messy ink flood.
Before applying ink to your final project, always perform a quick patch test on a scrap piece of the same material. This simple test allows you to observe how the ink behaves on that specific surface under your local humidity and temperature conditions. Note how long the ink takes to dry completely, check if the color remains vibrant or sinks into the material, and test the dried ink’s adhesion by gently rubbing it with your finger. If the ink bleeds, smears, or scratches off easily, you may need to adjust your surface preparation, apply a primer, or choose a different marker variant.
Maintenance and Storage for Longevity
Proper maintenance and storage are vital to extending the lifespan of your acrylic markers, especially in tropical climates where temperature fluctuations and humidity can affect ink stability. By establishing a few simple habits, you can prevent your markers from drying out or clogging prematurely.
How you store your markers plays a significant role in maintaining consistent ink flow. Always consult the manufacturer’s packaging instructions to determine the recommended storage position. Generally, storing acrylic markers horizontally is the safest practice, especially for dual-tip markers or those containing heavy metallic pigments. Horizontal storage ensures that the pigment particles remain evenly distributed throughout the barrel, preventing them from settling entirely at the bottom or clogging the writing tip. If stored vertically with the tip pointing down, the nib can become oversaturated and leak; if stored tip-up, the nib may dry out and require repeated priming.
After completing a painting session, take a moment to inspect the marker tips before capping them. Acrylic ink dries relatively fast, and any excess ink left on the outside of the nib can dry into a hard crust, clogging the flow of fresh ink during your next use. If you notice paint buildup, gently wipe the tip with a clean, damp cloth or paper towel to remove the excess wet ink. Avoid using harsh chemical solvents or alcohol to clean the nibs, as these substances can degrade the synthetic fibers of the tip or damage the plastic housing of the marker.
Even with excellent care, acrylic markers will eventually reach the end of their usable life. Recognizing the signs of a worn-out marker helps you avoid ruining your artwork with scratchy lines or inconsistent color. Common indicators include a dry, scratchy feel when writing, faded or translucent color output despite thorough shaking, or a permanently frayed and split nib that no longer holds a sharp edge. When a marker exhibits these signs and fails to respond to gentle cleaning or priming, it is time to safely dispose of it and replace it with a fresh one.
Frequently Asked Questions (FAQ)
Is it safe to use acrylic markers on items that contact food or skin?
Standard craft acrylic markers, including those from Deli, are generally not formulated, tested, or certified for direct contact with food or skin. The pigments and binders used in these markers are designed for decorative craft purposes and are not food-safe or cosmetic-grade. If you wish to decorate items like ceramic plates, mugs, or glassware, ensure that your designs are restricted to the exterior surfaces that do not come into direct contact with food, beverages, or your lips. For skin application, always use specialized face and body paints that are dermatologically tested and approved for cosmetic use.
How do I restore a dried-out or clogged acrylic marker tip?
If your marker tip has become clogged with dried acrylic paint, you can often restore it with a few gentle troubleshooting steps. Start by wiping the tip with a warm, damp paper towel to soften and remove any dried surface crust. For stubborn clogs, you can carefully pull the nib out of the marker barrel (if the design allows) and soak it in warm water for a few minutes to dissolve the dried acrylic, then dry it thoroughly before reinserting. Once reassembled, gently shake the marker and pump the tip on scrap paper to draw fresh ink down. If the internal ink reservoir has completely dried out, these restoration methods will not work, and the marker must be replaced.
Will the acrylic ink wash off fabric or glass after it dries?
Acrylic ink naturally becomes water-resistant once it cures, but its long-term permanence depends heavily on the surface type and post-application treatment. On smooth, non-porous surfaces like glass, the dried ink can easily scratch or wash off if subjected to scrubbing, dishwashers, or harsh detergents. To improve durability on glass or ceramics, check the packaging for specific baking instructions to heat-cure the paint, and always wash these items gently by hand. On fabrics, the ink is more durable but can still fade or crack over time; heat-setting the design with an iron or hairdryer according to the manufacturer’s guidelines is highly recommended to ensure the design survives gentle hand-washing.

Community discussion
Share your experience or ask a question. Comments are reviewed before publication.