
Selecting the right permanent marker requires matching the ink’s chemical formulation and the physical tip design to your specific surface and environmental conditions. While a standard utility marker works well for writing on cardboard boxes or paper labels, smooth, non-porous, or outdoor surfaces demand specialized markers to prevent smudging, fading, or running. In tropical climates where high humidity and heat can delay drying times or cause ink to bleed, choosing the correct marker ensures your labels and designs remain legible over time. By evaluating the material you are marking and the conditions it will face, you can select a tool that provides lasting adhesion and clear visibility.
Understand Permanent Marker Ink Types and Surface Compatibility
Permanent markers rely on different ink bases, each engineered to interact with specific material structures. Alcohol-based inks are the most common variety found in offices and classrooms. These inks dry quickly because the alcohol carrier evaporates rapidly, making them highly convenient for everyday writing on paper, cardboard, and some rigid plastics. However, on highly slick or chemically sensitive plastics, alcohol-based inks can sometimes smear, bead up, or fade when exposed to direct sunlight or frequent handling.
For challenging, non-porous surfaces like glass, bare metal, and glazed ceramics, paint-based or oil-based markers offer a more durable solution. These markers deposit a thick, opaque layer of pigment that sits on top of the surface rather than soaking in, resisting water and physical abrasion much better than standard dye-based inks. This makes them excellent for color-coding industrial parts, decorating glassware, or labeling dark materials where standard black ink would be invisible.
Products mentioned in this guide
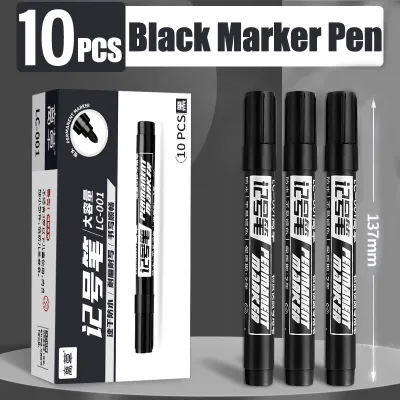
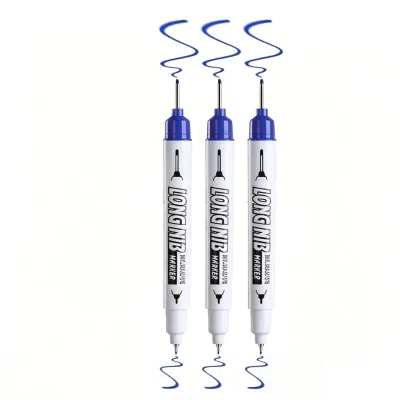
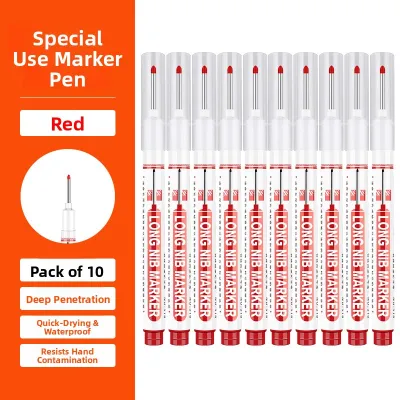
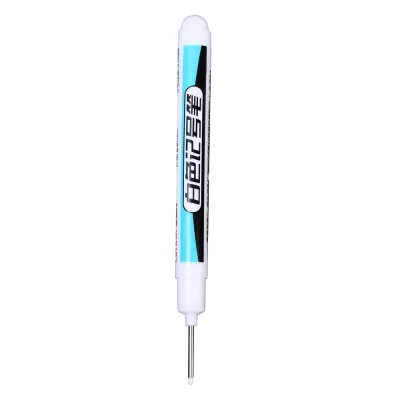
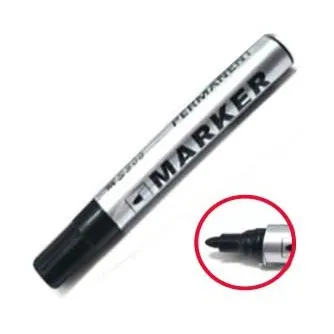
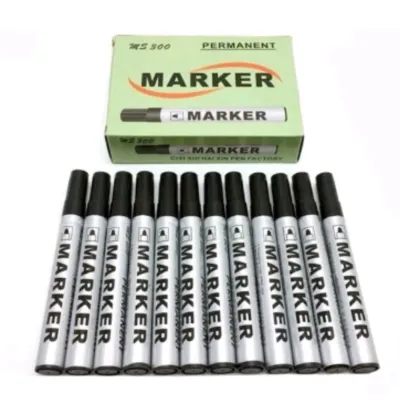
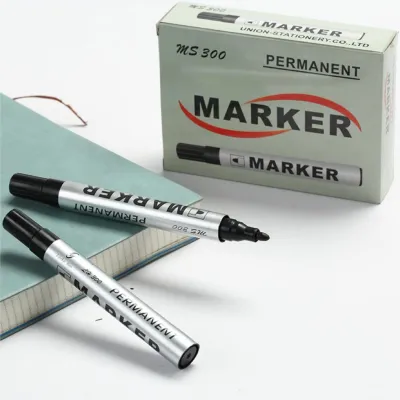
Prices are valid at publication and may change. Please refer to the product page for the latest price.
Specialty formulations exist for highly specific applications. Fabric markers use pigments designed to bind to textile fibers without spreading or bleeding into the surrounding weave. Other specialized markers are formulated for optical discs to prevent the solvent from eating through the protective plastic layer, or for wet and oily surfaces in industrial settings.
Before purchasing any marker, always verify the manufacturer’s specifications on the packaging. Look for explicit surface compatibility lists, waterproof ratings, and curing instructions. Some heavy-duty inks require several minutes or even a heat source to fully cure and achieve their rated durability, especially in humid environments where evaporation is naturally slower.
Match the Tip Shape to Your Marking Task
The shape and size of a marker’s nib directly determine the precision, line width, and overall coverage of your writing. Fine and ultra-fine tips are the standard choice for detailed labeling, writing in confined spaces, and intricate crafting projects. These narrow tips allow you to write clearly on small plastic tags, cable ties, or laboratory vials without the ink pooling or spreading into an illegible blur.

Chisel tips feature a wide, angled nib that offers excellent versatility for bold lettering and industrial marking. By rotating the marker in your hand, you can transition from a broad, thick stroke for high-visibility signage to a thin, sharp line for smaller details. This adaptability makes chisel tips highly popular for warehouse labeling, shipping crates, and creating large posters where quick, high-coverage strokes are necessary.
Bullet and broad tips provide a consistent, rounded line that is ideal for general-purpose writing and standard labeling. These tips maintain the same line width regardless of the angle at which you hold the marker, ensuring uniform text on storage bins, moving boxes, and workshop tools. They offer a reliable middle ground between the precision of a fine tip and the coverage of a chisel tip.
To ensure the best results, always test the tip on a scrap piece of the same material before starting your project. This trial allows you to observe the ink flow, check for pooling, and practice maintaining consistent line width. It also helps you determine how much pressure is required to achieve a solid mark without damaging the nib or oversaturating the surface.
Select Markers for Specific Everyday and Industrial Surfaces
Porous Surfaces (Paper, Cardboard, Wood, Fabric)
Porous materials absorb ink, which helps lock the pigment into the fibers but also increases the risk of bleeding and feathering. Alcohol-based inks generally perform exceptionally well on raw wood, standard cardboard, and heavy paper because the fibers quickly absorb the solvent, leaving the color locked inside. However, thin papers or lightweight cardstocks are highly susceptible to bleed-through, where the ink penetrates completely to the opposite side of the sheet.
When working with textiles, standard permanent markers are rarely sufficient because the ink will bleed along the fabric threads and gradually fade or wash out during laundering. Dedicated fabric markers utilize specialized binders that adhere to natural and synthetic fibers. To ensure the design survives repeated wash cycles, you must follow the manufacturer’s instructions, which often involve heat-setting the ink with a household iron or clothes dryer.
Non-Porous and Smooth Surfaces (Glass, Metal, Plastics)
Slick, non-porous surfaces do not absorb ink, meaning the marker must rely entirely on surface adhesion to stay in place. Paint-based or industrial-grade markers are highly preferred for glass and bare metal because they form a cohesive, durable film on top of the material. Standard dye-based markers often bead up on these surfaces, resulting in faint, patchy lines that rub off easily with light friction.
Plastics present a unique chemical challenge because certain solvents used in permanent inks can react negatively with specific polymer types. For example, strong solvent-based inks can melt, cloud, or discolor polystyrene or acrylic surfaces. When labeling plastic storage containers or organizing household items, verify that the marker is explicitly rated as safe for plastics to avoid damaging your belongings.
Always allow extra drying time when marking smooth surfaces, particularly in humid tropical conditions. Test the smudge resistance on a small, inconspicuous area before stacking, packing, or handling the marked items to prevent accidental transfers.
Extreme or Specialized Conditions (Outdoor, High Heat, Wet Environments)
Items exposed to outdoor elements, high temperatures, or moisture require specialized industrial-grade markers designed to withstand environmental degradation. Standard permanent inks degrade rapidly under ultraviolet (UV) light, causing outdoor labels on garden tags, electrical boxes, or utility pipes to fade to near-invisibility within a few weeks. UV-resistant and weather-tolerant formulations use robust pigments that remain legible despite constant sun exposure and heavy rain.
For applications involving high heat, such as marking automotive parts or machinery, look for temperature-resistant markers that will not char, flake, or discolor when heated. Similarly, wet-surface markers are engineered with hydrophobic solvents that displace moisture, allowing you to write directly on damp metal, wet wood, or condensation-covered plastic pipes.
To maximize the lifespan of any outdoor or industrial mark, ensure the target surface is thoroughly cleaned and dried before application. Removing surface oils, dust, and grime allows the ink to bond directly to the substrate, ensuring the mark survives its specified curing period and environmental exposure limits.
Test Adhesion and Prevent Unwanted Damage
Before applying any permanent marker to an expensive or irreplaceable item, establishing a safe testing protocol is essential to prevent permanent damage. Spot testing involves writing a small, discreet mark on a hidden area of the object or on an identical scrap piece of the same material. This step allows you to observe how the ink behaves, check for adverse chemical reactions like melting or discoloration, and verify the actual drying time.
It is also important to plan for potential mistakes or future changes by understanding the reversibility of the ink you choose. While these markers are designed to be permanent, many alcohol-based and solvent-based inks can be removed from non-porous surfaces like glass, metal, or glazed ceramic using isopropyl alcohol, acetone, or specialized dry-erase marker techniques. However, attempting to remove ink from porous materials like wood or fabric is rarely successful and often results in permanent smearing. Avoid using permanent markers on items where you anticipate needing to change or remove the label later.
Finally, prioritize safety and proper ventilation when working with strong solvent-based or industrial-grade markers. These products often emit strong volatile organic compounds (VOCs) that can cause headaches or dizziness in enclosed spaces. Always use these markers in well-ventilated areas, keep them out of reach of children, and store them horizontally in a cool, dry place away from direct sunlight to maintain ink quality and prevent premature drying.
Frequently Asked Questions (FAQ)
Can I use a standard permanent marker on fabric?
Standard permanent markers are not recommended for fabric because their inks are highly prone to bleeding along the textile fibers, creating fuzzy, distorted lines. Furthermore, standard inks are not formulated to withstand the agitation and detergents of laundry cycles, meaning your design will quickly fade, discolor, or wash out completely. For lasting results on clothing, canvas bags, or school uniforms, use dedicated fabric markers and follow the manufacturer’s heat-setting instructions to lock the pigment into the fibers.
How do I stop a permanent marker from drying out?
To prevent a permanent marker from drying out, always snap the cap on tightly immediately after use; a loose cap allows the solvent to evaporate, leaving the nib dry and unusable. Store your markers horizontally rather than vertically to ensure the ink remains evenly distributed throughout the barrel and the tip stays properly saturated. If a marker tip does dry out prematurely, you can sometimes revive it by storing it tip-down for a few hours or, for alcohol-based markers, applying a single drop of isopropyl alcohol directly to the nib to re-solubilize the remaining ink.

Community discussion
Share your experience or ask a question. Comments are reviewed before publication.