
Selecting the right permanent pen marker depends entirely on matching the ink formulation and tip style to the specific surface you need to mark. Whether you are labeling plastic food containers for the freezer, marking metal pipes in a humid utility room, or customizing fabric tote bags, a generic marker often falls short. In the tropical climate of the Philippines, high humidity and ambient heat can cause standard inks to smudge, run, or fade if they are not properly matched to the material’s porosity. By understanding how different inks bond with non-porous synthetics, slick metals, and absorbent textiles, you can ensure your markings remain clear, legible, and durable over time.
Understanding Permanent Marker Ink Formulations
Permanent markers generally rely on either solvent-based or water-based ink formulations, each behaving differently depending on the surface’s porosity. Solvent-based inks typically use alcohol or other fast-evaporating organic solvents as carriers. These solvents allow the ink to dry rapidly on non-porous surfaces like plastic and metal, leaving behind a water-resistant dye or pigment film. However, the strong solvents can sometimes react with certain plastics or emit noticeable odors, requiring adequate ventilation.
Water-based inks use water as the primary carrier, making them low-odor and less likely to bleed through paper or damage sensitive surfaces. However, water-based formulas require a porous surface, such as paper, cardboard, or untreated wood, to absorb the water and bind the pigment. On slick, non-porous materials, water-based ink will bead up, smudge easily, and wash away with moisture.
Products mentioned in this guide
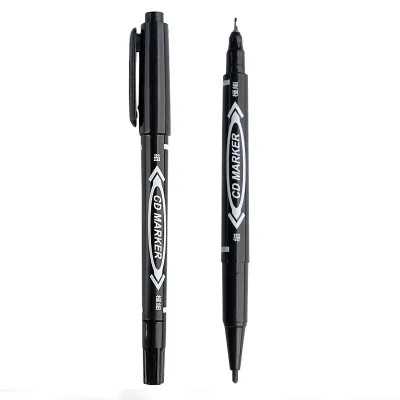
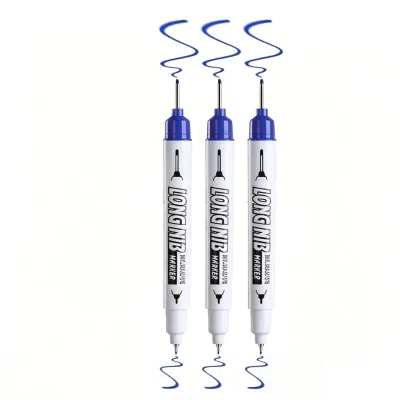
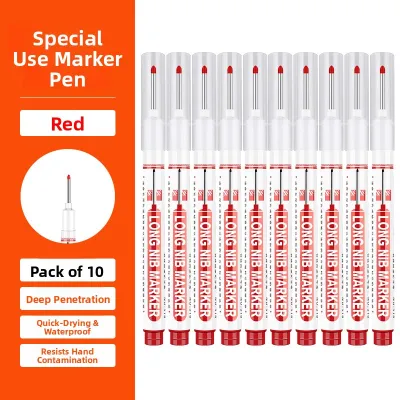
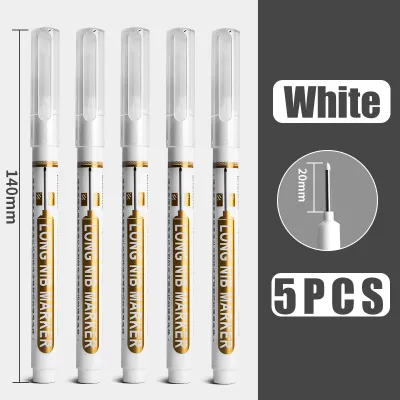
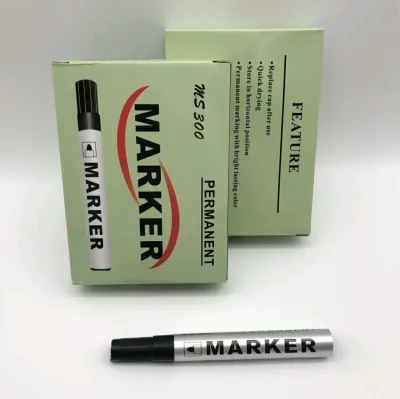
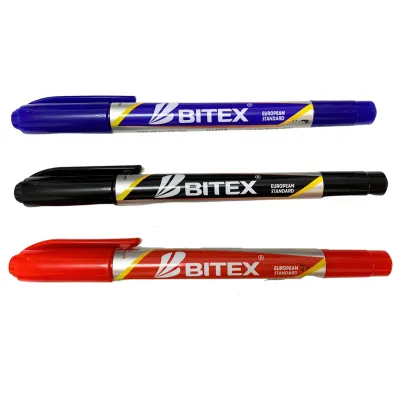
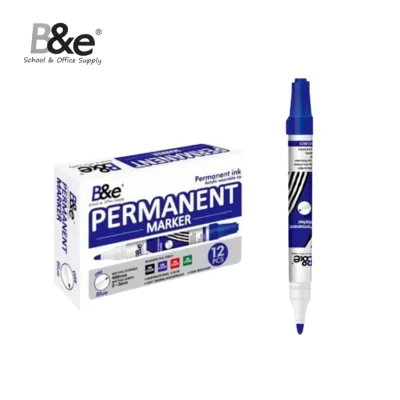
Prices are valid at publication and may change. Please refer to the product page for the latest price.
To ensure successful adhesion, always check the product packaging for specific surface compatibility claims. Manufacturers often label markers for specialized uses, such as “industrial,” “laundry,” or “multi-surface.” Relying on a generic “permanent” label can lead to disappointing results if the ink is not formulated to bond with your specific material.
Matching Markers to Specific Surfaces
Achieving a lasting mark requires matching the physical properties of the ink to the texture and chemical makeup of the target material. Non-porous surfaces require fast-drying, highly adhesive inks, while porous textiles demand formulations that bind to fibers without spreading. Before starting any large-scale labeling project, perform a simple visual and physical check on a scrap piece of the same material to confirm the ink bonds securely without smearing.

Writing on Plastic and Smooth Synthetics
Plastic is one of the most common yet challenging surfaces to mark because it is entirely non-porous and often has a low surface energy. Common household plastics, such as polyethylene (used in food containers) and polypropylene (used in storage bins), naturally repel standard liquid inks. When you write on these materials with a standard permanent pen marker, the ink may bead up or remain wet, leading to immediate smudging.
To write effectively on these smooth synthetics, look for markers specifically designated as “all-weather,” “industrial,” or formulated for low-energy plastics. These specialized markers contain specific solvents and resins that bite into the plastic surface to establish a durable bond.
Once applied, always allow the ink adequate curing time before handling or exposing the marked items to moisture. Even fast-drying formulas benefit from sitting undisturbed for several minutes to let the solvent evaporate completely and allow the resin film to harden.
Marking Metal and Glass
Metal and glass present unique challenges due to their hard, completely non-porous, and often reflective surfaces. Standard dye-based permanent markers can appear translucent or faint on dark, brushed, or highly reflective metals. For these applications, opaque paint markers or highly pigmented metallic markers are generally the most effective choices, as they lay down a solid, visible layer of pigment that sits on top of the material.
In outdoor environments or high-humidity storage areas, markings on metal must resist moisture, condensation, and temperature fluctuations. Look for weather-resistant or industrial-grade inks that specify resistance to water and UV exposure to prevent the markings from washing off or fading under the sun.
Additionally, consider the durability of the marker tip. Writing on rough metal, rust, or textured glass can quickly shred a soft felt nib. For these demanding surfaces, a reinforced acrylic tip or a valve-action marker is preferable, as it resists abrasion and maintains its shape without scratching delicate polished finishes.
Labeling Fabric and Textiles
Labeling clothing, canvas bags, or school uniforms requires an ink that can withstand repeated washing, friction, and the natural flexing of woven fibers. Standard permanent markers often bleed outward along the fabric threads, turning a sharp name or number into an illegible blur. Furthermore, standard inks may fade rapidly or turn brown after a few cycles in the washing machine.
To avoid these issues, use dedicated fabric markers or laundry markers. These products are formulated with pigments that wrap around and bind to individual textile fibers rather than sitting on top of them.
Always check the manufacturer’s instructions on the packaging regarding wash-fastness and heat-setting. Many fabric markers require you to run a warm iron over the dry marking to set the ink permanently into the fibers before the first wash. To prevent ink from bleeding through to the back of the garment, place a piece of cardboard or scrap paper inside the clothing item directly beneath the writing area.
Choosing the Right Tip Style and Size
The shape and size of the marker nib determine both the precision of your writing and the durability of the marker itself on rough surfaces. Matching the tip style to your specific task ensures clean lines and prevents premature wear.
Fine and ultra-fine tips are ideal for detailed labeling, writing in small spaces, or marking precise lines on tools and electronic components. These thin plastic or hard felt tips allow for legible handwriting on small plastic tags, cable ties, or clothing labels. However, they are delicate and can easily bend or clog if used on dusty, oily, or highly textured surfaces.
Chisel and broad tips are designed for high-visibility signage, large storage bins, or covering wide areas quickly. The angled shape of a chisel tip allows you to write both thick, bold lines for distant reading and thinner lines for secondary details simply by rotating the marker.
For rough, textured, or uneven surfaces like concrete, rusted metal, or coarse wood, standard felt tips tend to fray, skip, or dry out. In these scenarios, a valve-action marker is highly effective. These markers feature a spring-loaded internal valve that releases fresh ink or paint only when the tip is pressed down against the surface, protecting the nib from drying out and allowing it to glide over uneven textures.
Testing and Surface Preparation Tips
Proper preparation is key to ensuring any permanent pen marker adheres correctly and lasts as intended. Even the highest-quality ink will fail to bond if it is applied over a barrier of dirt, grease, or moisture.
Before writing, clean the target surface thoroughly to remove any oils, dust, fingerprints, or manufacturing residues. For most hard surfaces like plastic, metal, or glass, wiping the area with a clean cloth dampened with water or a mild detergent is sufficient. Ensure the surface is completely dry before applying the marker, as residual moisture will prevent the ink from contacting the material directly.
Always perform a hidden spot test before marking highly visible areas. Apply a small dot or line of ink in an inconspicuous location, let it dry completely, and check for ink bleeding, smudging, or any adverse chemical reactions. Some strong solvent-based inks can melt or cloud sensitive plastics, or strip the finish off painted metals. If you are working with highly sensitive, valuable, or antique items, stop and consult the manufacturer or a professional conservator. Applying permanent ink to these surfaces can cause irreversible damage.
Frequently Asked Questions (FAQ)
How do I remove permanent marker ink from non-porous surfaces?
To remove permanent marker ink from hard, non-porous surfaces like glass or untreated metal, apply a small amount of isopropyl alcohol to a clean microfiber cloth and gently wipe the marking. The alcohol acts as a solvent, dissolving the dried ink resin so it can be wiped away. When dealing with plastic surfaces, always test the alcohol on a hidden area first, as some solvents can cause certain plastics to melt, turn cloudy, or lose their finish. Avoid using abrasive scrubbing pads or harsh scouring powders, as these can permanently scratch and dull the underlying surface.
Are permanent markers safe for children's craft projects?
When selecting markers for children’s crafts, look for products that carry non-toxic certifications and safety seals on the packaging, indicating they have been evaluated for safety. Because many standard permanent markers contain strong solvent-based inks that emit fumes, always ensure the workspace has adequate ventilation, such as open windows or an active fan. Supervise children closely during use to prevent accidental skin contact or ingestion, and ensure the caps are securely fastened immediately after use to keep the markers from drying out.

Community discussion
Share your experience or ask a question. Comments are reviewed before publication.