
Selecting the perfect pony beads for your jewelry projects requires balancing physical size, structural compatibility, and surface finish. To achieve a professional-looking design, you must match the bead’s diameter and hole size to your stringing material while choosing a finish that withstands daily wear. Whether you are crafting lightweight hair accessories for tropical weather or designing bold statement necklaces, understanding these physical characteristics ensures your creations are both durable and visually striking.
How to Select the Right Pony Bead Size for Comfort and Scale
Pony beads are traditionally characterized by their barrel shape and wide inner holes, but they are not a one-size-fits-all component. The most common sizes found in craft stores are 6mm, 8mm, and 10mm in outer diameter. An 8mm bead is widely considered the industry standard for classic beaded crafts, offering a balanced weight that works well for most wrists. Choosing the wrong size can lead to a piece that feels either too bulky and restrictive or too delicate to showcase your intended pattern.
As the outer diameter of the bead increases, the overall bulk and weight of your finished jewelry scale up exponentially. A bracelet made entirely of 10mm beads sits significantly higher off the skin than one made of 6mm beads, making it more prone to catching on clothing or table edges. Conversely, 6mm beads offer a flatter, more streamlined profile that contours comfortably to the body. This makes smaller sizes ideal for everyday wear, while larger sizes are better suited for items meant to be noticed from a distance.
Products mentioned in this guide
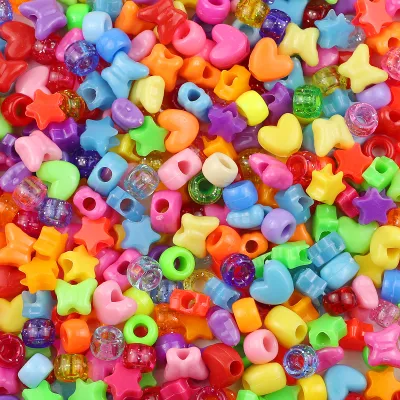
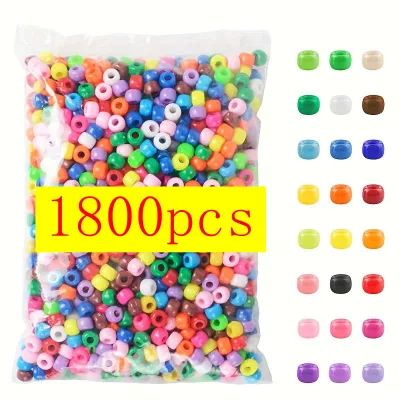
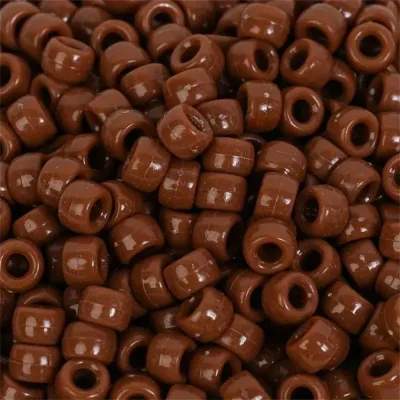
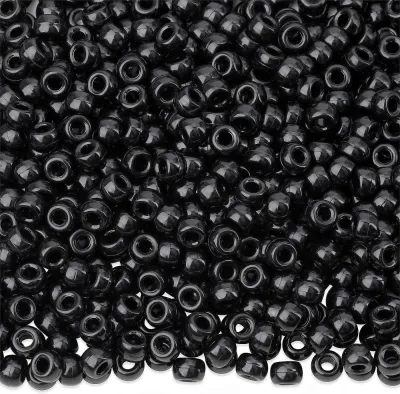
Prices are valid at publication and may change. Please refer to the product page for the latest price.
Beyond visual scale, the relationship between outer diameter and internal hole size is the most critical technical factor in your selection. Standard 8mm pony beads typically feature a generous hole diameter of approximately 3.5mm to 4mm, allowing for thick cords or multiple passes of thread. Smaller 6mm beads have proportionally smaller holes, often measuring around 2mm to 2.5mm. Before purchasing your beads, always verify the hole specifications to ensure your elastic, leather cord, or satin ribbon can pass through smoothly without fraying.
Scaling your project correctly also means adjusting your bead choices to the physical proportions of the wearer. Delicate designs on smaller wrists or necklines benefit from the subtle flexibility of 6mm beads, which drape naturally without creating stiff, awkward angles. For bold, chunky statement pieces or projects intended for children with developing fine motor skills, larger 8mm or 10mm options are much easier to handle and thread.
Finally, calculating the total weight of the finished piece is essential for ensuring long-term comfort. A heavy necklace composed entirely of 10mm solid plastic beads can strain the neck over a long day of wear. To avoid this, calculate the total length of the piece and estimate the bead count beforehand, keeping in mind that larger beads require fewer units to fill a space but add more physical volume and weight per centimeter.
Choosing Bead Finishes to Match Your Design Style
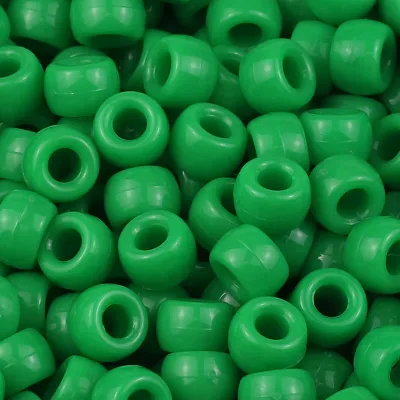
The surface finish of a pony bead dictates how it interacts with light, transforming the overall mood and aesthetic of your jewelry. Opaque and translucent finishes represent the two primary categories of light transmission. Opaque beads feature solid, saturated colors that block all light, making them the perfect choice for high-contrast, graphic patterns where color boundaries must remain sharp and distinct. They provide a classic, playful look that is highly visible under any lighting condition.

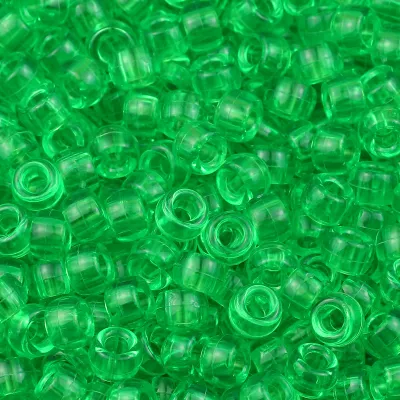
Translucent beads, on the other hand, allow light to pass through their bodies, creating a softer, more fluid appearance reminiscent of stained glass. When strung together, translucent beads catch the sunlight and glow from within, offering a layered, sophisticated depth that works beautifully for outdoor wear. They are excellent for designs where you want a subtle, watercolor-like transition between different shades rather than stark color blocks.
The contrast between glossy and matte finishes introduces another layer of design control. Glossy pony beads feature a highly polished, reflective surface that bounces light, emphasizing vibrant colors and giving your jewelry a classic, energetic shine. This is the traditional finish most people associate with pony bead crafts. In contrast, matte finishes absorb light, presenting a velvety, non-reflective surface that feels modern, understated, and earthy. Matte beads are perfect for minimalist designs or jewelry meant to mimic natural stone or wood.
Specialty finishes offer unique visual textures that can elevate a simple pattern into something extraordinary. Metallic finishes mimic the sheen of polished gold, silver, or bronze, while pearlized finishes provide a soft, iridescent luster reminiscent of seashells. Neon finishes glow intensely under blacklight, and color-lined beads feature a clear outer layer with a vibrant core. Use these specialty beads strategically as focal points, spacers, or accents; using them exclusively can sometimes overwhelm a design and make it look cluttered.
When selecting a finish, you must also consider practical maintenance and wear over time. Glossy and translucent beads are highly forgiving, easily hiding minor surface scratches and resisting dust. Matte and metallic finishes, however, can be more sensitive to oils from your skin, showing fingerprints or gradually losing their specialized coatings with heavy friction. Choosing the right finish involves balancing your immediate aesthetic goals with how the piece will be handled and maintained.
Matching Pony Beads Sizes and Finishes to Specific Jewelry Projects
Bracelets and Anklets
For bracelets, comfort and flexibility against the skin are paramount, which makes 6mm to 8mm beads the ideal choice. These sizes allow the bracelet to bend easily around the wrist, preventing stiff gaps and ensuring the jewelry moves naturally with your arm. While a chunky 10mm bracelet can serve as a bold statement piece, it is often too heavy and cumbersome for daily office or school wear, frequently bumping against keyboards and desks.
Anklets require even greater durability due to constant friction against footwear and exposure to environmental elements like dust and water. For these ankle-worn pieces, highly durable opaque or glossy finishes in the 6mm to 8mm range are highly recommended. These finishes do not have delicate surface coatings that can rub off against your shoes or socks, ensuring your anklet retains its vibrant color even after walks along the beach or through humid city streets.
Necklaces and Lanyards
Necklaces and functional lanyards demand excellent visibility and a graceful drape, which is best achieved using medium to large beads in the 8mm to 10mm range. These larger sizes ensure that your patterns and color combinations are easily recognizable from a distance. Because necklaces rest flat against the chest, they can easily support the larger scale of 10mm beads without sacrificing comfort, provided you select a strong stringing material.
To create an eye-catching focal point near the neckline, try mixing a base of translucent beads with strategically placed metallic or pearlized accent beads. The translucent beads will catch the ambient light, while the metallic accents draw the eye to the center of the piece. When designing heavy lanyards for holding keys or school ID badges, remember that the collective weight of larger beads can pull uncomfortably on the back of the neck; balance this by using lightweight nylon cords and incorporating a breakaway safety clasp.
Keychains, Bag Charms, and Hair Accessories
Keychains and bag charms are subjected to rough daily handling, making chunky 10mm beads and above the perfect choice. These robust sizes can withstand being tossed into backpacks, jostled against keys, and dropped on hard surfaces without breaking. Because these items are highly visible accessories, the larger scale allows you to create bold, recognizable shapes like animals, flags, or block-letter names.
For these high-friction items, stick to solid opaque or color-lined finishes. These styles are inherently scratch-resistant because the color is integrated throughout the plastic rather than sprayed onto the surface. Avoid delicate metallic or painted matte finishes for keychains, as they will quickly scrape off when rubbing against metal keys or heavy bag hardware.
Conversely, hair accessories such as braiding beads require a much lighter touch. Smaller 6mm beads are the standard recommendation for hair styling, as they are lightweight enough to be worn in multiples without pulling painfully on the scalp or damaging hair strands. When using beads in hair, ensure the inner hole is completely smooth and free of plastic manufacturing burrs to prevent snagging or cutting the hair during installation.
Selecting Stringing Materials and Tools for Your Beads
The durability of your beaded jewelry depends heavily on choosing the right stringing material to support your selected pony beads. Elastic cords are the go-to choice for slip-on bracelets and hair bands because they offer stretch and flexibility, eliminating the need for complex clasps. For necklaces, lanyards, and keychains, non-stretch materials like nylon cord, polyester thread, or nylon-coated beading wire are far superior, providing the structural strength needed to support heavier bead patterns securely.
Matching your cord thickness to the bead’s hole diameter is critical for preventing premature wear and tear. If your cord is too thin, the beads will slide around loosely, causing the pattern to look sloppy and putting uneven stress on the knots. If the cord is too thick, forcing it through the bead hole will scrape and fray the fibers, leading to sudden snaps. Aim for a cord diameter that fills roughly 70% to 80% of the bead’s hole, leaving just enough room for a clean knot to be tucked inside the nearest bead.
In the tropical, high-humidity climate of the Philippines, selecting the right material requires extra care. High humidity and exposure to sweat can cause standard latex-based elastic cords to dry out, lose their elasticity, or become brittle much faster than they would in cooler climates. To ensure your jewelry lasts, opt for high-quality polyurethane elastic cords, and regularly inspect your bracelets for signs of fraying or stiffness. If you notice the elastic starting to sag or show tiny cracks, it is time to restring the piece before it breaks.
Equipping yourself with a few basic tools will make your assembly process significantly smoother. A sharp pair of craft scissors or wire cutters is essential for clean cuts that do not fray your cord ends. A felt bead board or a simple sorting tray keeps your beads from rolling away while you plan your patterns. For non-stretch designs, keep a supply of crimp beads, jewelry pliers, and secure clasps on hand to finish your necklaces and lanyards with a professional, secure closure.
Step-by-Step Workflow for Planning Your Bead Pattern
Step 1: Define the Project and Wearer Begin by deciding exactly what type of jewelry you are making and who will be wearing it. Use a flexible measuring tape to find the precise circumference of the wrist, ankle, or neck, and write this measurement down. This step ensures you do not waste materials or end up with a piece that is too tight or dangerously loose.
Step 2: Select the Primary Size and Calculate Count Choose your primary bead size based on the project type—such as 6mm for a delicate anklet or 8mm for a standard bracelet. To estimate the number of beads you need, divide your target length by the width of a single bead, then add a buffer of three to five beads. This buffer accounts for variations in bead manufacturing and gives you flexibility when tying off the ends.
Step 3: Choose a Color Palette and Finish Combination Limit your design to a cohesive palette of two to four colors to keep the final piece looking clean and intentional. Select one dominant finish, such as classic opaque, to make up the bulk of the design, and pair it with a contrasting accent finish like metallic or glitter. This contrast adds professional visual depth without making the pattern feel chaotic.
Step 4: Map Out the Pattern Before threading a single bead, lay your pattern out on a flat, textured surface or a dedicated bead board. Arrange the beads in their exact sequence to check the symmetry, color balance, and overall length. This step allows you to make quick adjustments and catch mistakes before you commit to stringing.
Step 5: String and Secure Thread your beads onto your chosen cord, keeping steady tension to prevent gaps. Leave at least five to ten centimeters of extra cord on both ends to give yourself enough room to tie secure knots or attach jewelry findings. Once strung, wrap the piece around the target area one last time to verify the fit before cutting the excess cord and sealing the knots.
Frequently Asked Questions (FAQ)
Can I mix different pony bead sizes in one project?
Yes, mixing different pony bead sizes can add wonderful visual texture and create natural focal points in your jewelry. However, doing so introduces structural challenges, as the varying hole sizes can cause smaller 6mm beads to slip inside the larger holes of 10mm beads, disrupting your pattern. To prevent this, place a small, flat spacer bead or a knot between different sizes to keep them properly aligned and maintain a smooth, even drape.
How do I prevent matte or metallic finishes from wearing off?
Surface-applied finishes like metallic plating or painted matte coatings are susceptible to rubbing off over time due to friction, sweat, and exposure to oils or lotions. To extend the life of these specialty beads, you can apply a thin coat of clear, jewelry-safe sealant or water-based acrylic varnish before stringing them. Additionally, reserve these delicate finishes for low-friction items like necklaces or bag charms, and store your completed jewelry in soft fabric pouches to prevent the beads from scratching against one another.

Community discussion
Share your experience or ask a question. Comments are reviewed before publication.