
Selecting your first acrylic marker brush tip set requires focusing on three core pillars: tip construction, ink delivery, and surface compatibility. Unlike traditional hard-tipped paint pens, a brush tip offers dynamic line variation and painterly control, but it is also more vulnerable to wear and ink starvation if chosen poorly. To make a smart investment, you must look past vibrant packaging and evaluate specific technical details like nib material, flow mechanisms, and opacity ratings. By understanding how to read product labels and verify specifications, you can find a set that handles everything from detailed illustrations to mixed-media crafts without drying out prematurely or ruining your paper.
Evaluating Brush Tip Flexibility and Durability
The physical construction of the brush tip determines how much control you have over your strokes and how long the marker will last. When browsing options, you will primarily encounter two types of brush tips: synthetic bristle tips and felt or fiber-based brush tips. Synthetic bristle tips consist of individual nylon fibers bound together, closely mimicking a traditional paintbrush. These tips offer excellent flexibility and are ideal for sweeping, expressive strokes, but they require a steady hand and consistent pressure control. In contrast, felt or fiber-based brush tips are molded from a single piece of porous material. These are firmer, making them much easier for beginners to control when drawing consistent lines, though they can wear down faster on rough surfaces.
To ensure your markers can withstand repeated use, you must check the tip’s resilience and snap-back capabilities. A high-quality brush tip should immediately return to its original pointed shape after being bent or pressed against a surface. Manufacturers often highlight this feature in their specifications using terms like “high-resilience,” “self-recovering,” or “spring-back.” If the product description does not mention these terms, look for close-up photos or user demonstrations that show the tip in action. A tip that lacks resilience will quickly become mushy, losing its fine point and making detailed work nearly impossible.
Products mentioned in this guide
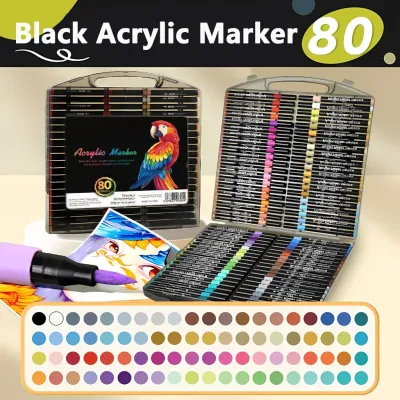
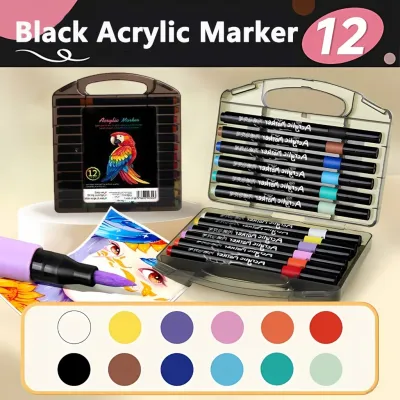
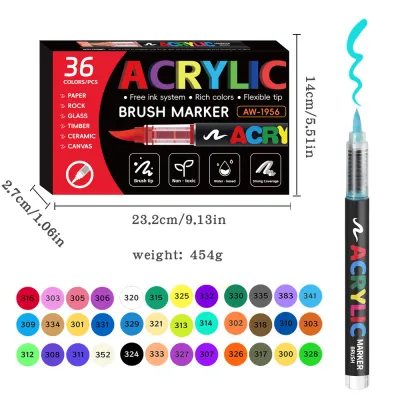
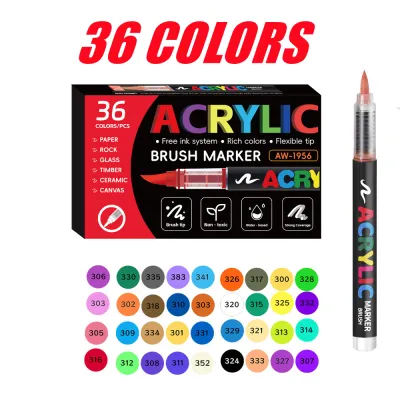
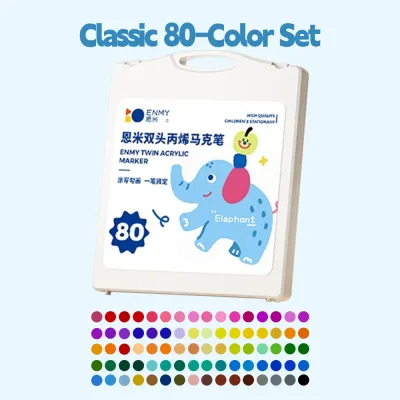
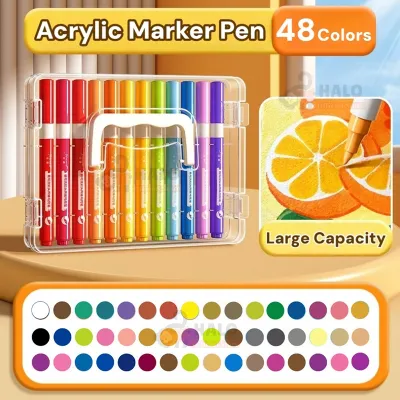
Prices are valid at publication and may change. Please refer to the product page for the latest price.
Another crucial factor in long-term usability is whether the markers offer replaceable nibs or fixed tips. Acrylic paint is naturally abrasive, and rough surfaces like wood, stone, or unglazed terracotta will eventually wear down even the toughest fibers. If a marker set features replaceable nibs, you can easily swap out a frayed tip for a new one, extending the life of the marker significantly. If the set has fixed tips, you must be much more cautious about the surfaces you paint on, as a frayed tip usually means the entire marker must be discarded, even if it still contains plenty of paint.
Assessing Ink Opacity, Flow, and Drying Time
The quality of the acrylic ink inside the marker is just as important as the tip itself. When evaluating a set, check the opacity levels indicated on the label. True acrylic markers should contain highly pigmented, opaque ink that can completely cover dark surfaces or underlying pencil sketches in a single pass. Some budget-friendly sets, however, use highly diluted or dye-based inks that appear translucent or streaky. If you plan to layer light colors over dark backgrounds, look for terms like “highly opaque,” “excellent coverage,” or “pigmented acrylic ink” on the packaging to ensure the paint behaves like traditional acrylics.

Understanding how the ink flows from the reservoir to the tip is also essential for a frustration-free experience. Most acrylic markers utilize either a valve-action or a direct-feed flow mechanism. Valve-action markers require you to shake the pen to mix the pigment and then press the tip down on a hard surface to prime the pump and release the ink. This system keeps the ink sealed and fresh, but it requires careful handling to avoid accidental pooling or flooding. Direct-feed markers, on the other hand, flow continuously without priming, offering immediate use but sometimes drying out faster if the cap is not secured perfectly. For beginners, valve-action markers generally offer better control over ink flow once you master the priming process.
Finally, verify the manufacturer’s claims regarding drying times, water resistance, and lightfastness. In tropical climates where high humidity can slow down drying times, choosing a quick-drying formula is essential to prevent accidental smudging during layering. Once fully dry, the ink should be completely water-resistant and permanent, allowing you to apply varnishes or additional paint layers without lifting the underlying color. If you intend to display your artwork in brightly lit areas, check for lightfastness ratings—often indicated by asterisks or ASTM standards—to ensure your colors will not fade over time when exposed to sunlight.
Selecting the Ideal Set Size and Color Palette
For your very first purchase, resisting the temptation to buy a massive color set is highly recommended. A compact core set, typically containing 6 to 12 essential colors, is often the most practical and cost-effective starting point. A smaller set forces you to learn the basics of color mixing and layering without the overwhelm of coordinating dozens of similar shades. It also keeps your initial financial commitment low while you decide if acrylic brush markers are the right medium for your artistic style.
When reviewing the color selection, prioritize foundational base colors over specialized shades. A solid beginner set should include the primary colors (red, blue, yellow), essential neutrals (black and white), and a few versatile secondary colors like green or brown. Avoid sets that are heavily weighted toward metallics, neons, or pastels for your primary purchase. While these specialty shades are excellent for accents, they often have lower opacity and cannot be mixed to create standard colors, severely limiting your creative flexibility if they are the only options available.
Additionally, check if the set includes useful accessories that enhance your painting experience. Some sets come with a colorless blender, which helps soften harsh edges and create smooth gradients, or an empty mixing marker that you can fill with water or custom color blends. A sturdy, protective carrying case is another valuable inclusion, as it helps you keep your markers organized and makes it easier to store them in the recommended horizontal position to maintain even ink distribution.
Matching Markers to Your Preferred Surfaces
To get the best performance out of your acrylic markers, you must match the ink viscosity and brush tip size to your intended canvas. Acrylic ink is wet and heavy, meaning standard sketch paper or thin notebook pages will quickly buckle, pill, or suffer from severe bleed-through. For paper-based artwork, always use heavy mixed-media paper or cardstock with a weight of at least 200 gsm, though 300 gsm is ideal. A medium brush tip is highly versatile for these surfaces, allowing you to fill larger areas while still achieving fine lines with a light touch.
If you plan to paint on non-porous surfaces like glass, plastic, ceramics, metal, or primed canvas, carefully review the manufacturer’s guidelines. Some acrylic inks are specifically formulated to adhere to slick surfaces, while others may scratch off easily once dry. For items like ceramic mugs or glassware, check if the ink requires heat-setting in a home oven to become permanent. For outdoor items or high-touch surfaces, you will likely need to apply a clear, weather-resistant acrylic varnish sealant over your finished artwork to protect it from wear and moisture.
Regardless of the surface you choose, always perform test swatches on a scrap piece of the same material before starting your final project. This simple step allows you to observe how the ink behaves on that specific texture. You can check for bleed-through on the back of the paper, observe the crispness of the edges to ensure the ink does not feather, and determine how many layers are required to achieve complete opacity. Testing also helps you adjust your hand pressure to match the flexibility of the brush tip on that particular surface.
Finalizing Your Purchase: A Label and Specification Checklist
Before finalizing your purchase on an online marketplace or at a local stationery store, use a systematic checklist to compare your options. First, verify the exact ink volume, usually measured in milliliters (ml), rather than relying on generic marketing terms like “extra-large.” A standard acrylic marker typically holds between 3 ml and 5 ml of ink. Pair this with the precise tip size specifications (such as a 1 mm to 3 mm brush tip) to ensure you are getting the exact tool you need for your projects.
Next, calculate the true value of the set by comparing the total price in ₱ against the number of markers and the individual ink volume. A cheaper set might seem attractive initially, but if the markers contain very little ink or have fragile, non-replaceable tips, you will end up spending more in the long run. Investing a bit more in a set that offers higher ink volume, durable tips, and consistent flow will provide a much more satisfying and economical experience.
Safety is another critical consideration, especially if you will be working in shared, educational, or poorly ventilated home environments. Look for recognized non-toxic safety seals on the packaging, such as the AP (Approved Product) seal from the Art and Creative Materials Institute (ACMI) or the European EN71 standard. These seals guarantee that the formulation has been evaluated by toxicologists and contains no harmful materials or solvents, making them safe for artists of all ages.
Finalizing your purchase also requires reviewing the seller’s return policies and the manufacturer’s warranty terms. Because acrylic markers are pressurized and contain liquid paint, there is always a small risk of units drying out, leaking, or becoming defective during transit or storage. Ensure that the retailer offers a clear return or replacement policy for any damaged or non-functional markers upon delivery, giving you peace of mind as you begin your creative journey.
Frequently Asked Questions (FAQ)
Can I refill acrylic brush tip markers when they run out of ink?
Most standard acrylic brush tip markers are designed as sealed, single-use units and cannot be refilled once the ink reservoir is empty. However, some premium, artist-grade brands offer refillable marker bodies along with matching ink bottles. If sustainability and long-term cost savings are important to you, explicitly check the product specifications or the manufacturer’s website to confirm refill compatibility before making your purchase.
How do I prevent the brush tips from fraying or drying out?
To keep your brush tips in optimal condition, always store your markers horizontally; this keeps the pigment evenly distributed and prevents the tip from drying out or becoming flooded with paint. Always snap the cap on tightly immediately after use to prevent air exposure. Additionally, avoid applying excessive downward pressure on rough or abrasive surfaces, as heavy friction will quickly splay and permanently fray the delicate synthetic fibers of the brush tip.

Community discussion
Share your experience or ask a question. Comments are reviewed before publication.