
Choosing your first alcohol marker set requires balancing nib versatility, color selection, and paper compatibility to match your creative goals. Unlike water-based markers, alcohol-based inks dry rapidly and blend seamlessly, making them excellent for smooth gradients, illustrations, and vibrant journal spreads. To make an informed purchase, you must evaluate how the physical design, ink delivery, and paper surface interact under local conditions, such as high tropical humidity. By understanding these core factors, you can avoid common beginner pitfalls, save money, and select a set that elevates your artistic journey from the very first stroke.
Understanding Alcohol Marker Basics: Nibs and Ink Systems
The physical construction of an alcohol marker directly dictates how ink is transferred to your page and how much control you have over your lines. Most alcohol markers feature a dual-tip configuration, offering two different nib shapes on opposite ends of a single barrel. The most common combination for artists is the brush and chisel setup. The brush nib is highly flexible, mimicking a traditional paintbrush to allow for variable line widths, delicate details, and smooth, painterly blending. In contrast, the chisel tip (typically around 6mm wide) is rigid, making it ideal for filling in large blocks of color quickly or creating sharp, graphic edges. Another popular configuration is the fine and chisel setup, which replaces the flexible brush with a stiff, pointed plastic or felt tip (usually around 1mm). This fine tip provides excellent precision for tight outlines, intricate patterns, and neat handwriting, making it a preferred choice for bullet journaling and technical illustration.
Beyond the nib shapes, you must consider whether to invest in a refillable or non-refillable ink system. Refillable markers require a higher initial investment, but they offer substantial long-term savings because you can purchase separate ink bottles to replenish your markers when they run dry. Additionally, many refillable brands allow you to replace worn or frayed nibs individually, extending the life of the marker body indefinitely. Non-refillable markers, on the other hand, are highly cost-effective for absolute beginners who want to test the medium without a significant financial commitment. Once a non-refillable marker runs out of ink or suffers nib damage, however, the entire pen must be discarded and replaced.
Products mentioned in this guide
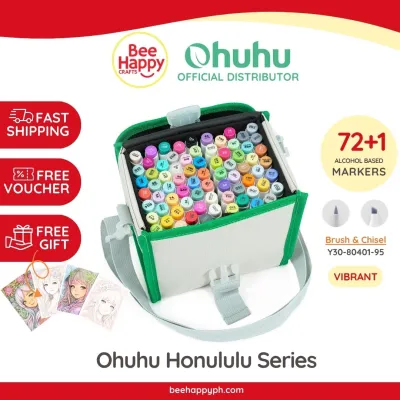
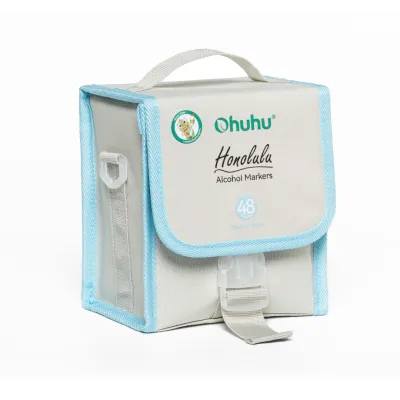
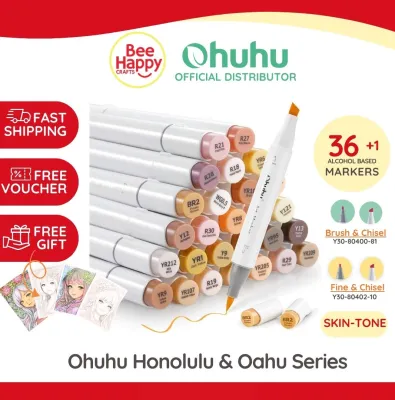
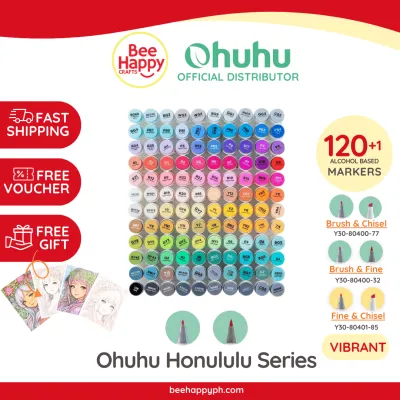
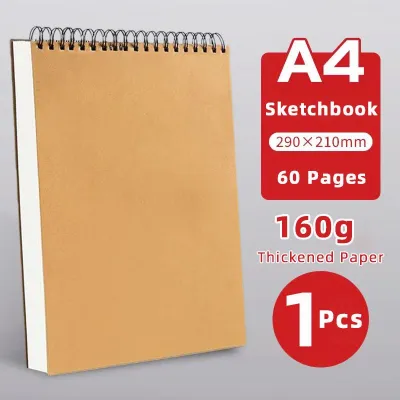
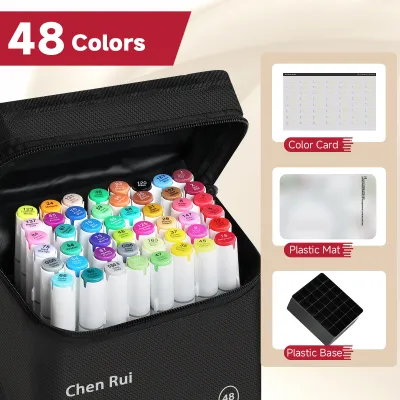
Prices are valid at publication and may change. Please refer to the product page for the latest price.
When evaluating different marker options, always check the manufacturer specifications printed on the packaging or detailed in product listings. Look for indications of ink capacity, which can vary significantly between budget-friendly and professional-grade options. Pay close attention to the barrel design as well; circular barrels are common but can easily roll off tilted desks, potentially damaging the nibs if they fall. Oval or triangular barrels provide a more secure grip and naturally resist rolling, keeping your workspace organized. Finally, verify if the caps are securely fitted and color-coded, as airtight caps are essential to prevent the volatile alcohol ink from evaporating prematurely.
Evaluating Color Range and Blendability for Beginners
When starting out, the sheer variety of color sets available can be overwhelming, but purchasing a massive, uncurated collection is rarely the most practical approach. Large sets of 80 or 120 markers often contain highly saturated, fluorescent, or redundant shades that are difficult to blend harmoniously. For beginners, a smaller, carefully curated set of 12 to 36 markers is highly recommended. A smaller palette forces you to learn color theory, encourages creative mixing, and keeps your initial budget manageable. You can always expand your collection by purchasing individual open-stock markers as you identify specific gaps in your color range.

To choose the right color family, align your set with your primary artistic interests. If your focus is portraiture, character design, or anime illustration, prioritize a set that emphasizes skin tones, soft pastel undertones, and warm earth shades. If you prefer drawing landscapes, botanical elements, or nature scenes, look for a set rich in varied greens, deep blues, and warm grays. For general journaling and hand lettering, a vibrant primary and secondary color set will provide the classic rainbow spectrum needed for eye-catching headers and decorative layouts.
The defining characteristic of alcohol markers is their blendability, which allows you to create smooth gradients without visible brush strokes. However, actual blending performance depends heavily on the chemical formulation of the ink and how it interacts with your paper. To verify blendability before buying, look at the manufacturer’s color coding system. Reliable systems use a combination of letters and numbers to indicate the color family, saturation level, and value of each marker. For example, markers with similar letter codes and consecutive numbers are designed to blend easily with one another. Because marketing claims can be misleading, the most reliable way to test blendability is to perform a physical swatch test on your preferred paper, observing how smoothly two overlapping colors fuse while the ink is still wet.
Paper Compatibility and Managing Bleed-Through
Using the correct paper is just as important as choosing the markers themselves, as alcohol ink behaves very differently from water-based media. Standard copy paper and cheap notebook pages are highly porous and uncoated, meaning they absorb ink like a sponge. This causes the ink to feather—spreading outward uncontrollably past your lines—and drains your markers incredibly fast. To achieve clean lines and smooth gradients, you must use specialized marker paper, bleed-proof pads, or heavy-weight mixed media paper designed to handle alcohol-based solvents.
When shopping for paper, check the packaging for weight specifications, measured in grams per square meter (GSM), as well as any coating details. While heavy-weight mixed media paper (typically 200 GSM or higher) relies on thickness to absorb ink without warping, dedicated marker paper is often surprisingly thin, ranging from 75 to 120 GSM. This specialized paper features a unique, impermeable coating on the reverse side of each sheet. This coating prevents the alcohol solvent from soaking through, keeping the pigment on the surface longer to facilitate effortless blending while protecting the pages underneath.
Because smoothness, bleed resistance, drying speed, and water resistance depend entirely on the exact combination of marker ink and paper type, you should always perform a simple trial before starting a final project. Draw a solid block of color on a scrap piece of your paper to observe how quickly it dries and whether the edges remain crisp. In tropical climates with high ambient humidity, paper fibers can absorb moisture from the air, which may slightly alter the ink’s drying time and blending behavior. To prevent accidental damage to your workspace or subsequent pages in a sketchbook, always place a protective barrier sheet—such as a sheet of plastic, silicone, or heavy cardstock—directly beneath the page you are coloring. This simple precaution ensures that any excess ink that bleeds through is safely caught.
Building Your First Alcohol Marker Shortlist
To build a practical shortlist of potential marker sets, you must match your specific creative needs with the physical characteristics of the markers. If your primary goal is detailed illustration, character design, or anime art, you should prioritize sets that feature high-quality, flexible brush nibs. These nibs allow you to execute delicate, tapered strokes for hair and clothing folds, and they make achieving soft skin gradients much easier. Look for brands that offer a wide range of pale, low-saturation blending shades, as these are crucial for building up realistic depth without muddying your artwork.
If your focus is hand lettering, bullet journaling, or decorative planning, your requirements will be different. For these applications, a set featuring fine and chisel nibs is often more practical and cost-effective. The broad chisel tip allows you to create consistent, bold strokes for modern calligraphy and large headers, while the fine tip is perfect for writing daily tasks, drawing precise borders, and adding intricate doodles. For journaling, vibrant, high-contrast base colors are generally more useful than a subtle range of blending pastels.
Before making your final purchase from online marketplaces or local stationery stores in the Philippines, take time to verify several key factors. Compare prices carefully in ₱, keeping in mind that extremely low prices (such as sets priced far below ₱300) often indicate counterfeit products or older stock that may have dried out in storage. Read customer reviews thoroughly, paying close attention to feedback regarding seller packaging, shipping times, and whether the markers arrived fully saturated. If you are purchasing from a physical retail store, inspect the packaging seals to ensure they are intact, and if tester markers are available, check that the nibs are moist, firm, and free of fraying before heading to the register.
Frequently Asked Questions (FAQ)
How do I revive a dried-out alcohol marker?
If your alcohol marker is designed to be refillable, the safest and most effective method to revive it is to purchase the corresponding brand-specific refill ink and follow the manufacturer’s instructions to replenish the reservoir. For non-refillable markers that have dried out prematurely—often due to a cap being left off—you can sometimes temporarily restore ink flow by dipping the dried nib into a small container of isopropyl alcohol (91% or higher) for a few seconds. However, keep in mind that this method dilutes the remaining pigment and will result in lighter, less vibrant colors. To maintain optimal ink flow and prevent drying, always store your alcohol markers horizontally, which ensures the ink remains evenly distributed between both nibs. If a nib is physically frayed, split, or clogged with paper fibers, it cannot be revived and must be replaced if the marker design allows.
Can I use alcohol markers on regular printer paper?
While you can technically use alcohol markers on regular printer paper, it is not recommended for finished artwork or blending practice. Standard printer paper is highly porous and lacks the necessary coating to handle alcohol solvents, resulting in severe bleed-through, rapid ink feathering, and excessive ink consumption that will quickly empty your markers. If you must use printer paper for quick, disposable sketches or color swatching, always place a thick protective sheet of cardstock or plastic underneath to prevent the ink from staining your desk. For clean lines, smooth gradients, and to extend the lifespan of your markers, it is highly recommended to upgrade to a dedicated marker pad or coated mixed media paper.

Community discussion
Share your experience or ask a question. Comments are reviewed before publication.